Basic Whipped Cream
This recipe gives a step-by-step guide for making homemade whipped cream. For more of the theory, check out its main ingredient page.
Before you start
A quick setup makes the method easier to follow and keeps important steps from being missed.
Preparation checklist
- Read all 5 method steps from beginning to end.
- Measure and arrange all 3 listed ingredients.
- Keep the recipe open and follow each step in order; the source does not state a total time.
Recipe notes & preparation tips
You must use a grade of cream with a fat content of at least 30%, since the fat is what stabilizes the whipped cream.
Unlike when whipping egg whites, it's not important to make sure there's no fat in the mixture (after all, the cream itself is high in fat). It is important, however, to make sure that the bowl and mixers are dry and cold and that the cream is cold.
It's very feasible to whip cream by hand—much easier than whipping egg whites by hand. In fact, if you're not working with a very large volume of cream, whipping by hand can help make sure you don't overwhip it.
Whipping at medium speed (as opposed to high speed) is a little slower but helps to create a more stable foam.
Adapted from the source recipe's notes.Method
- 01
Chill a mixing bowl and the beaters of an electric mixer in the refrigerator for at least 10 minutes. If using a mixer with multiple kinds of beaters, use the whisk attachment. This step is very important, because the cream will not rise if the mixer is warm.
- 02
Pour the cold cream into the chilled bowl. Start whipping at medium speed until foamy.
- 03
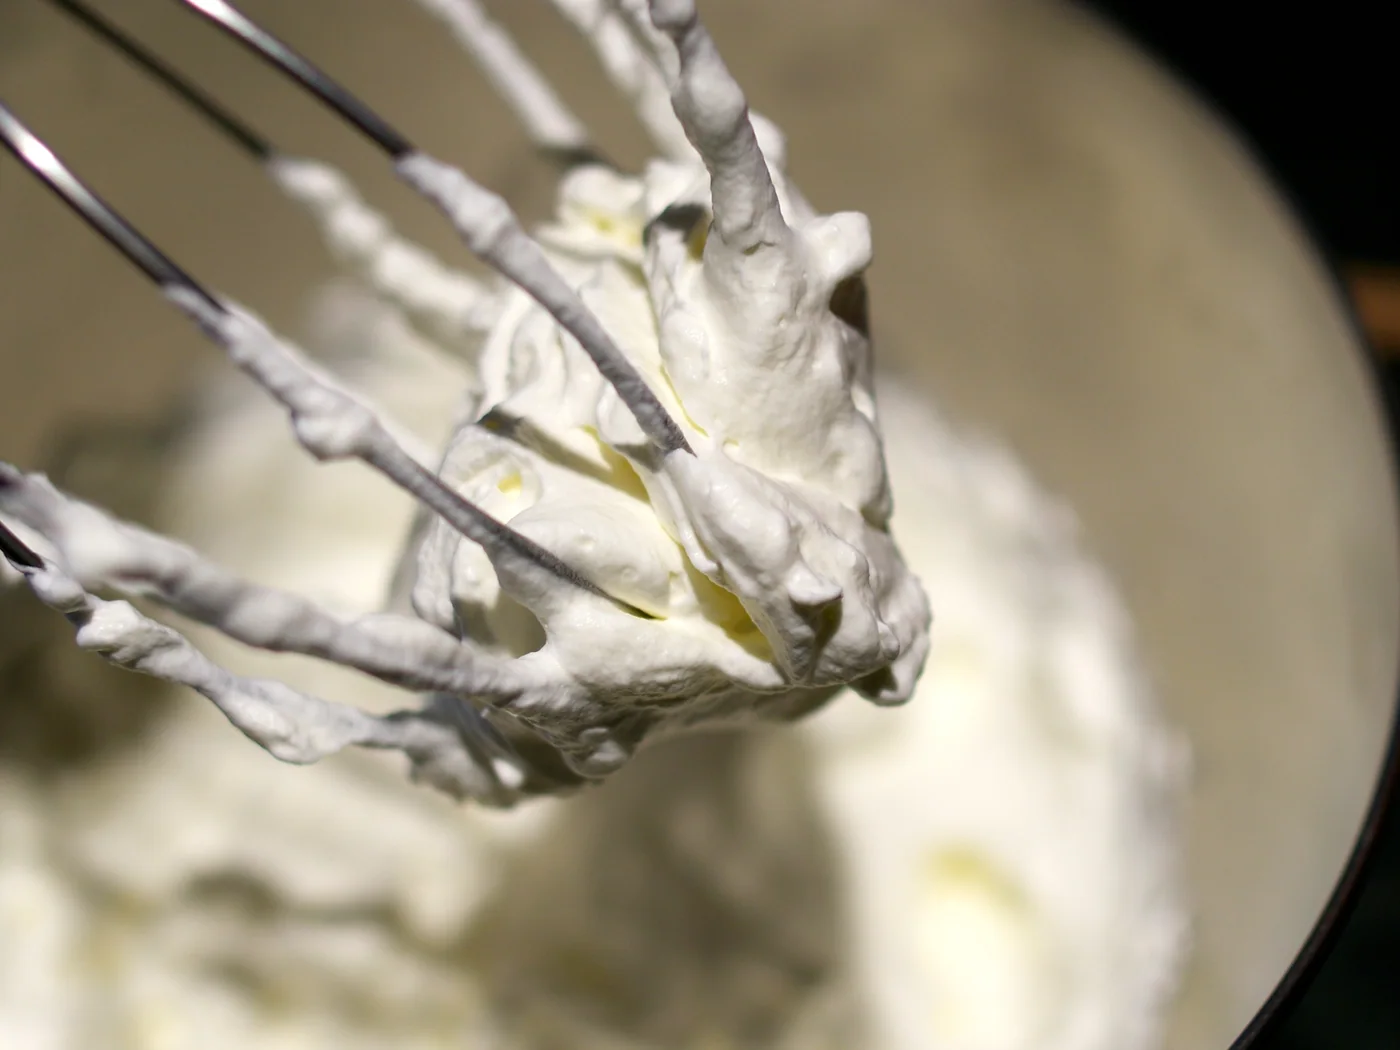
Continue whipping until you notice the cream thickening around the beaters and leaving visible traces. This is your sign to watch it carefully, as it's easy to overwhip.
- 04
Continue whipping in bursts of 10–30 seconds until you reach the desired level of stiffness, checking regularly. Stop immediately if you notice small grains or lumps start to form in the smooth cream.
- 05
Refrigerate until use.
Ready to serve
Serve the dish as directed and enjoy it while it is at its best.
Bon appétit — enjoy your meal!Source & licence
This recipe was adapted and reformatted from Wikibooks Cookbook . Text: CC BY-SA 4.0. Image: CC BY 2.0, credited to Rhett Sutphin; view original image record .
More from International
 International
"Favourite" salad
How to prepare "Favorite Salad": Bread, Mayonnaise, Garlic and Carrots. Step-by-step recipe with a photo, 18 stages, the total time is 30 minutes.
 International
"Gelak Pilaw," pilaf with meatballs
Learn how to make "Gelak Pilaw," pilaf with meatballs with 7 ingredients and 11 clear steps.
 International
"Grace" salad
Learn how to make "Grace" salad with 7 ingredients and 8 clear steps.
 International
“Original” pork salad with kiwi and eggs
How to prepare “Original” pork salad with kiwi and eggs: Lettuce leaf, Pork in / k, Kiwi and Eggs (quail or chicken C2-C3) - 6 pieces.