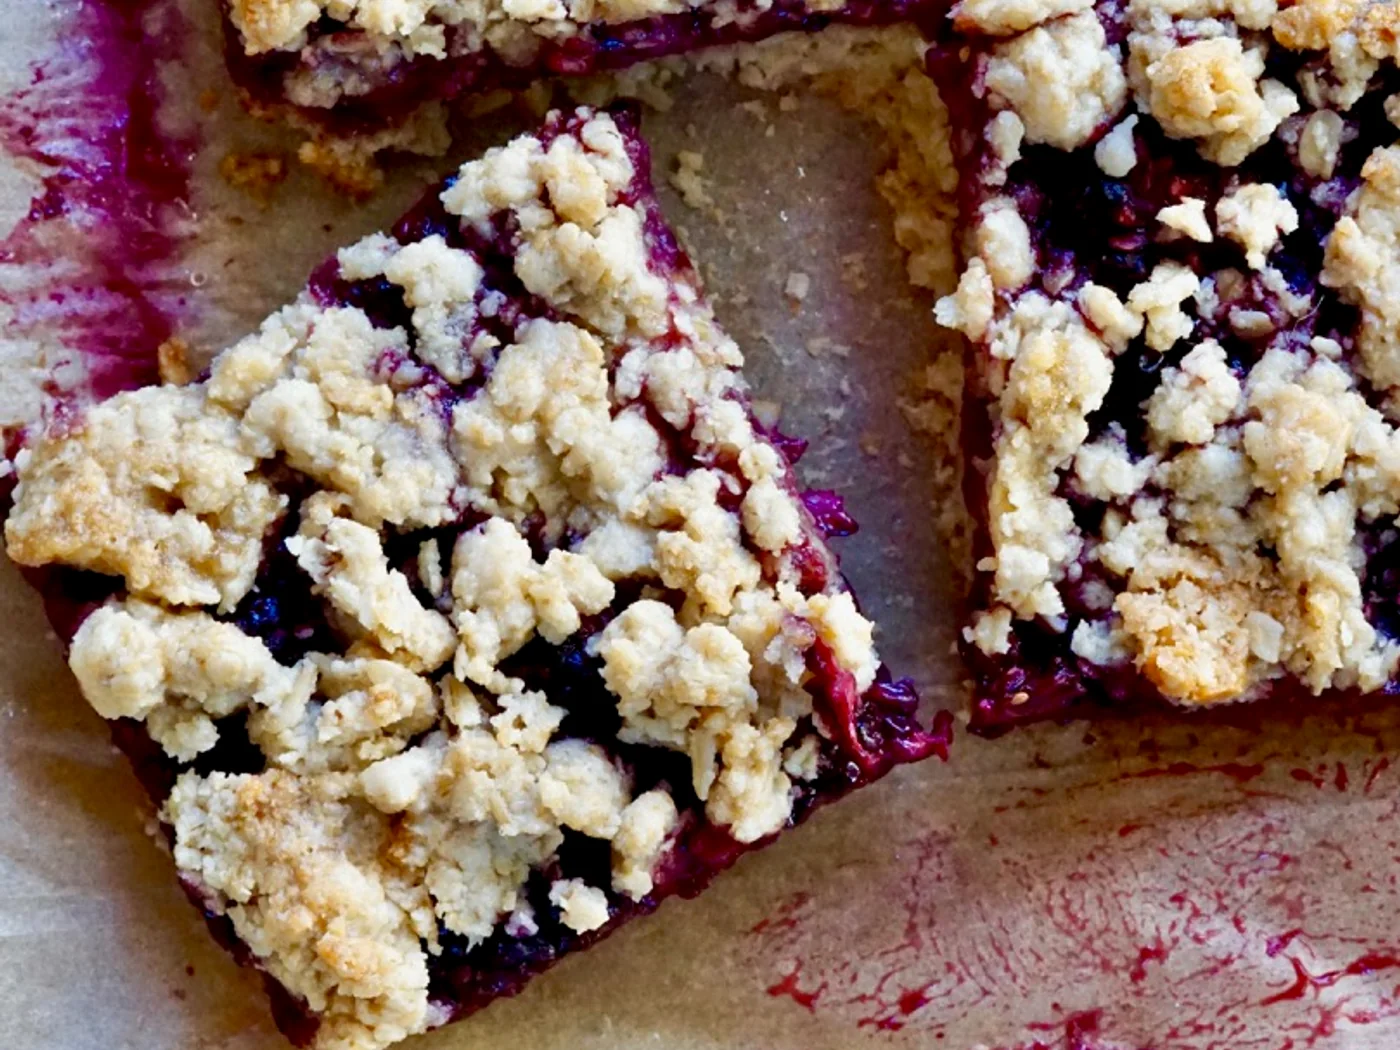
Blackberry Oat Bars (Gluten-Free)
Gluten-free, vegan-friendly blackberry oat bars that could be breakfast Monday morning. Originally posted to Foodista by user Simmer + Sauce. Foodista recipes are released under a CC-BY license.
Before you start
A quick setup makes the method easier to follow and keeps important steps from being missed.
Preparation checklist
- Read all 7 method steps from beginning to end.
- Measure and arrange all 11 listed ingredients.
- Keep the recipe open and follow each step in order; the source does not state a total time.
Useful preparation guidance
Read the complete method before starting so ingredients and equipment are ready when needed.
Measure and prepare every ingredient before applying heat or beginning time-sensitive steps.
Use the method's visual and texture cues, because cookware and heat levels can vary between kitchens.
General kitchen guidance; no recipe-specific claim has been added.Method
- 01
Preheat the oven to 350 °F. Line a 9×9-inch baking pan with parchment paper and set aside. The easiest way to do this is to cut two strips of parchment paper and criss-cross them in the pan.
- 02
In a food processor fitted with the blade attachment, add the oats, almond flour and salt. Blend well.
- 03
Add the melted coconut oil, brown sugar, honey, vanilla, cinnamon, and almond butter. Pulse to blend.
- 04
Place ⅔ of the oat mixture in the prepared baking pan. Reserve the remaining ⅓ for the crumble topping. Using your hands, press firming to form a bottom crust layer. Lightly prick the dough with a fork paring knife to prevent bubbling. Place in the oven and pre-bake for 10 minutes to set.
- 05
While the crust is baking, place the blackberries and sugar in a food processor and pulse to rough chop the berries and incorporate the sugar.
- 06
Remove the baking pan from the oven and evenly spread the blackberry filling on top. Sprinkle the remaining crumble topping on top of the blackberries. Place back in the oven and bake for an additional 25 minutes or until slightly golden.
- 07
Allow to cool completely before slicing.
Ready to serve
Serve the dish as directed and enjoy it while it is at its best.
Bon appétit — enjoy your meal!Source & licence
This recipe was adapted and reformatted from Wikibooks Cookbook . Text: CC BY-SA 4.0. Image: CC BY 3.0, credited to Simmer + Sauce; view original image record .
More from International
 International
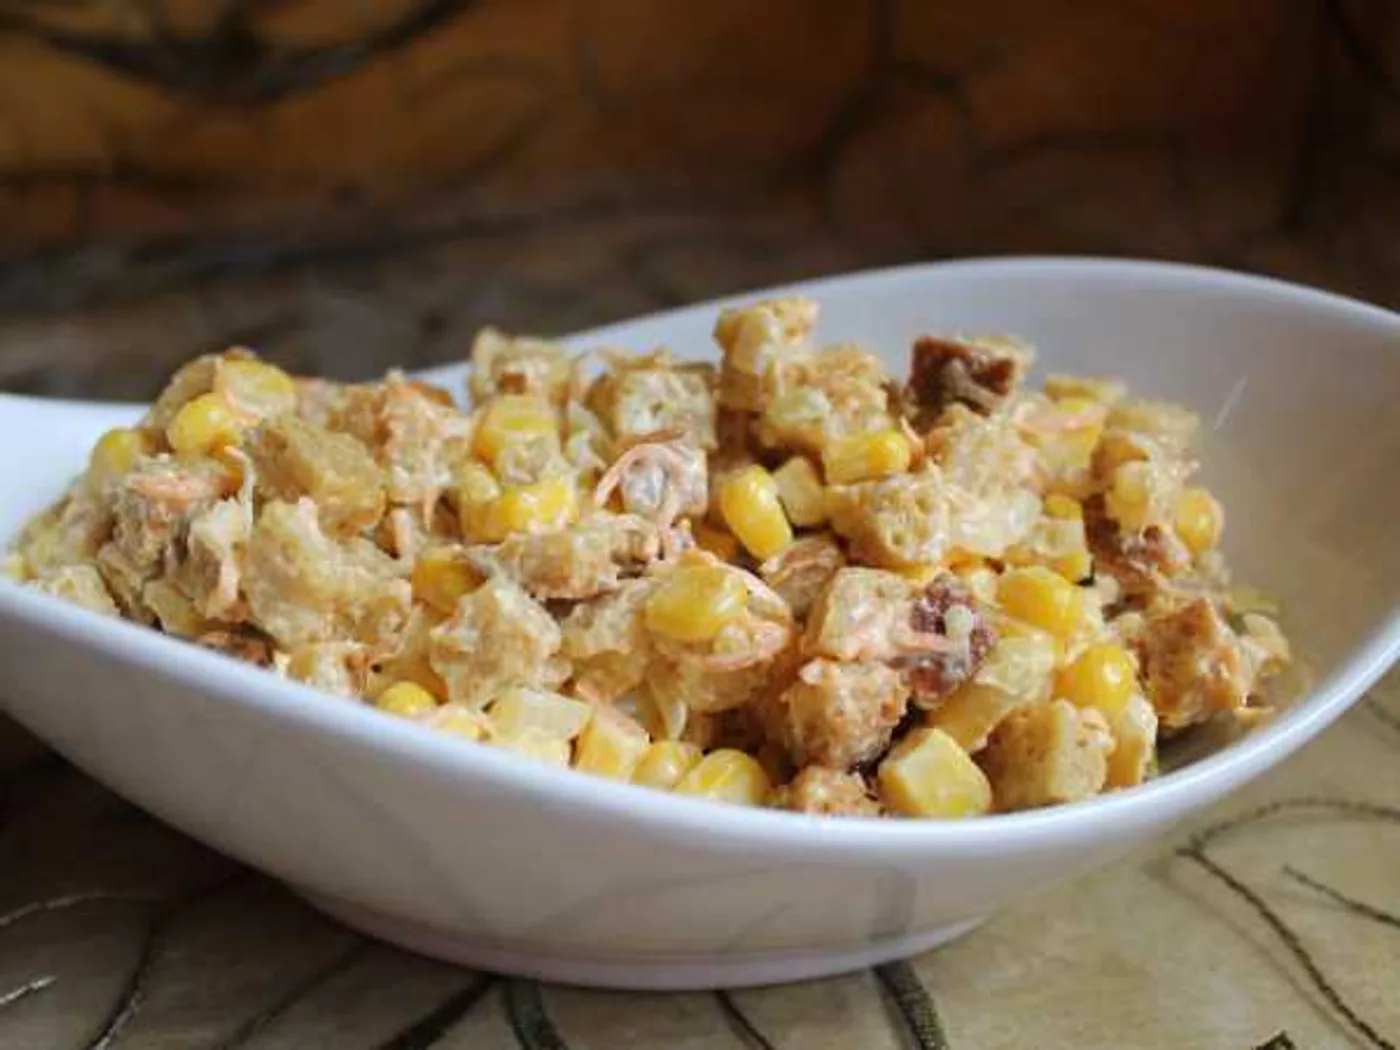
"Favourite" salad
How to prepare "Favorite Salad": Bread, Mayonnaise, Garlic and Carrots. Step-by-step recipe with a photo, 18 stages, the total time is 30 minutes.
 International
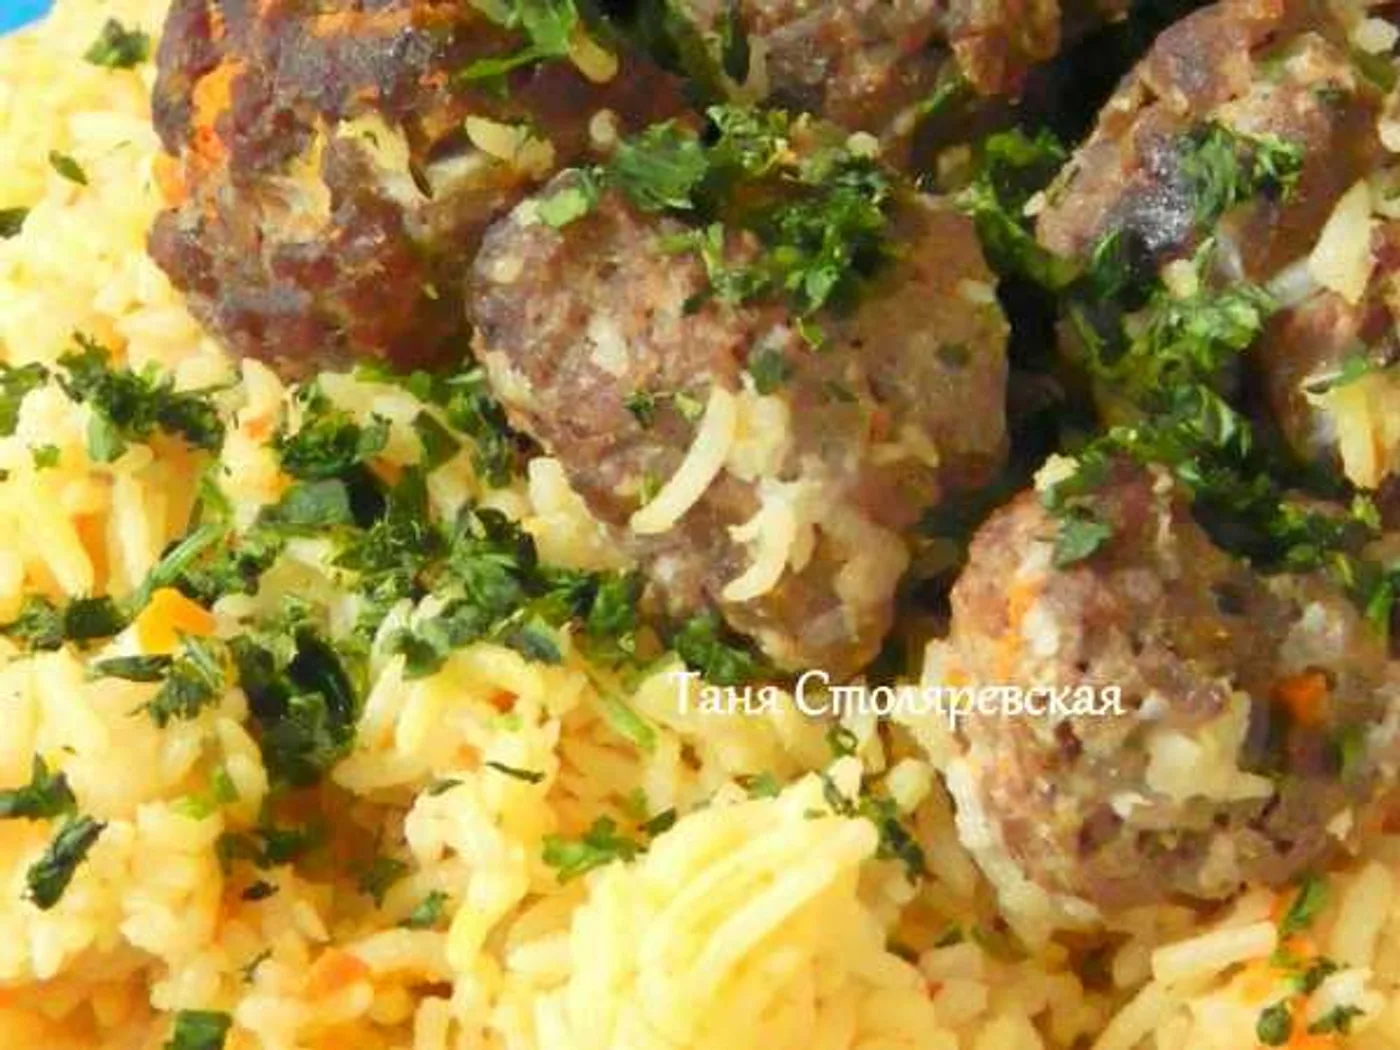
"Gelak Pilaw," pilaf with meatballs
Learn how to make "Gelak Pilaw," pilaf with meatballs with 7 ingredients and 11 clear steps.
 International
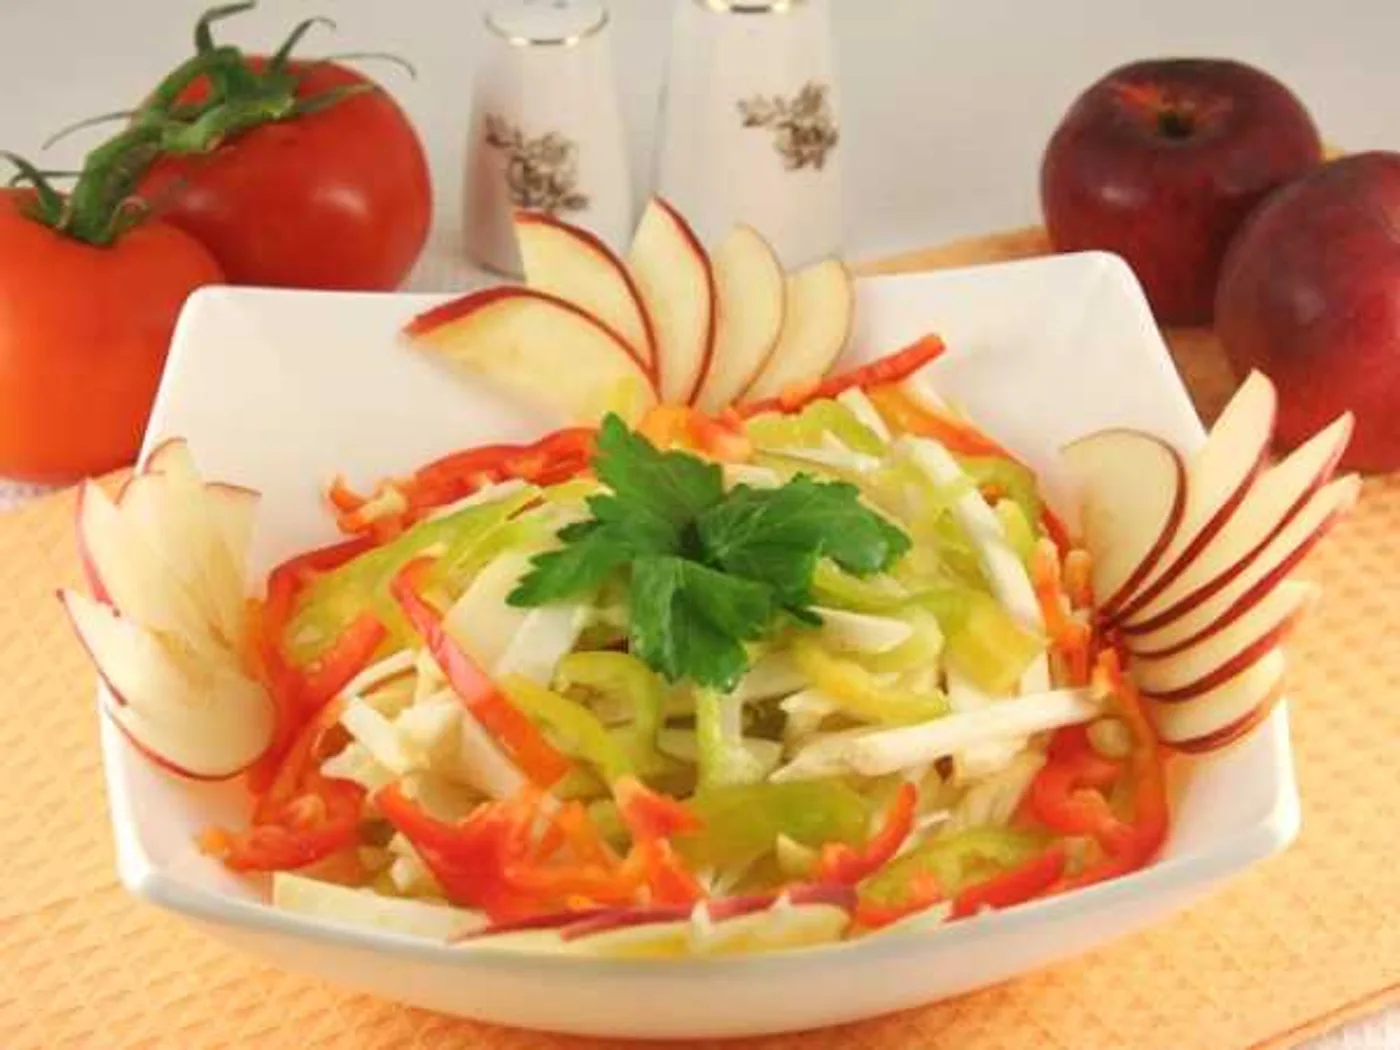
"Grace" salad
Learn how to make "Grace" salad with 7 ingredients and 8 clear steps.
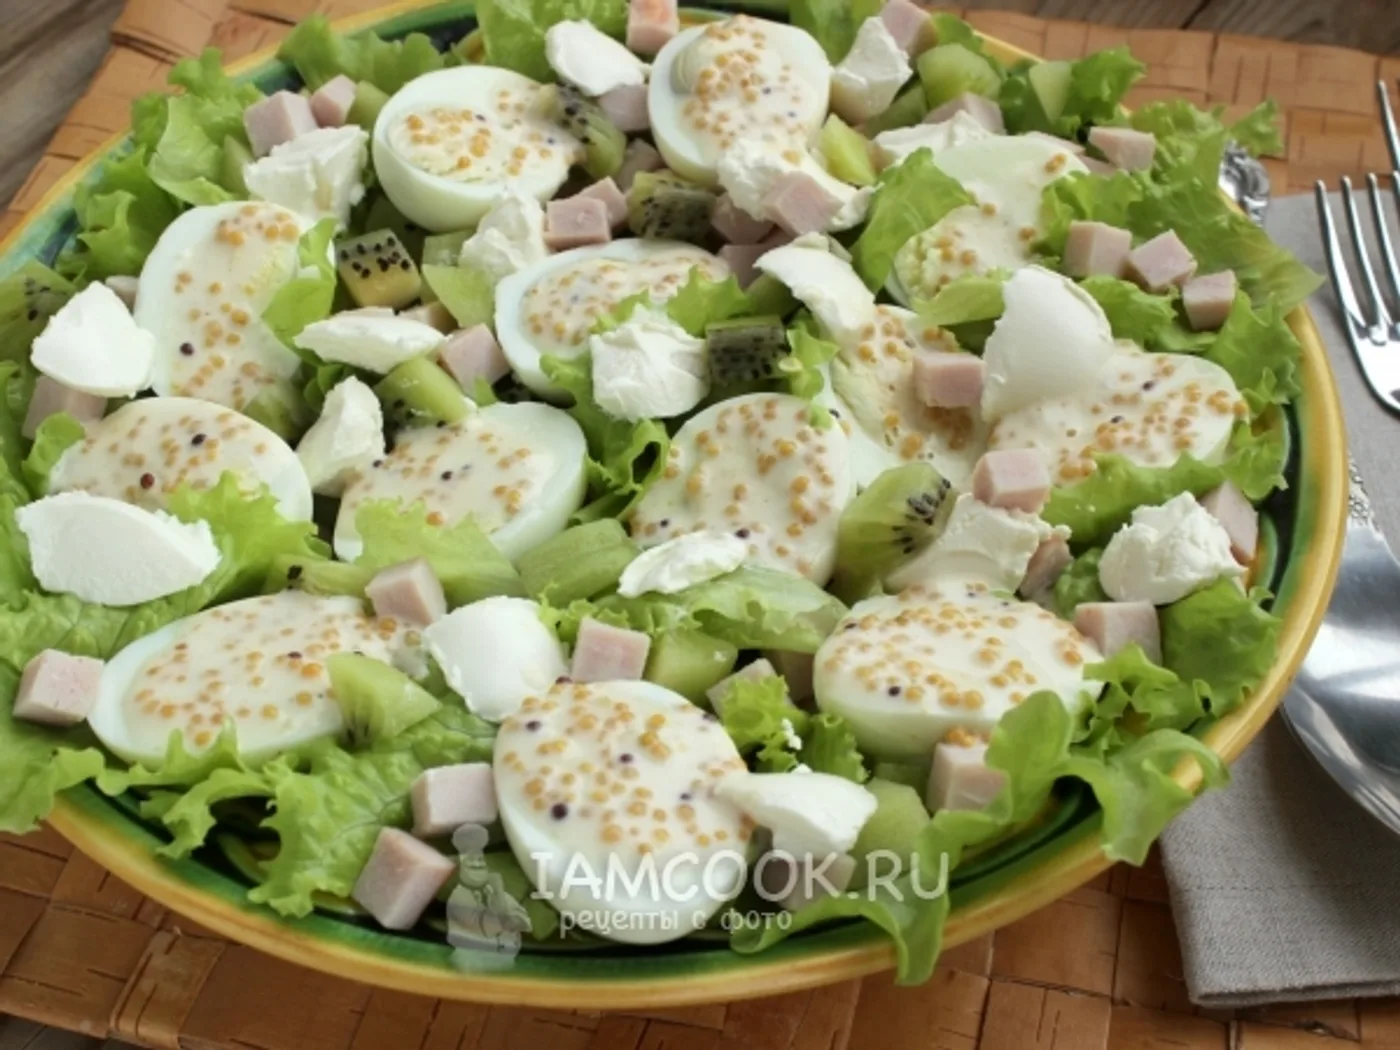 International
“Original” pork salad with kiwi and eggs
How to prepare “Original” pork salad with kiwi and eggs: Lettuce leaf, Pork in / k, Kiwi and Eggs (quail or chicken C2-C3) - 6 pieces.