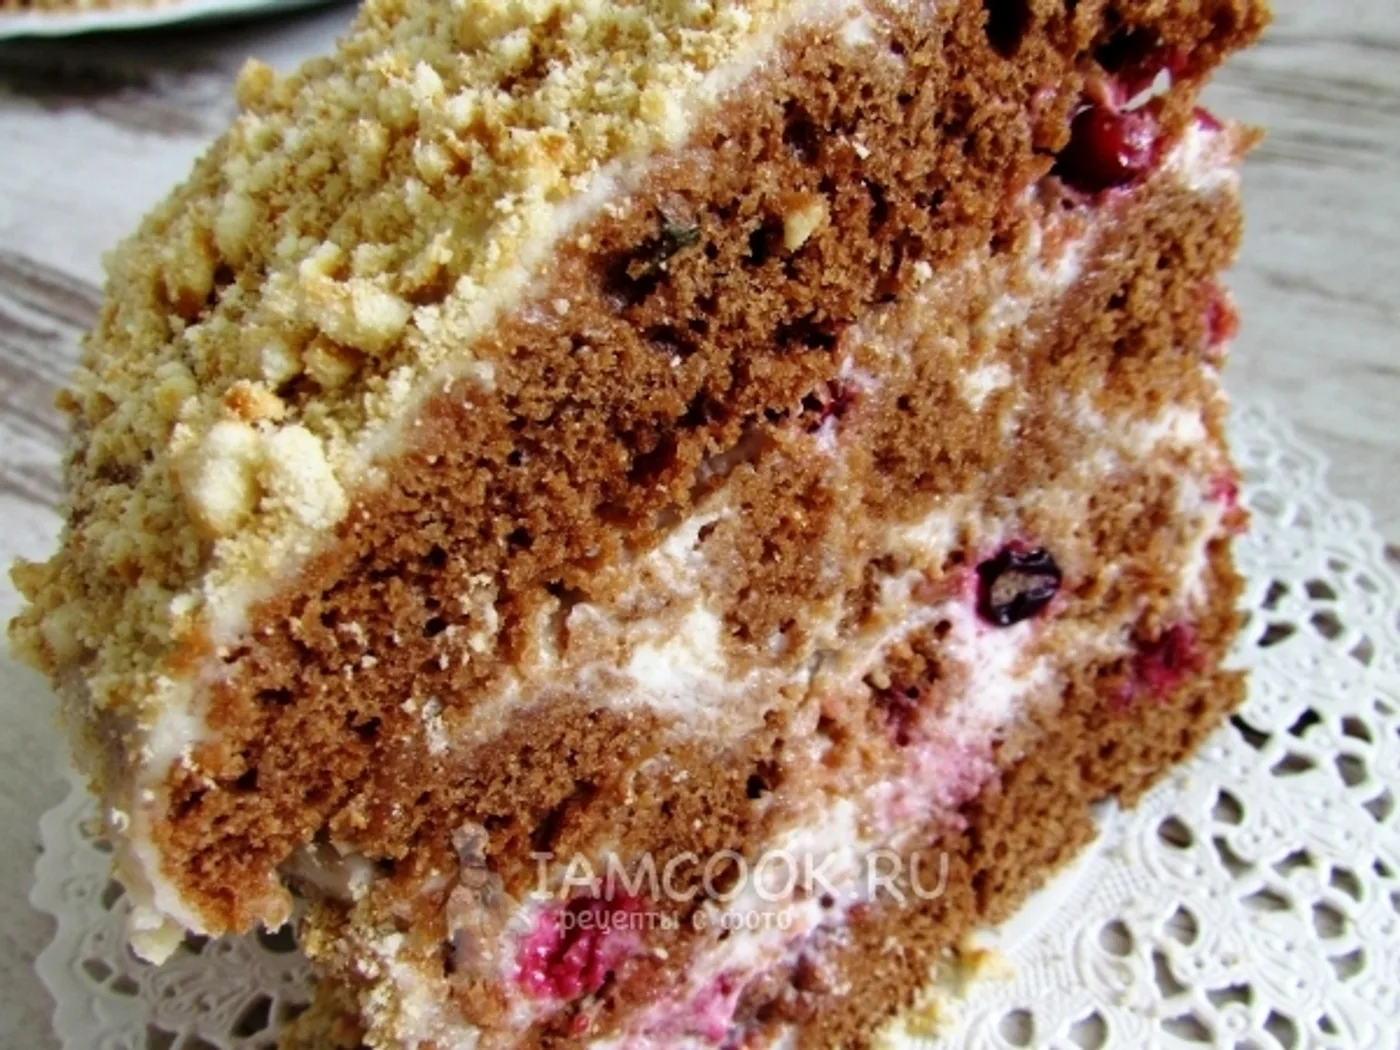
Cake with sour cream and lingonberry
Learn how to make Cake with sour cream and lingonberry with 12 ingredients and 17 clear steps.
Before you start
A quick setup makes the method easier to follow and keeps important steps from being missed.
Preparation checklist
- Read all 16 method steps from beginning to end.
- Measure and arrange all 12 listed ingredients.
- Set aside about 120 minutes, based on the time recorded by the source.
Recipe notes & preparation tips
Read the full method before you begin and prepare all ingredients in advance.
Taste near the end of cooking and adjust the seasoning before serving.
Adapted from the source recipe's notes.Method
- 01
Soften butter rub it with sugar into a lush mass.
- 02
Kick the balls. Stir it up.
- 03
Add sour cream and beat with a mixer at low speed.
- 04
Separately mix cocoa, baking powder and flour. Sifter.
- 05
Combine the dry and liquid ingredients. Stir it well.
- 06
Divide the test into two equal parts. The bottom of the form for baking is covered with parchment, the sides of the form are lubricated with butter. Put in the form half the dough and bake the cake at a temperature of 180 degrees ~ 15-20 minutes. Check the readiness of the crust with a wooden sword - the dough should not stick to it.
- 07
While the cake is baked, prepare the cream. Beat the sour cream with sugar until the sugar is completely dissolved.
- 08
The finished cake cool on the grille, cut along into 2 equal parts.
- 09
Bake a second crust, cool and cut into small cubes.
- 10
Drink every cube in cream.
- 11
Collect the cake: on a flat dish, put one whole cake, lubricate it with cream.
- 12
Put on cream-lubricated cake half washed and dried lingonberries.
- 13
Then a layer of cream-soaked dough cubes and the remaining half of the berries.
- 14
Cover with a second whole crust, soak in cream. The top and sides of the cake decorate with crushed cookies and nuts.
- 15
Leave the cake for 1 hour at room temperature, then put it in the fridge overnight.
- 16
Have a nice tea party!
Ready to serve
Serve the dish as directed and enjoy it while it is at its best.
Bon appétit — enjoy your meal!Source & licence
This recipe was adapted and reformatted from Osiyo.ru / Аймкук . Text: Used with permission. Image: Used with permission, credited to Ната Киселева; view original image record .
More from International
 International
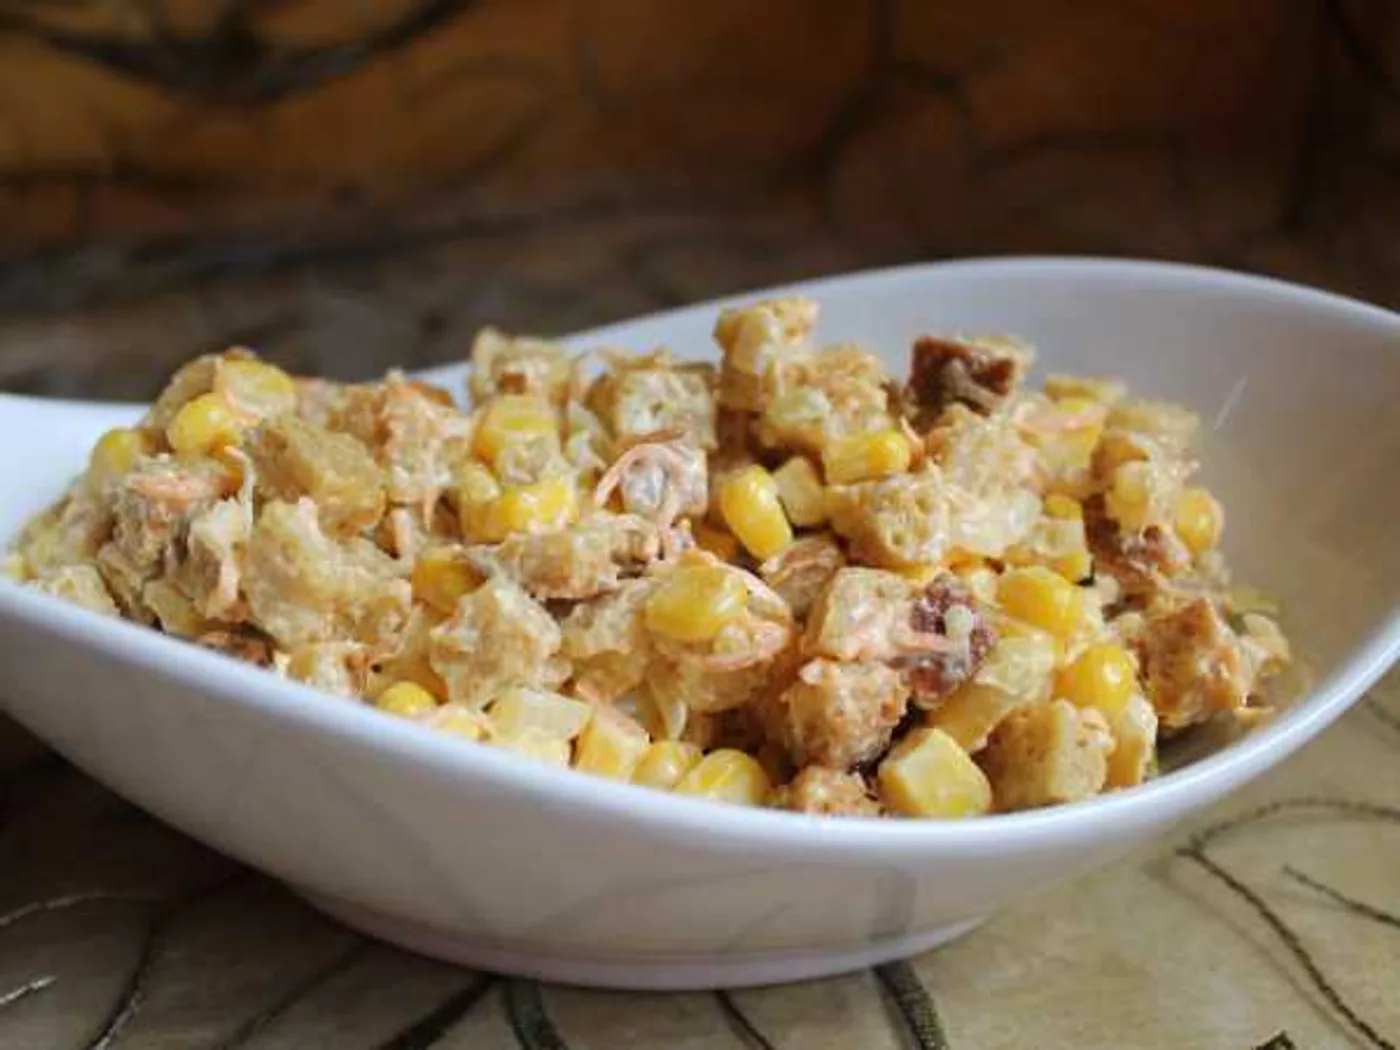
"Favourite" salad
How to prepare "Favorite Salad": Bread, Mayonnaise, Garlic and Carrots. Step-by-step recipe with a photo, 18 stages, the total time is 30 minutes.
 International
"Gelak Pilaw," pilaf with meatballs
Learn how to make "Gelak Pilaw," pilaf with meatballs with 7 ingredients and 11 clear steps.
 International
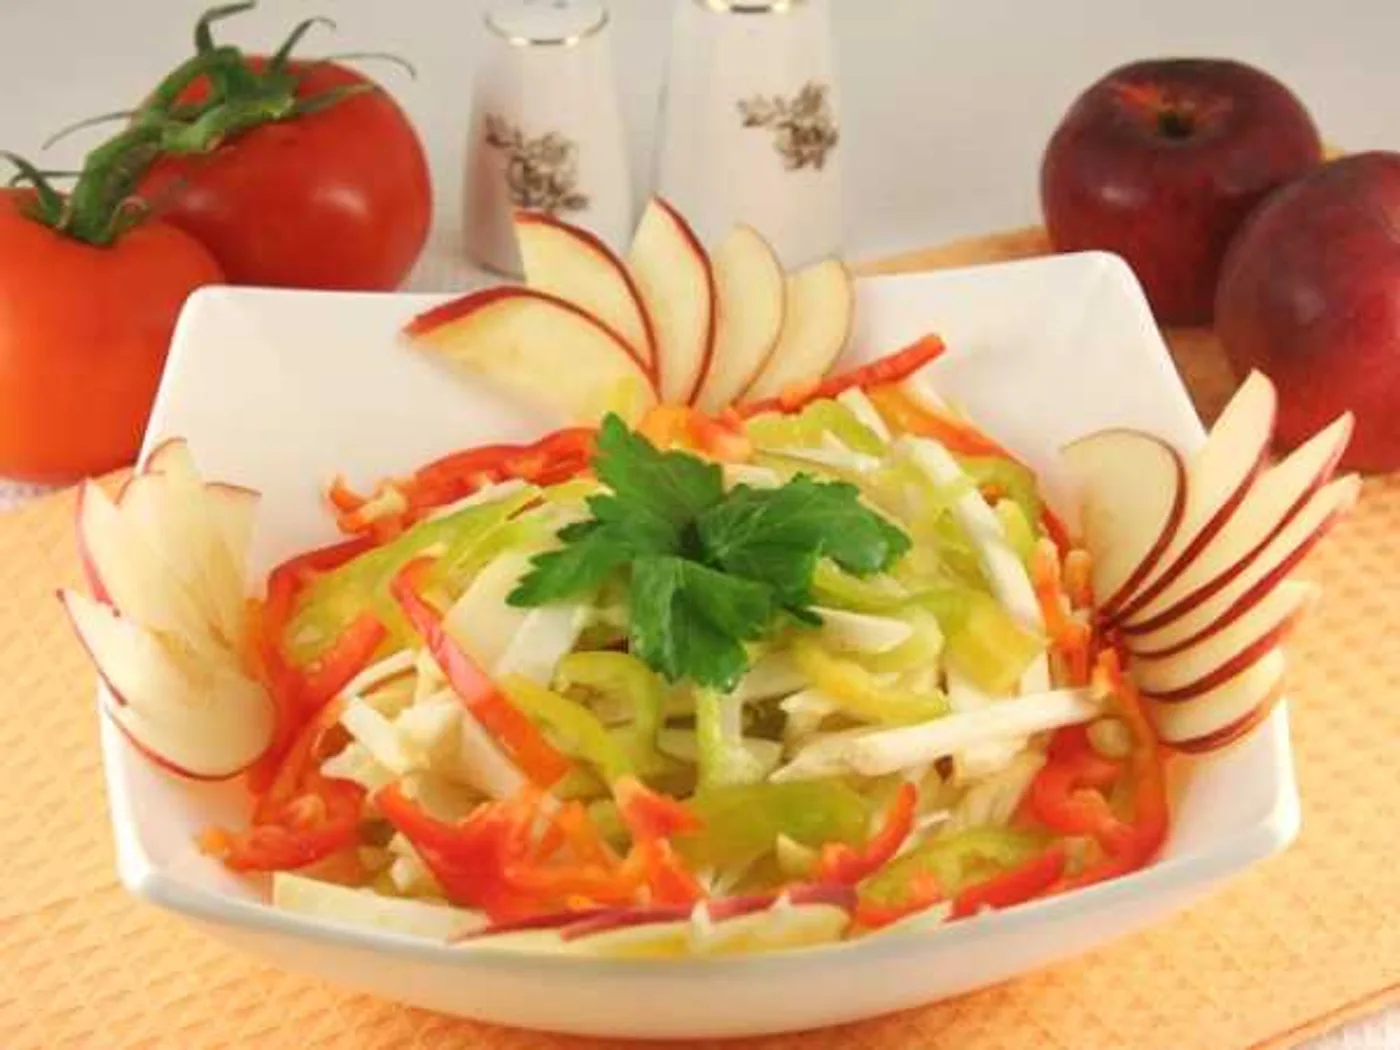
"Grace" salad
Learn how to make "Grace" salad with 7 ingredients and 8 clear steps.
 International
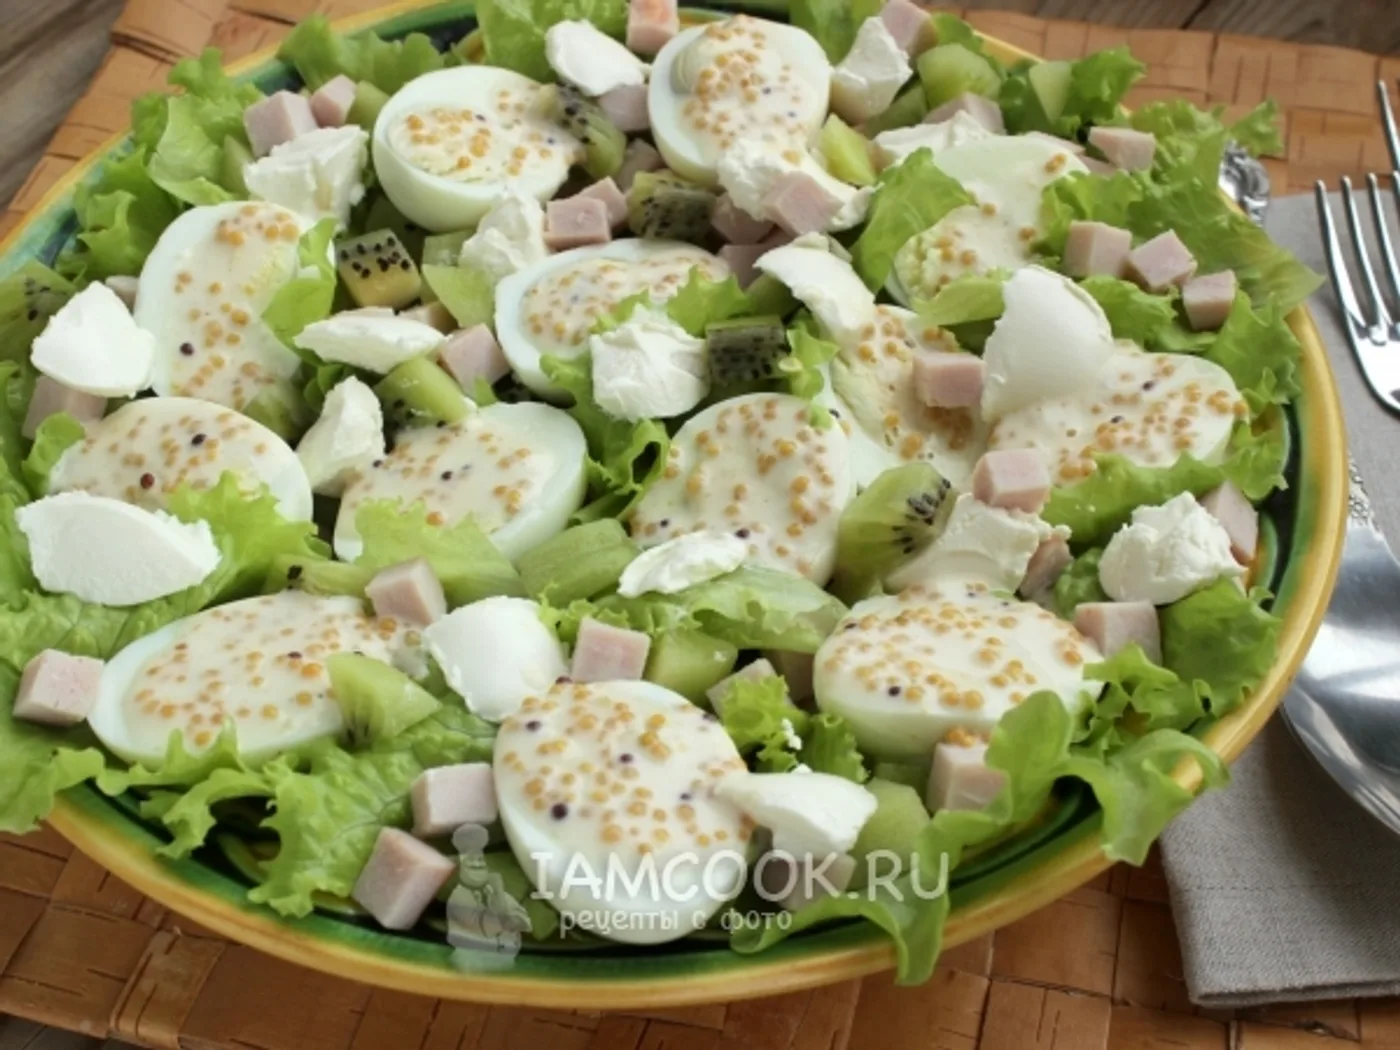
“Original” pork salad with kiwi and eggs
How to prepare “Original” pork salad with kiwi and eggs: Lettuce leaf, Pork in / k, Kiwi and Eggs (quail or chicken C2-C3) - 6 pieces.