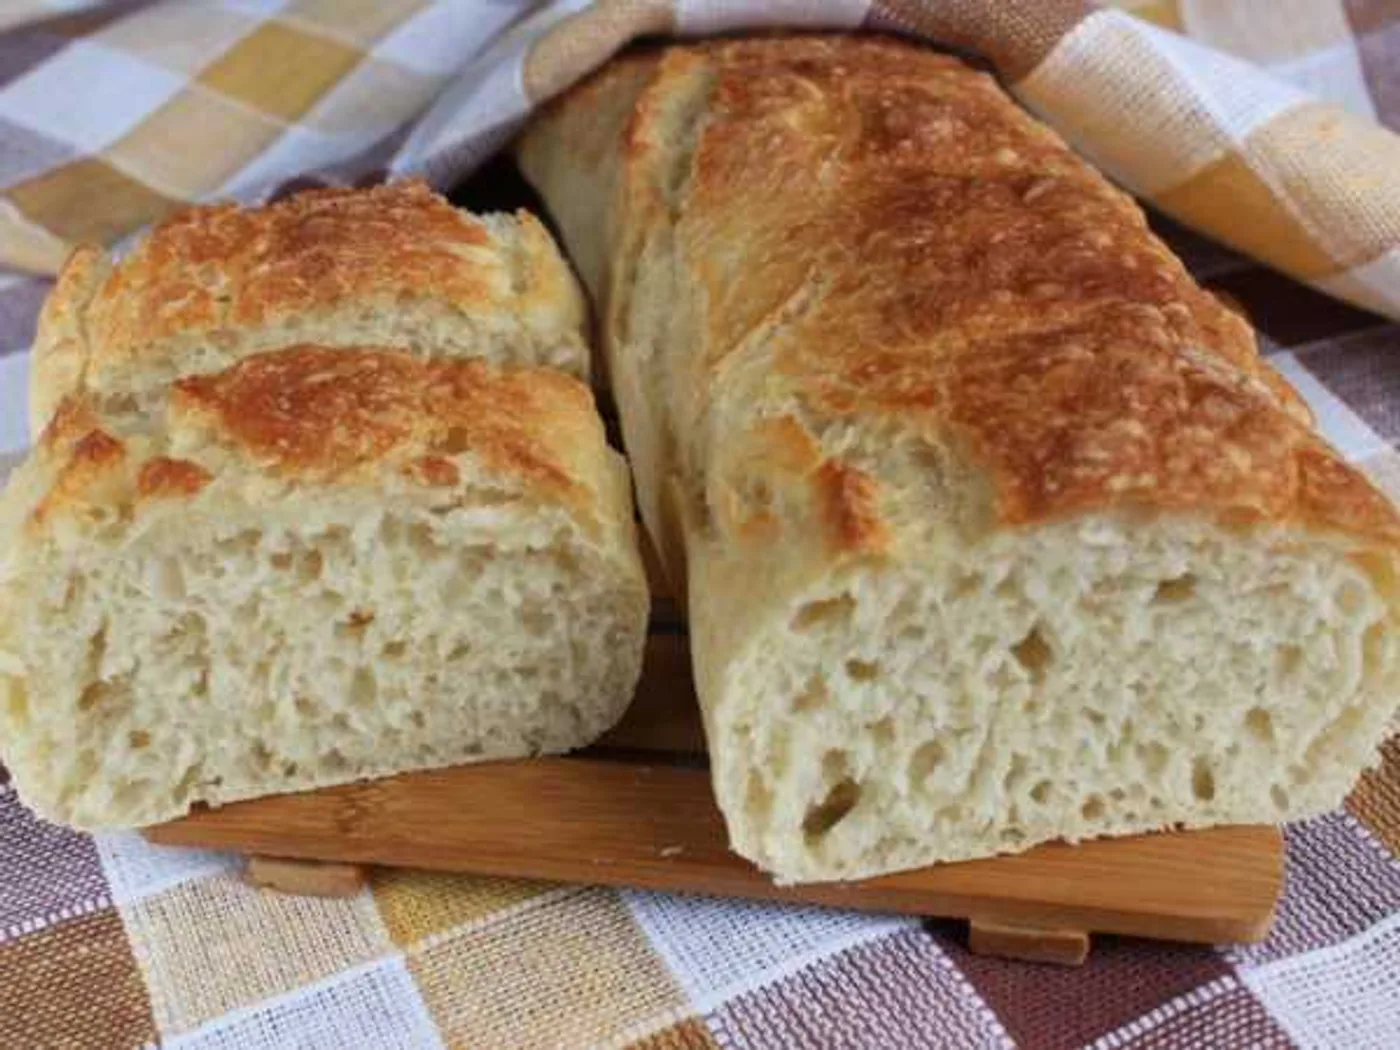
Chiabatta (quick recipe)
Learn how to make Chiabatta (quick recipe) with 4 ingredients and 10 clear steps.
Before you start
A quick setup makes the method easier to follow and keeps important steps from being missed.
Preparation checklist
- Read all 10 method steps from beginning to end.
- Measure and arrange all 4 listed ingredients.
- Set aside about 90 minutes, based on the time recorded by the source.
Recipe notes & preparation tips
Read the full method before you begin and prepare all ingredients in advance.
Taste near the end of cooking and adjust the seasoning before serving.
Adapted from the source recipe's notes.Method
- 01
Classic Chiabatta has been preparing for a long time. But you can cook this porous with a crispy bread quickly.
- 02
Editorial Note: For those who don’t know, ciabatta is an Italian bread that, in its traditional version, consists of flour and yeast. Its distinctive feature is a crispy crust and pulp with large pores.
- 03
Prepare flour, water or mineral water (with gas), fast-rising dry yeast and salt.
- 04
Pour warm water or mineral water into the bowl, sift through the flour, add salt and yeast.
- 05
Stir the yeast in the flour and then stir everything with a spatula. Not with your hands, because the dough is sticky and kneading it with your hands is unrealistic.
- 06
Stir the dough until it becomes uniform and begins to gather in a lush soft lump.
- 07
Then, transfer the dough immediately into the mold or on the surface on which you will then bake, for example, on a silicone mat. Form chiabatta, cover the dough from drying.
- 08
Within about an hour, the dough will rise and bubbles will be visible inside. The dough will not be transferred anywhere and, therefore, all the bubbles and lushness will remain.
- 09
Put some water in the oven and warm the oven to 220 degrees. Bake chiabatta for about 20-25 minutes. Ready chiabatta let cool on a grille or wooden plank.
- 10
Citatta's ready. Next, options are possible: fillings for sandwiches, sauces, etc.
Ready to serve
Serve the dish as directed and enjoy it while it is at its best.
Bon appétit — enjoy your meal!Source & licence
This recipe was adapted and reformatted from Osiyo.ru / Аймкук . Text: Used with permission. Image: Used with permission, credited to Нина Минина-Р; view original image record .
More from International
 International
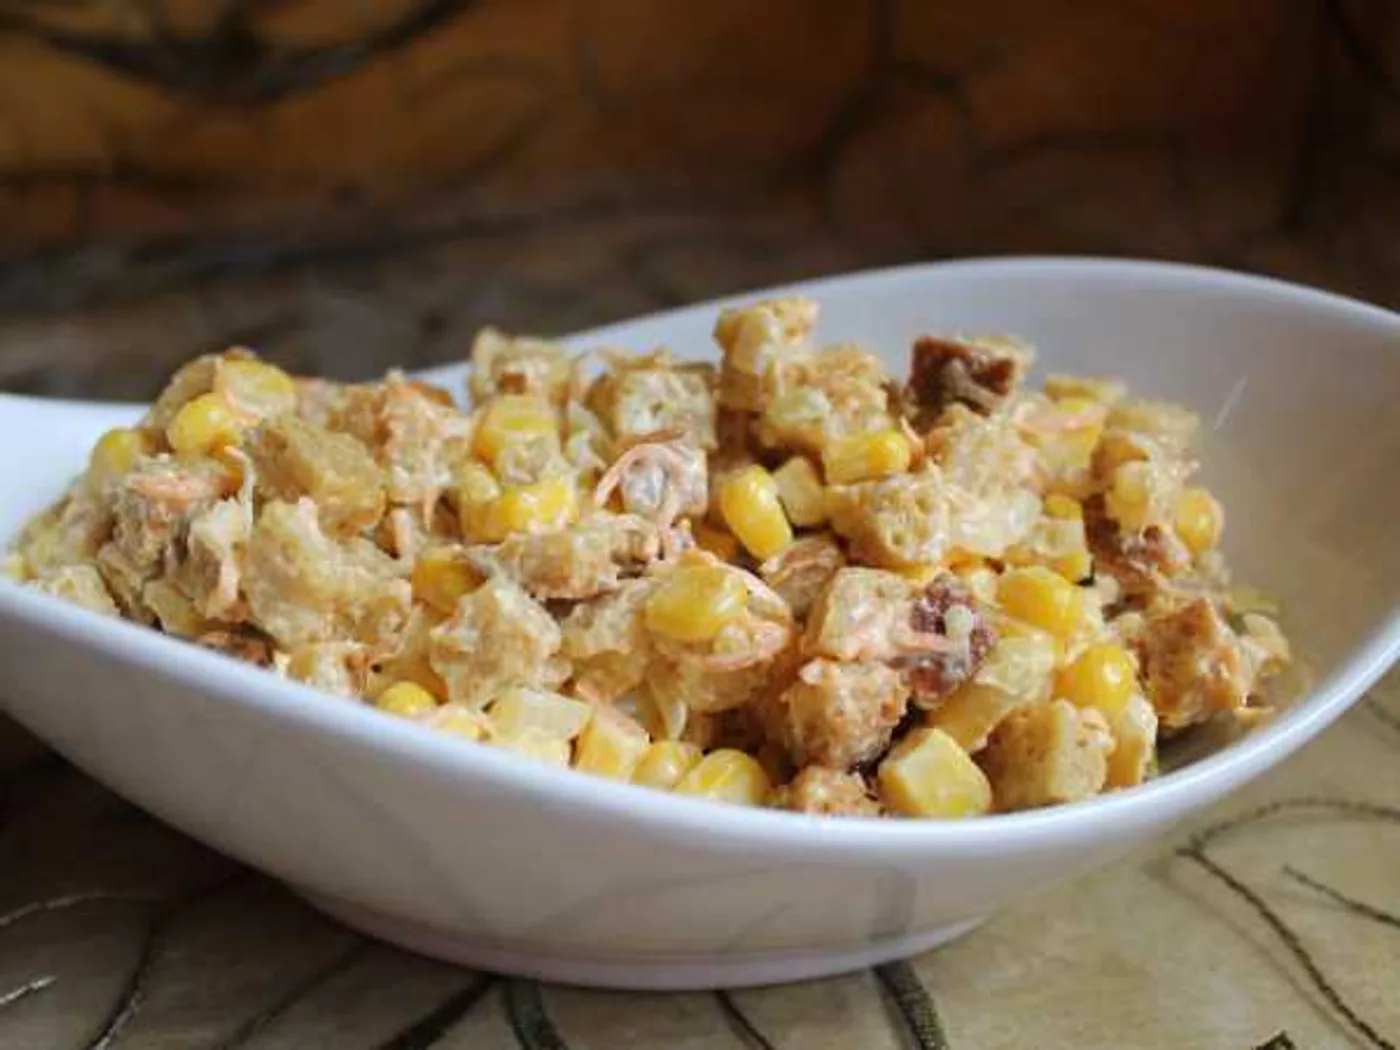
"Favourite" salad
How to prepare "Favorite Salad": Bread, Mayonnaise, Garlic and Carrots. Step-by-step recipe with a photo, 18 stages, the total time is 30 minutes.
 International
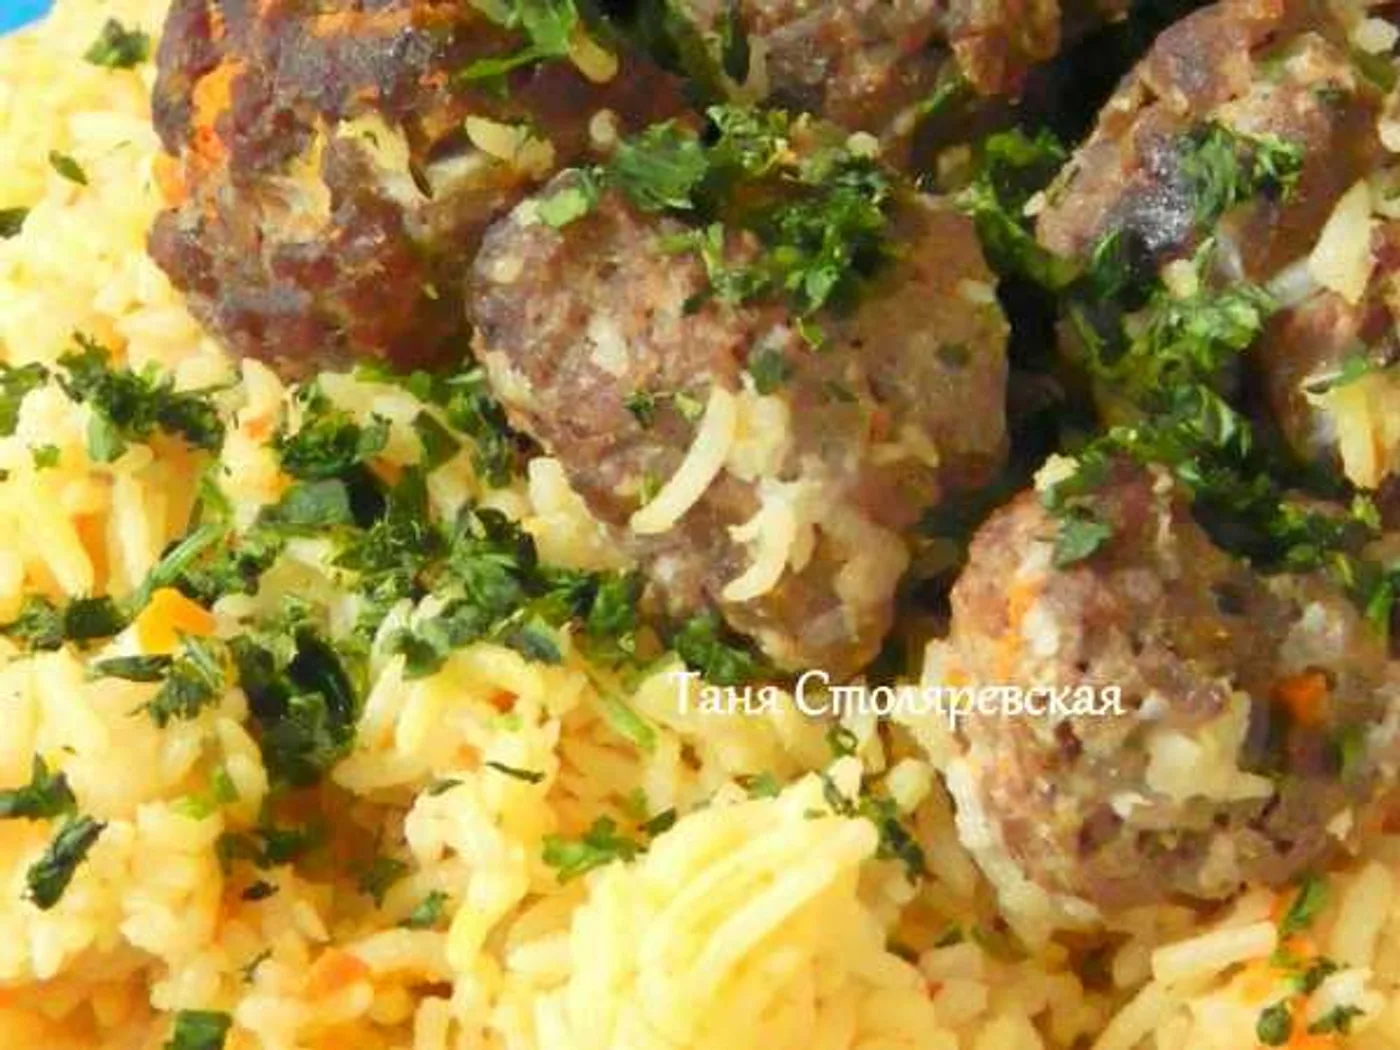
"Gelak Pilaw," pilaf with meatballs
Learn how to make "Gelak Pilaw," pilaf with meatballs with 7 ingredients and 11 clear steps.
 International
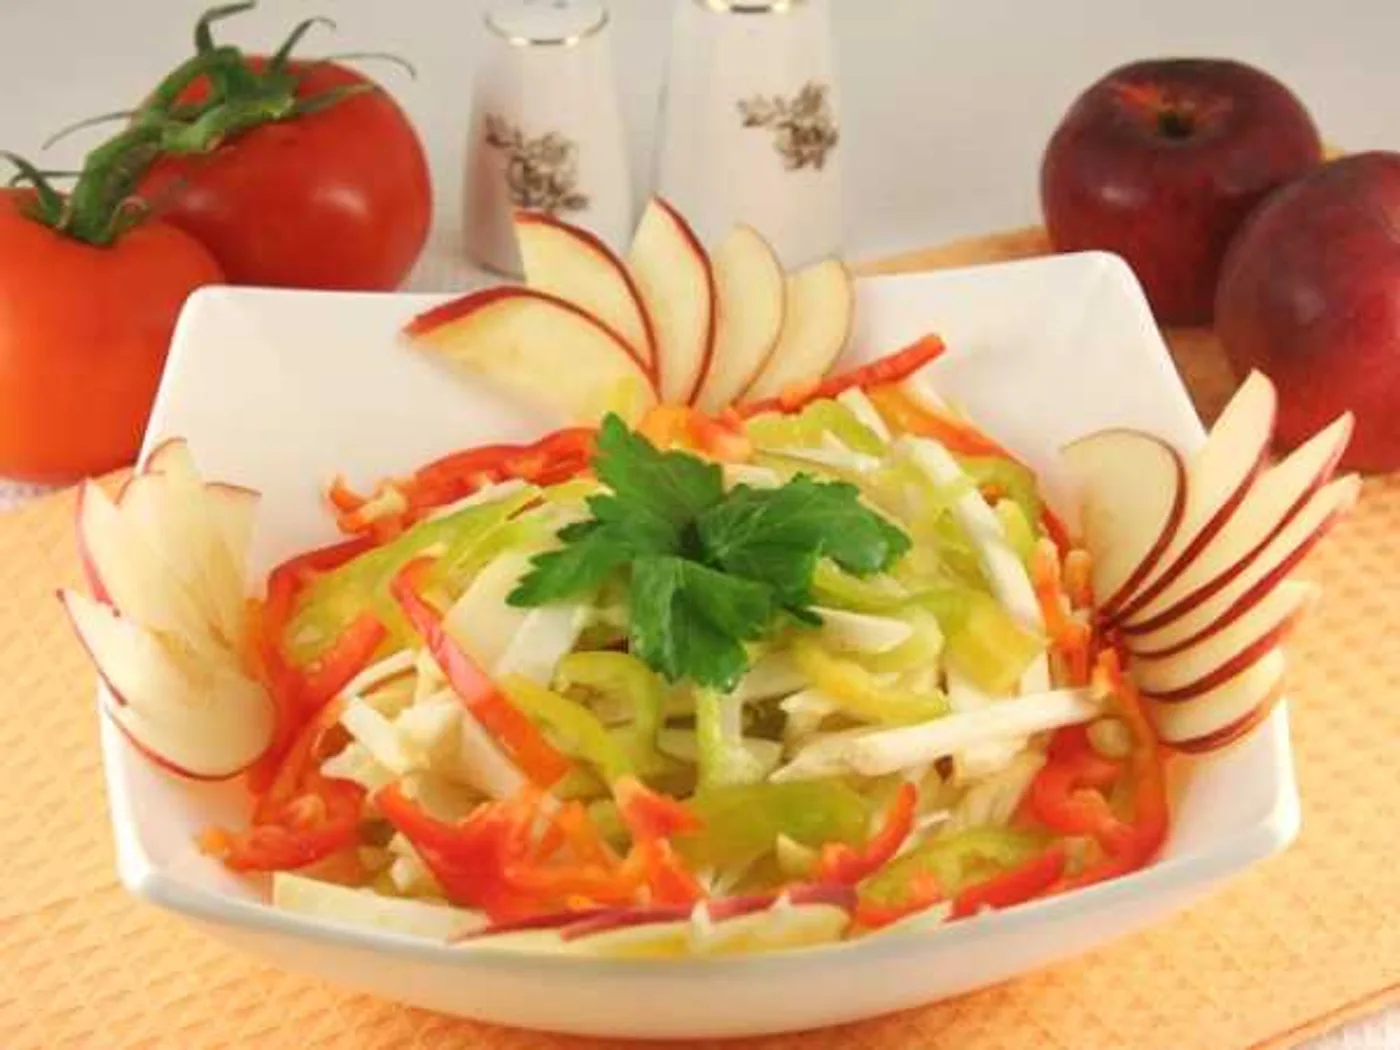
"Grace" salad
Learn how to make "Grace" salad with 7 ingredients and 8 clear steps.
 International
“Original” pork salad with kiwi and eggs
How to prepare “Original” pork salad with kiwi and eggs: Lettuce leaf, Pork in / k, Kiwi and Eggs (quail or chicken C2-C3) - 6 pieces.