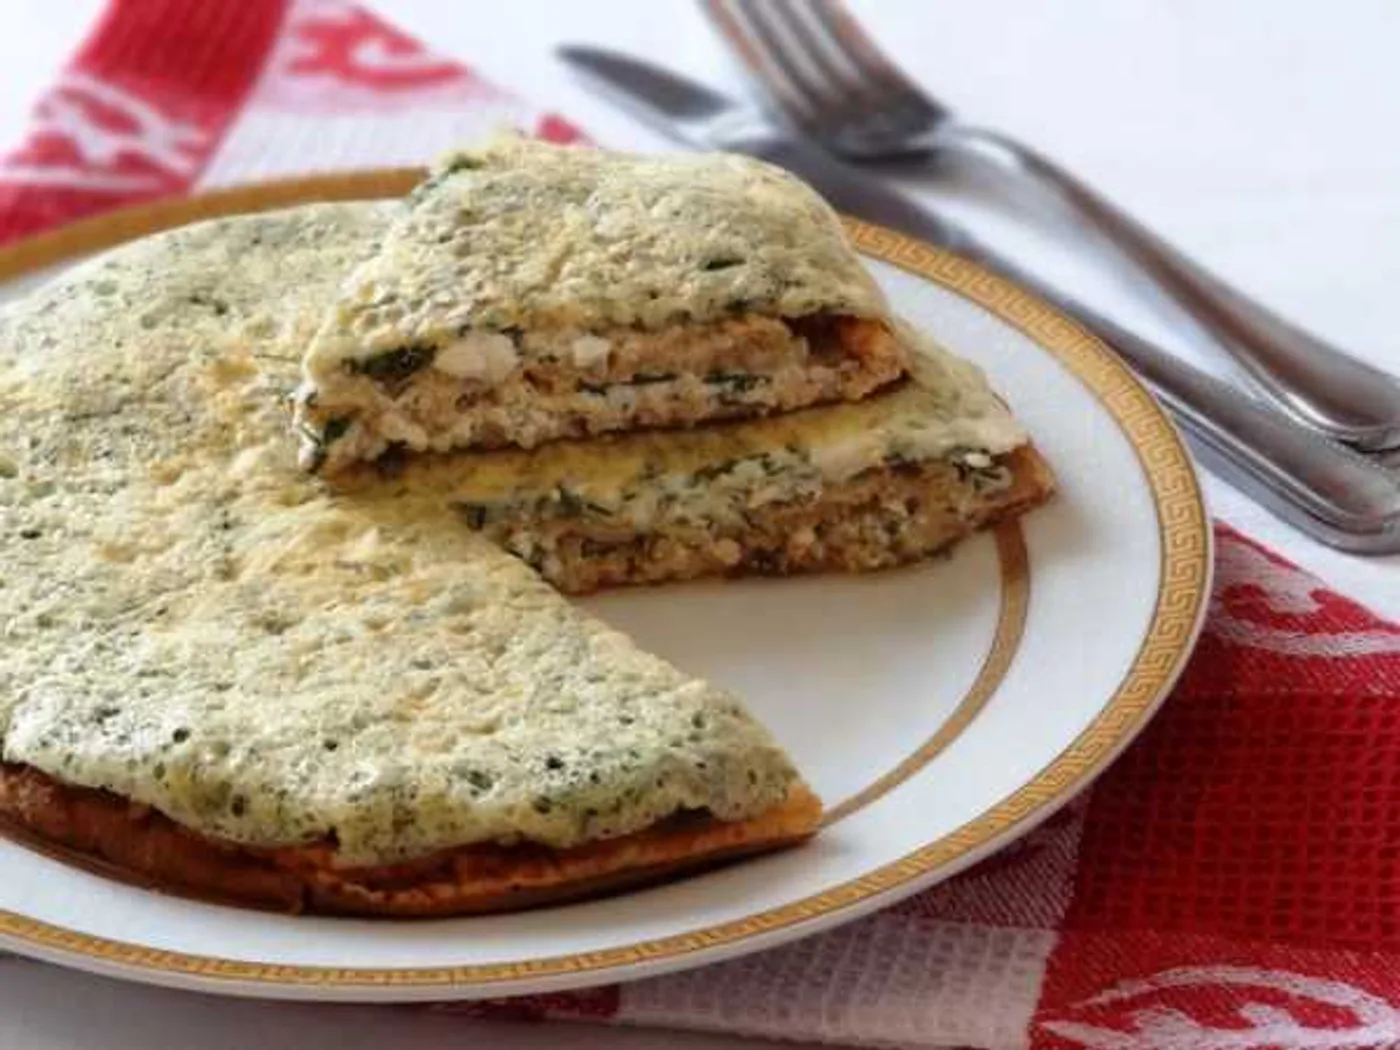
Egg snack cake
How to prepare "Egg snack cake": eggs, ketchup, soy sauce and chopped greens. Step-by-step recipe with a photo, 19 stages, the total time is 20 minutes.
Before you start
A quick setup makes the method easier to follow and keeps important steps from being missed.
Preparation checklist
- Read all 14 method steps from beginning to end.
- Measure and arrange all 11 listed ingredients.
- Set aside about 20 minutes, based on the time recorded by the source.
Recipe notes & preparation tips
Read the full method before you begin and prepare all ingredients in advance.
Taste near the end of cooking and adjust the seasoning before serving.
Adapted from the source recipe's notes.Method
- 01
Very light and gentle cake based on an omelet. The sauce for skipping "crusts" can be replaced with any cheese cheese or, as an option, you can mix grated cheese with mayonnaise.
- 02
1. Essential foods: chicken eggs, ketchup, soy sauce, greens (I have frozen dill), salt, sunflower oil, mayonnaise, cottage cheese, garlic, black ground pepper.
- 03
2. Prepare the filling: mix to homogeneity mayonnaise, cottage cheese, greens, garlic, pepper.
- 04
3. One carcass will need 3 eggs. For the first crust, we combine ketchup and 3 eggs. It's delicious.
- 05
4. The mixture is well whipped.
- 06
5. Pour the egg mixture into a heated pan. We roast on medium heat under the lid. You don't have to roast too much. The top of the crust should be a good grip.
- 07
6. The finished omelet is removed carefully with a spatula and missed with half the sauce.
- 08
7. For the second crust, mix 3 eggs and soy sauce.
- 09
8. Roasting the omelet.
- 10
9. We lay out the "corge" and miss the remaining sauce.
- 11
10. Mix 3 eggs and greens. It's delicious.
- 12
11. We pour the mixture into the pan and roast it under the lid.
- 13
12. We're putting it on top of the previous crusts.
- 14
13. Let us cool down and soak up a little and serve to the table.
Ready to serve
Serve the dish as directed and enjoy it while it is at its best.
Bon appétit — enjoy your meal!Source & licence
This recipe was adapted and reformatted from Osiyo.ru / Аймкук . Text: Used with permission. Image: Used with permission, credited to Юлия; view original image record .
More from International
 International
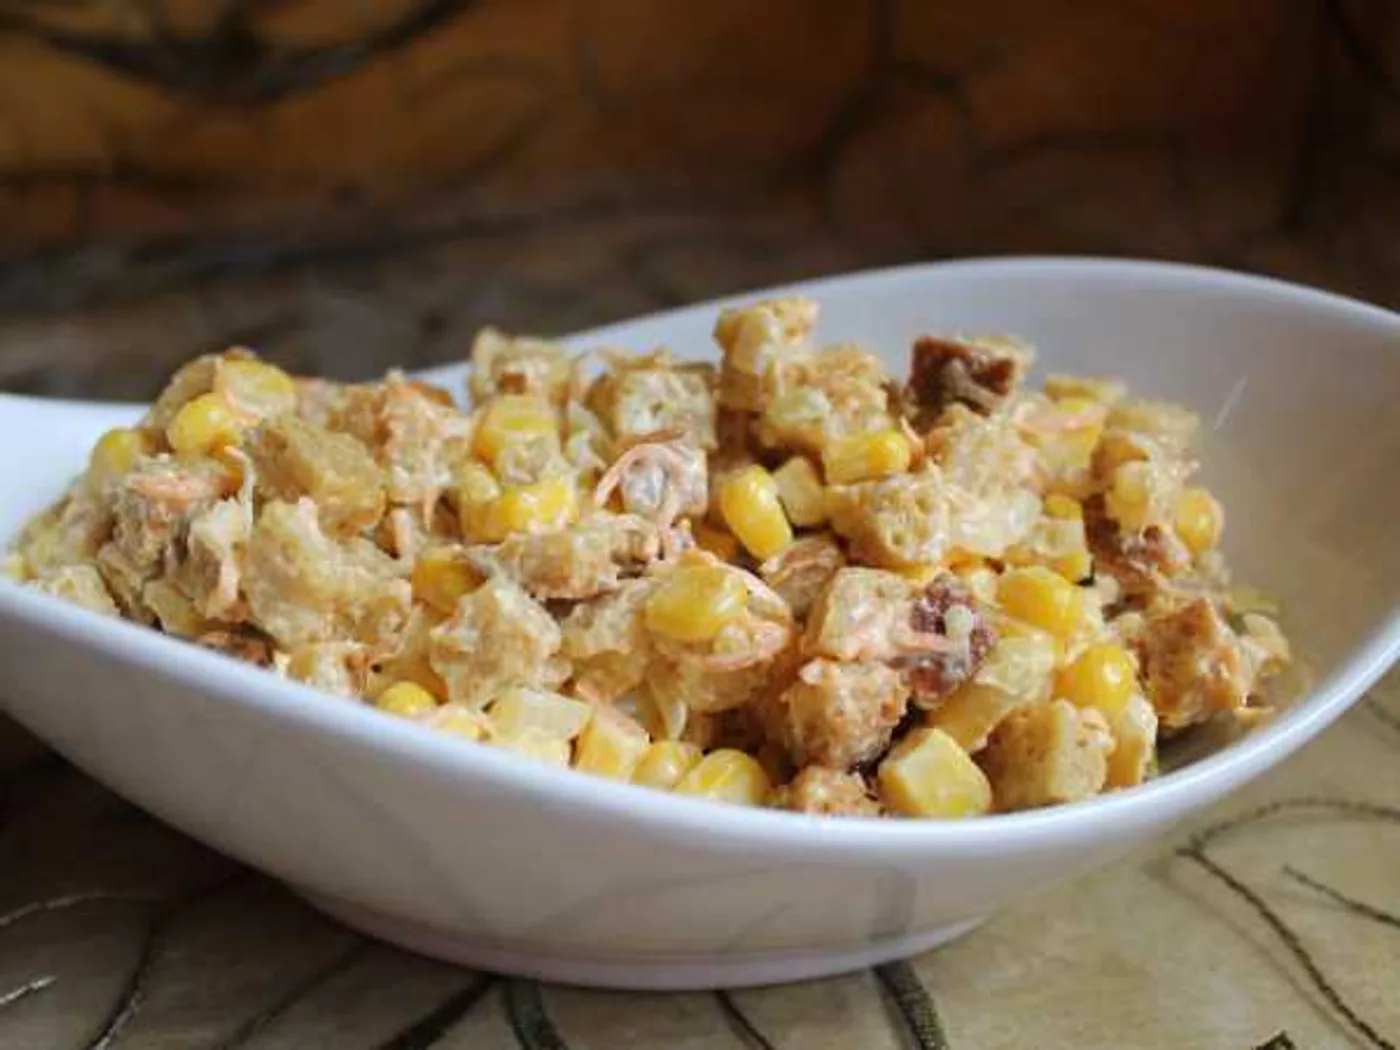
"Favourite" salad
How to prepare "Favorite Salad": Bread, Mayonnaise, Garlic and Carrots. Step-by-step recipe with a photo, 18 stages, the total time is 30 minutes.
 International
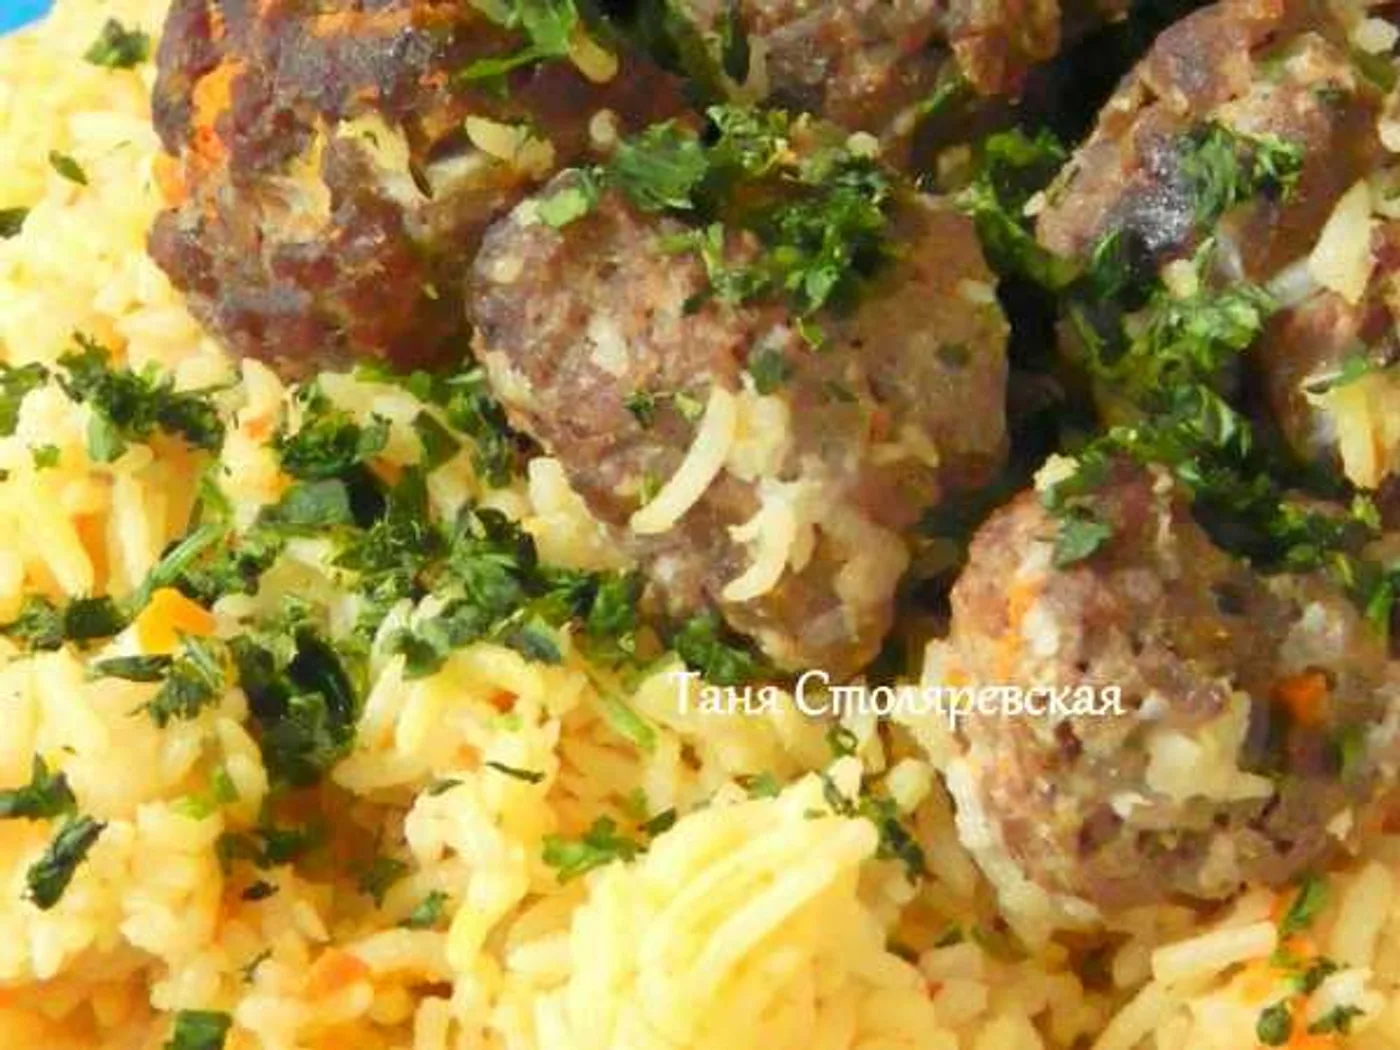
"Gelak Pilaw," pilaf with meatballs
Learn how to make "Gelak Pilaw," pilaf with meatballs with 7 ingredients and 11 clear steps.
 International
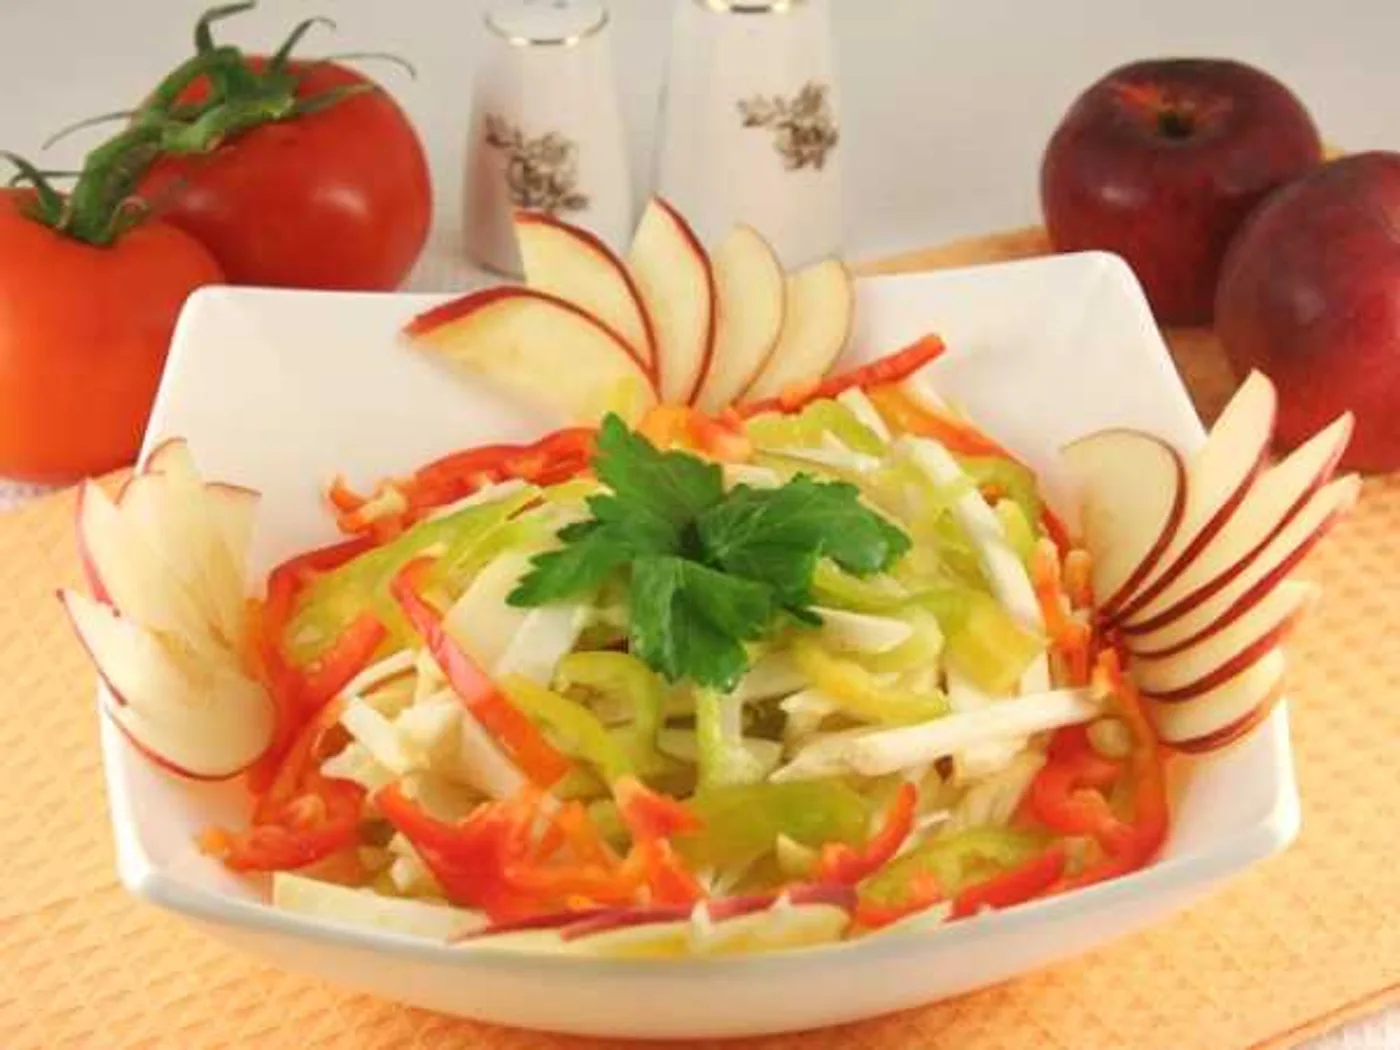
"Grace" salad
Learn how to make "Grace" salad with 7 ingredients and 8 clear steps.
 International
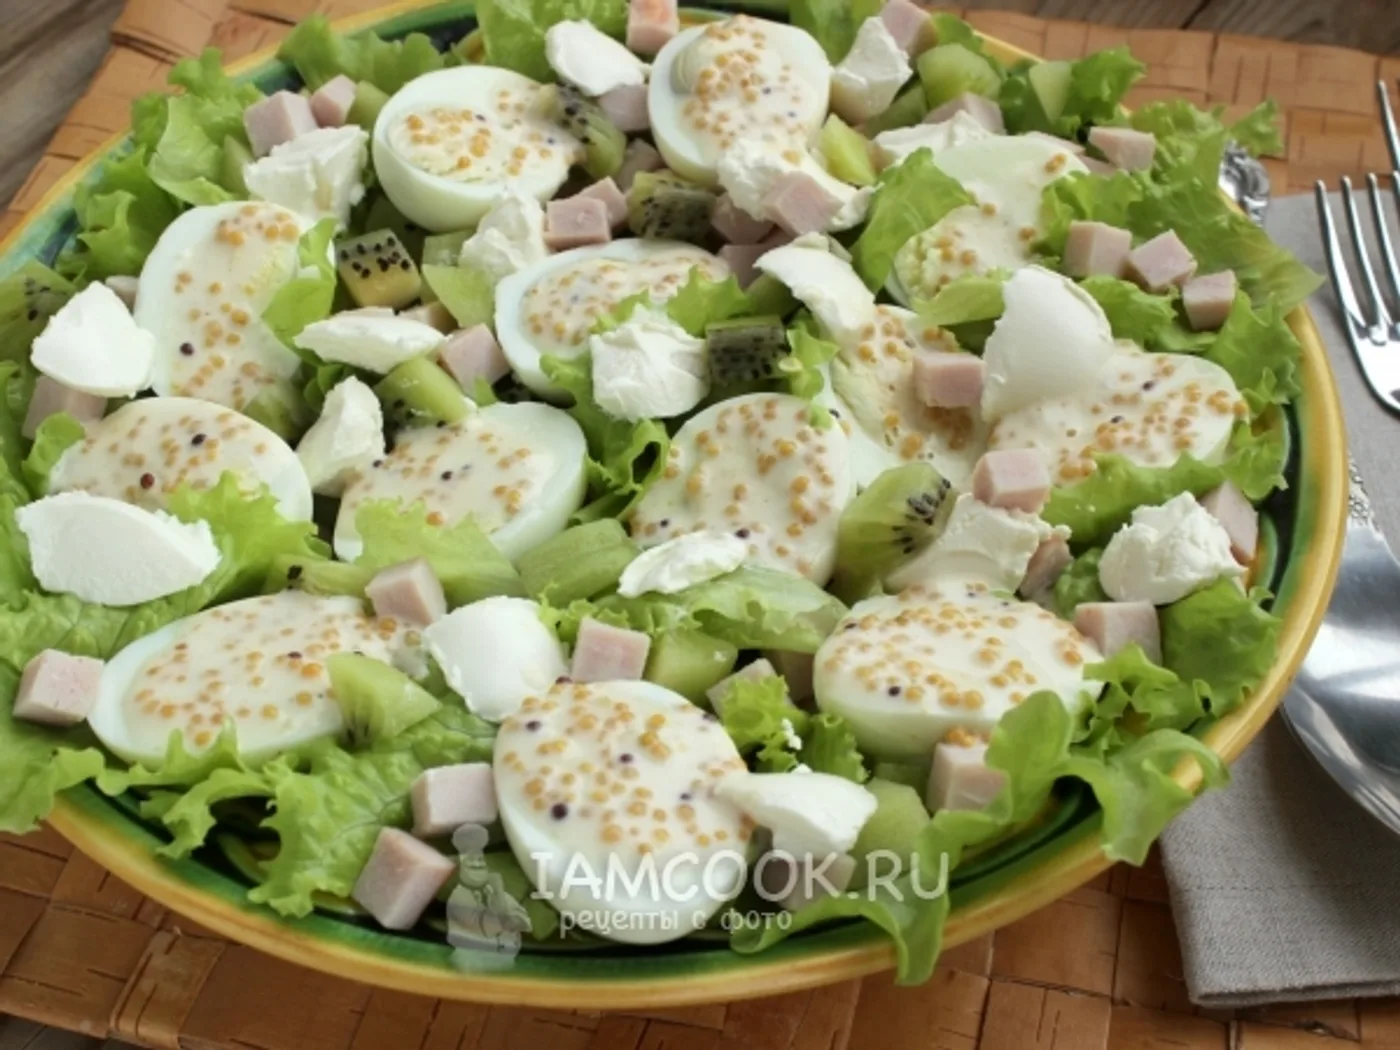
“Original” pork salad with kiwi and eggs
How to prepare “Original” pork salad with kiwi and eggs: Lettuce leaf, Pork in / k, Kiwi and Eggs (quail or chicken C2-C3) - 6 pieces.