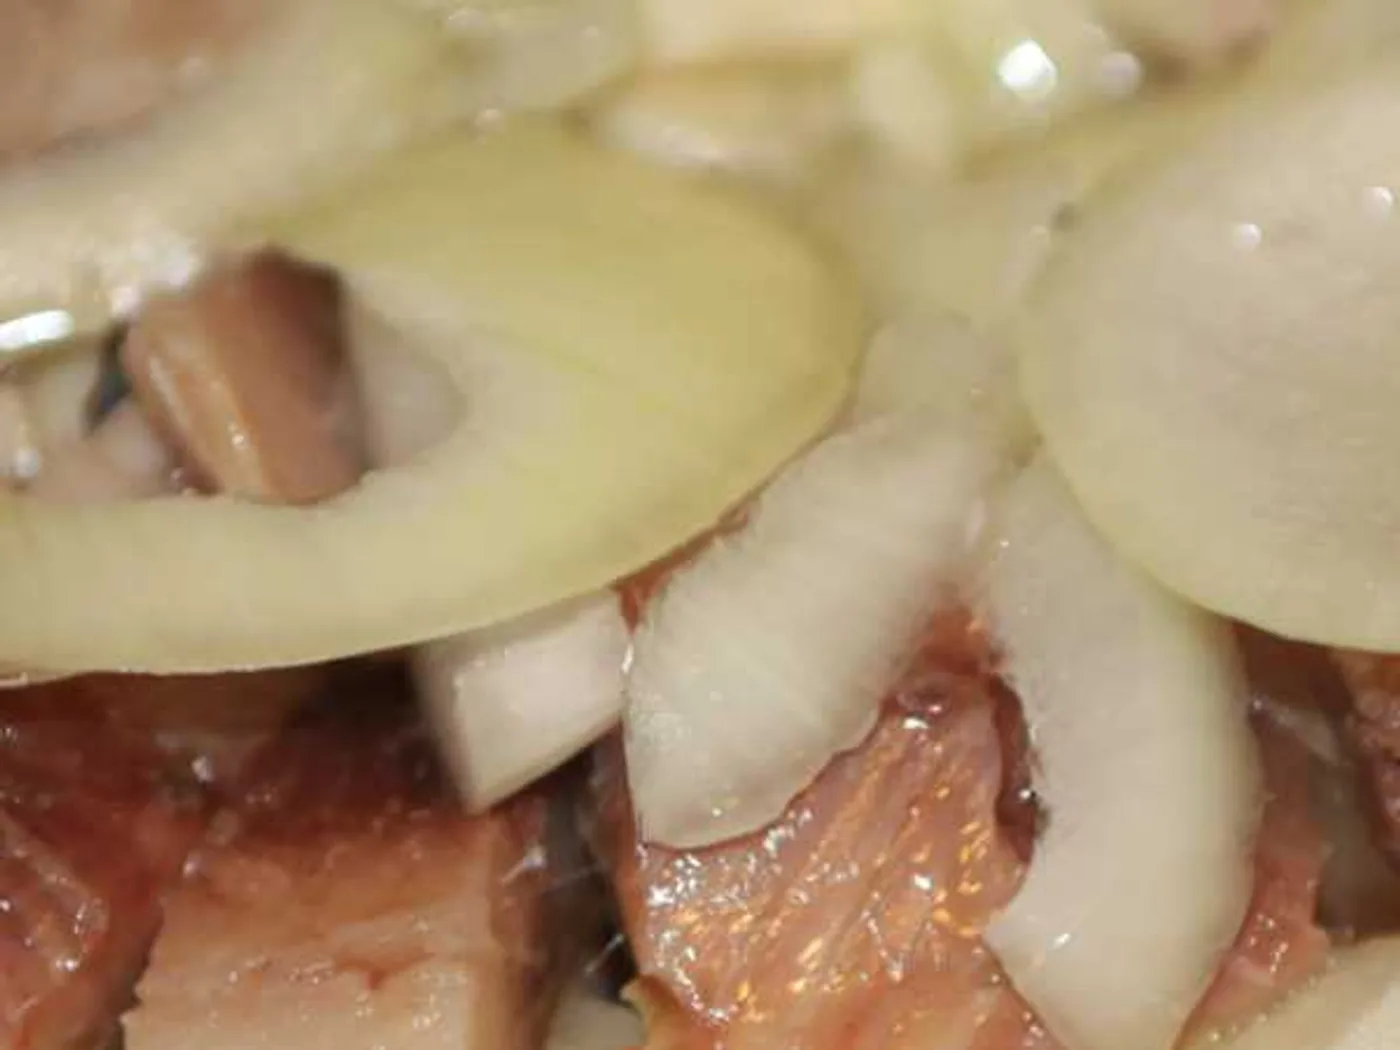
Herring with onions
How to prepare "Herring with onions": Atlantic (salty), onions, vegetable oil and vinegar. Step-by-step recipe with photos, 16 stages, total time
Before you start
A quick setup makes the method easier to follow and keeps important steps from being missed.
Preparation checklist
- Read all 9 method steps from beginning to end.
- Measure and arrange all 4 listed ingredients.
- Set aside about 20 minutes, based on the time recorded by the source.
Recipe notes & preparation tips
Read the full method before you begin and prepare all ingredients in advance.
Taste near the end of cooking and adjust the seasoning before serving.
Adapted from the source recipe's notes.Method
- 01
The most important thing we need is the herring itself. When you choose it, pay attention to the size - the larger, the better. The fish should be slightly washed with cool water, and then engage in its cutting.
- 02
With a sharp cutting knife, we cut off the head and fins from the herring. Then we unpack the lower part and clean everything properly, in particular, get rid of black films on the inner walls. I was lucky to have caviar in the fish, which I also use in cooking.
- 03
Next, we need to clean the herring from the skin, for this we make a small longitudinal incision on the back and, having podskogo skin, remove it.
- 04
When the skin is removed from the previously made incision on the back, cut the fish into two halves.
- 05
We take out the bones and cut the herring in portion pieces.
- 06
The onions are cut with half rings. By the way, for herring, as for salads in general, it is best to use white onions, as it is more juicy and sweet.
- 07
At the bottom of a flat dish, lay out caviar or milk.
- 08
Then we put a layer of three-quarters of the onions.
- 09
We put the herring fillet prepared with sun and add the remaining onions on top of it. Fill the dish with vegetable oil and vinegar (rice, apple or ordinary). The finished herring is left for a couple of hours in the refrigerator so that it is marinated, and then served to the table.
Ready to serve
Serve the dish as directed and enjoy it while it is at its best.
Bon appétit — enjoy your meal!Source & licence
This recipe was adapted and reformatted from Osiyo.ru / Аймкук . Text: Used with permission. Image: Used with permission, credited to Аймкук; view original image record .
More from International
 International
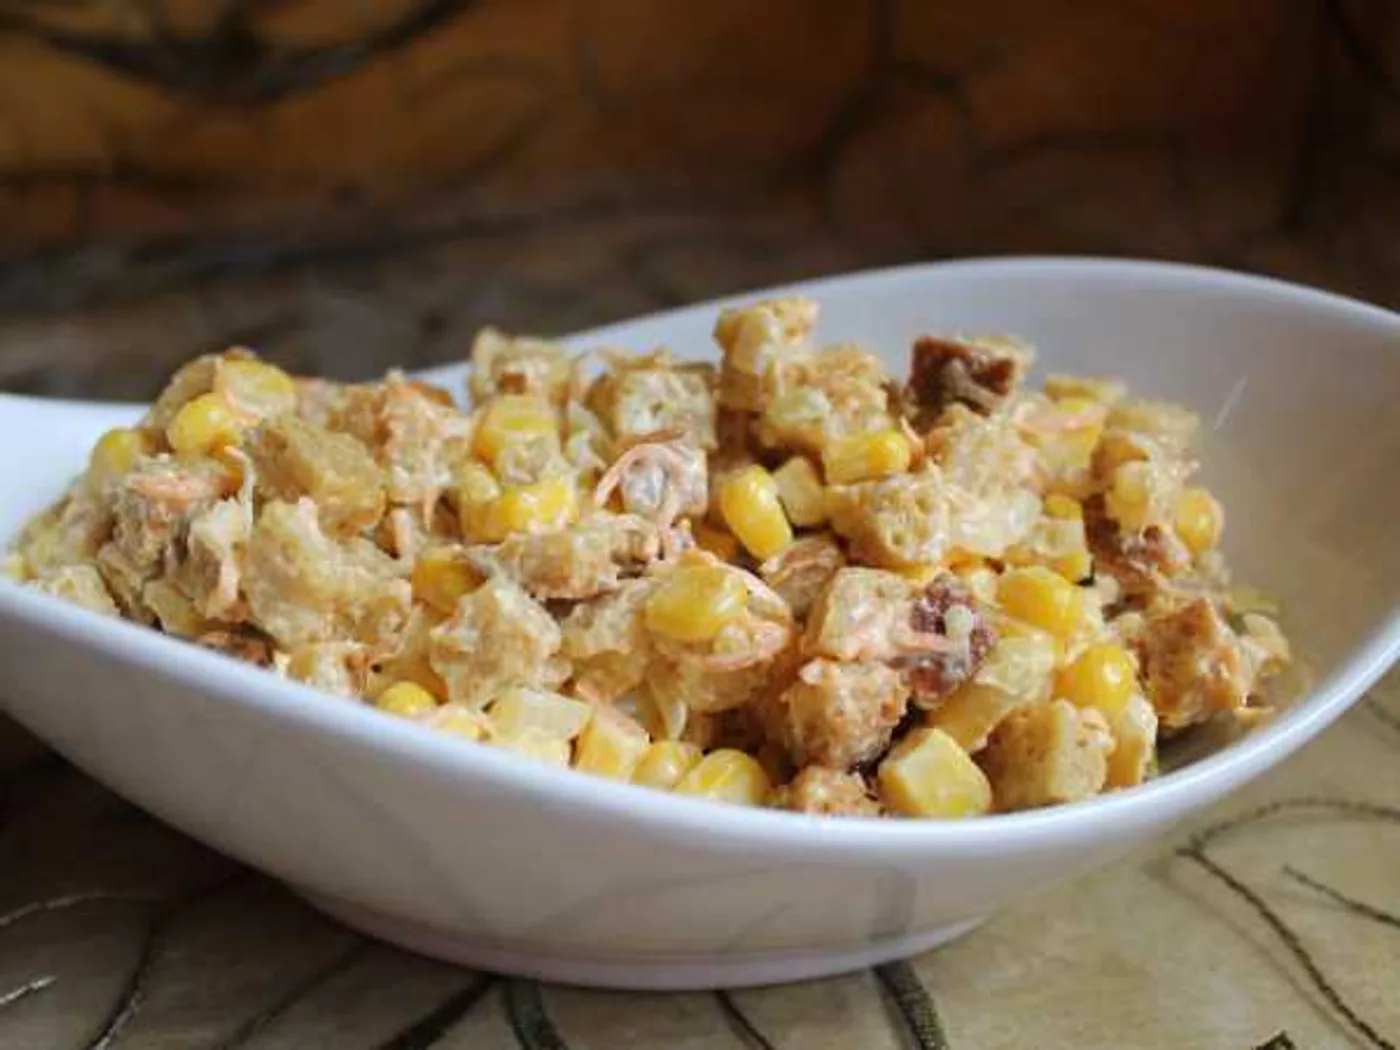
"Favourite" salad
How to prepare "Favorite Salad": Bread, Mayonnaise, Garlic and Carrots. Step-by-step recipe with a photo, 18 stages, the total time is 30 minutes.
 International
"Gelak Pilaw," pilaf with meatballs
Learn how to make "Gelak Pilaw," pilaf with meatballs with 7 ingredients and 11 clear steps.
 International
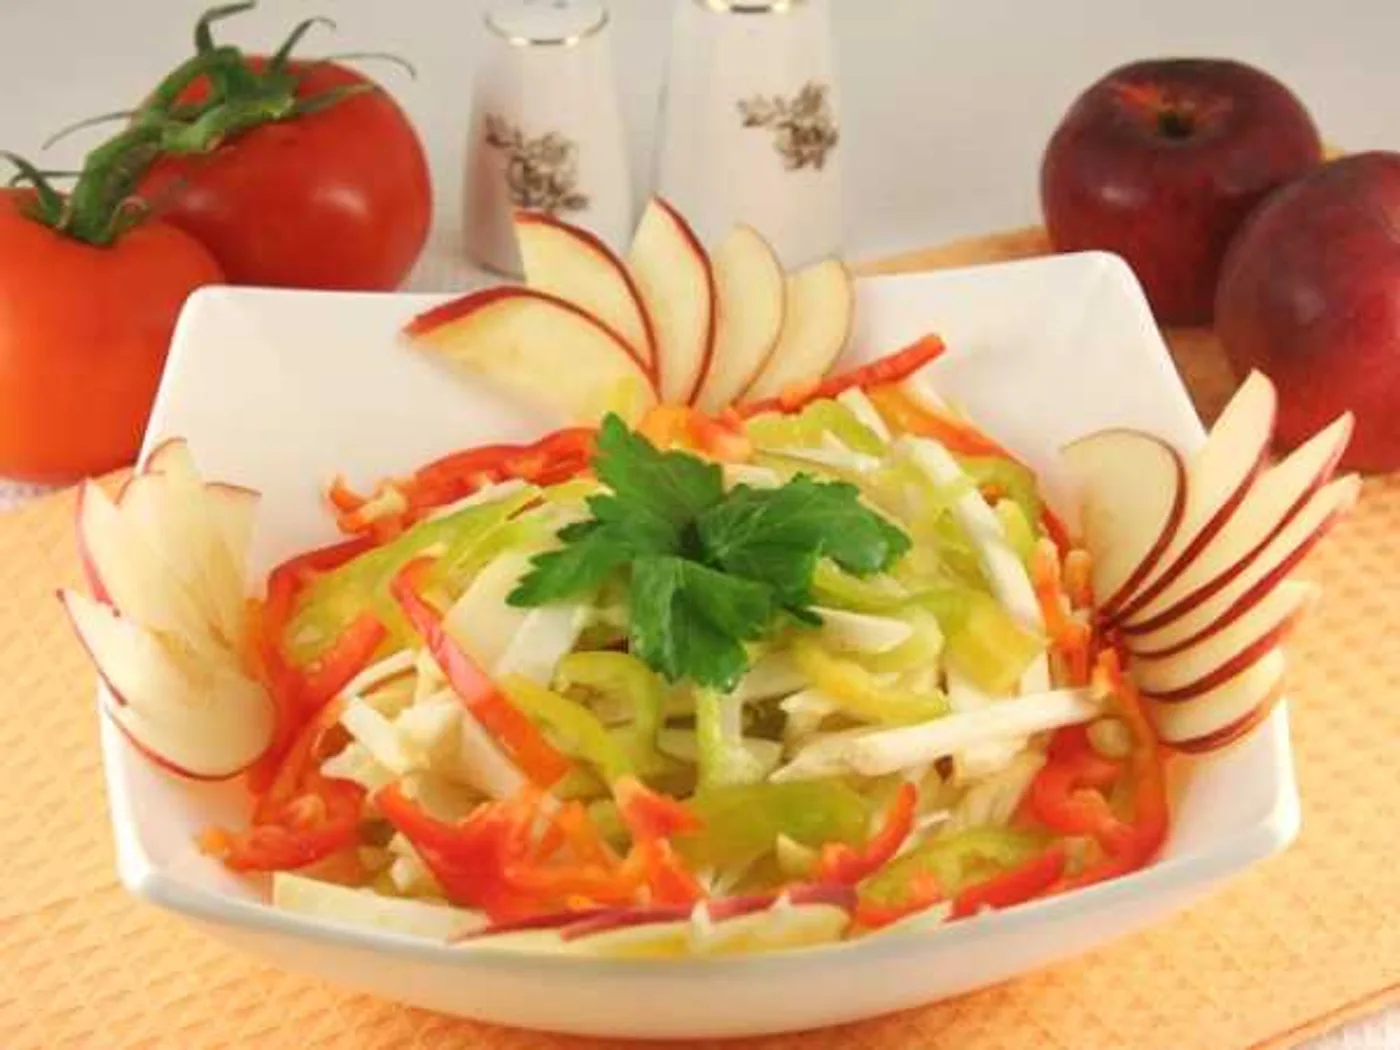
"Grace" salad
Learn how to make "Grace" salad with 7 ingredients and 8 clear steps.
 International
“Original” pork salad with kiwi and eggs
How to prepare “Original” pork salad with kiwi and eggs: Lettuce leaf, Pork in / k, Kiwi and Eggs (quail or chicken C2-C3) - 6 pieces.