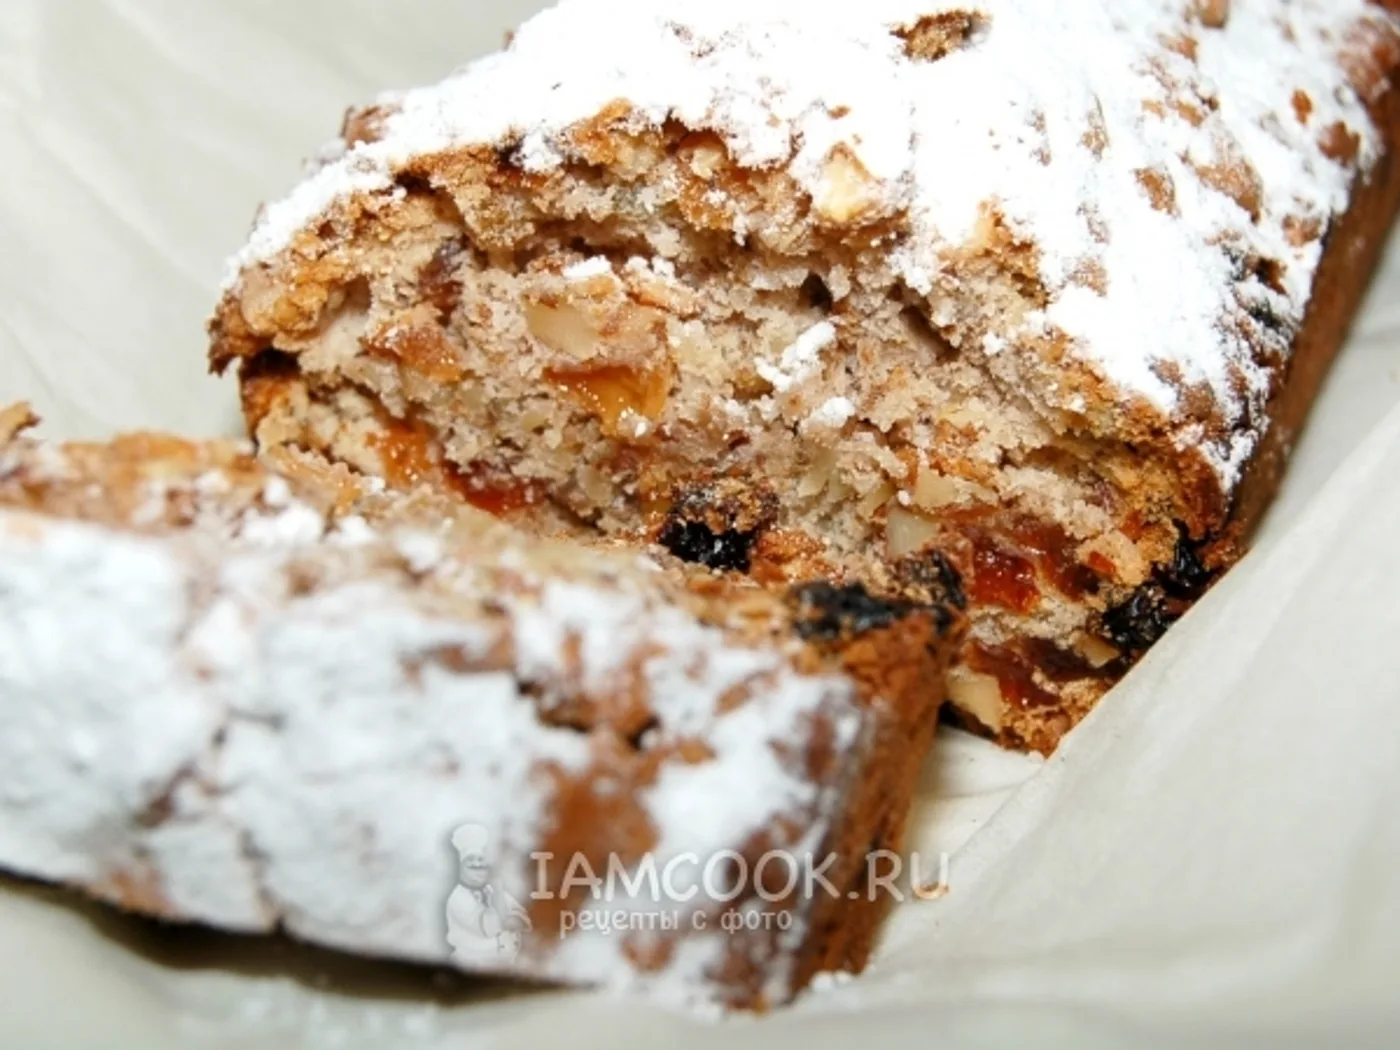
Homemade muffin with nuts and raisins
How to make a "homemade muffin with nuts and raisins": Pancake flour, sugar, eggs and walnuts. Step-by-step recipe with a photo, 21 stages, total time - 1 hour.
Before you start
A quick setup makes the method easier to follow and keeps important steps from being missed.
Preparation checklist
- Read all 14 method steps from beginning to end.
- Measure and arrange all 6 listed ingredients.
- Set aside about 60 minutes, based on the time recorded by the source.
Recipe notes & preparation tips
Read the full method before you begin and prepare all ingredients in advance.
Taste near the end of cooking and adjust the seasoning before serving.
Adapted from the source recipe's notes.Method
- 01
A cupcake with nuts and raisins will make a great company and a cup of tea, and a cup of coffee. This cupcake is prepared quickly, and the result will surely please you, so the cupcake turns out to be tasty, aromatic, with a rich taste.
- 02
Put sugar, pancake flour and eggs in a bowl.
- 03
Whip everything to a smooth, lush state.
- 04
Prepare the walnuts. You can dry them slightly in the oven so that they are not wet.
- 05
Then place the walnuts in a blender.
- 06
Grind in a blender to the state of a large crumb.
- 07
Prepare raisins. Raisins thoroughly wash, soak in hot water for 10 minutes, then transfer to a sieve, give a drain of excess liquid and be sure to dry slightly before adding to the dough. To prevent raisins from falling to the bottom, sprinkle it slightly with flour.
- 08
Prepared walnuts and raisins add to the bowl with dough.
- 09
Stir it carefully.
- 10
The muffin mold is lubricated from the inside with butter (or margarine).
- 11
Carefully pour the dough into the mold. Send in a preheated to 180 g oven for 45 minutes.
- 12
Check the readiness of the cupcake with a bean (or toothpick), and if the bean is dry, then the cupcake is ready and it can be taken from the oven.
- 13
Cake to cool and sprinkle abundantly on top of powdered sugar.
- 14
The cupcake can be cut into pieces and served on the table.
Ready to serve
Serve the dish as directed and enjoy it while it is at its best.
Bon appétit — enjoy your meal!Source & licence
This recipe was adapted and reformatted from Osiyo.ru / Аймкук . Text: Used with permission. Image: Used with permission, credited to Татьяна Алексеевна; view original image record .
More from International
 International
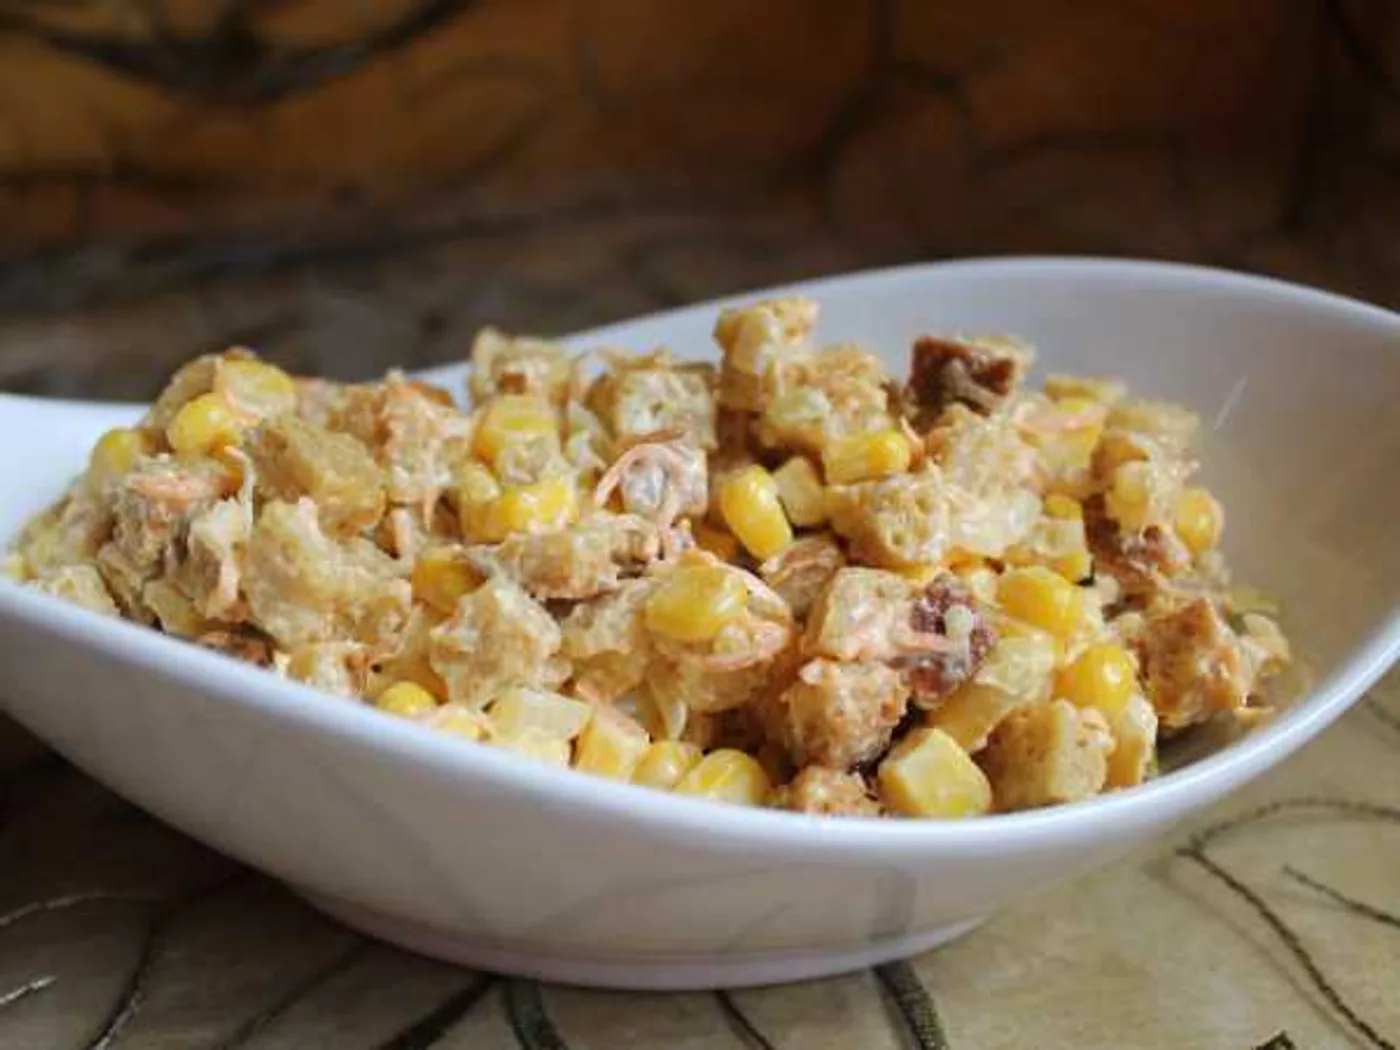
"Favourite" salad
How to prepare "Favorite Salad": Bread, Mayonnaise, Garlic and Carrots. Step-by-step recipe with a photo, 18 stages, the total time is 30 minutes.
 International
"Gelak Pilaw," pilaf with meatballs
Learn how to make "Gelak Pilaw," pilaf with meatballs with 7 ingredients and 11 clear steps.
 International
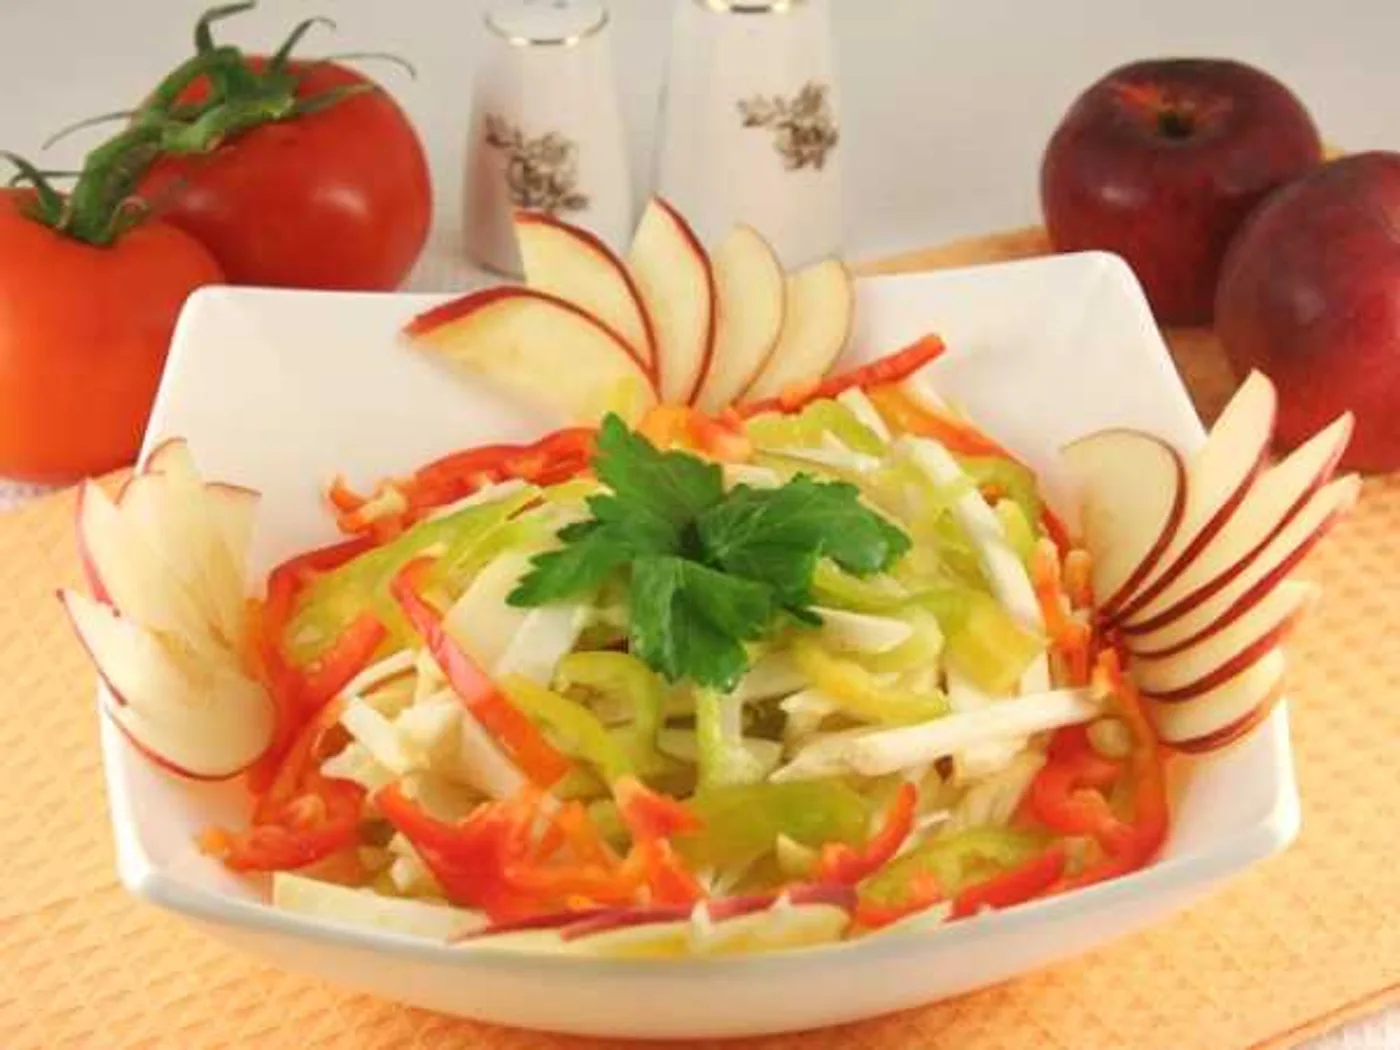
"Grace" salad
Learn how to make "Grace" salad with 7 ingredients and 8 clear steps.
 International
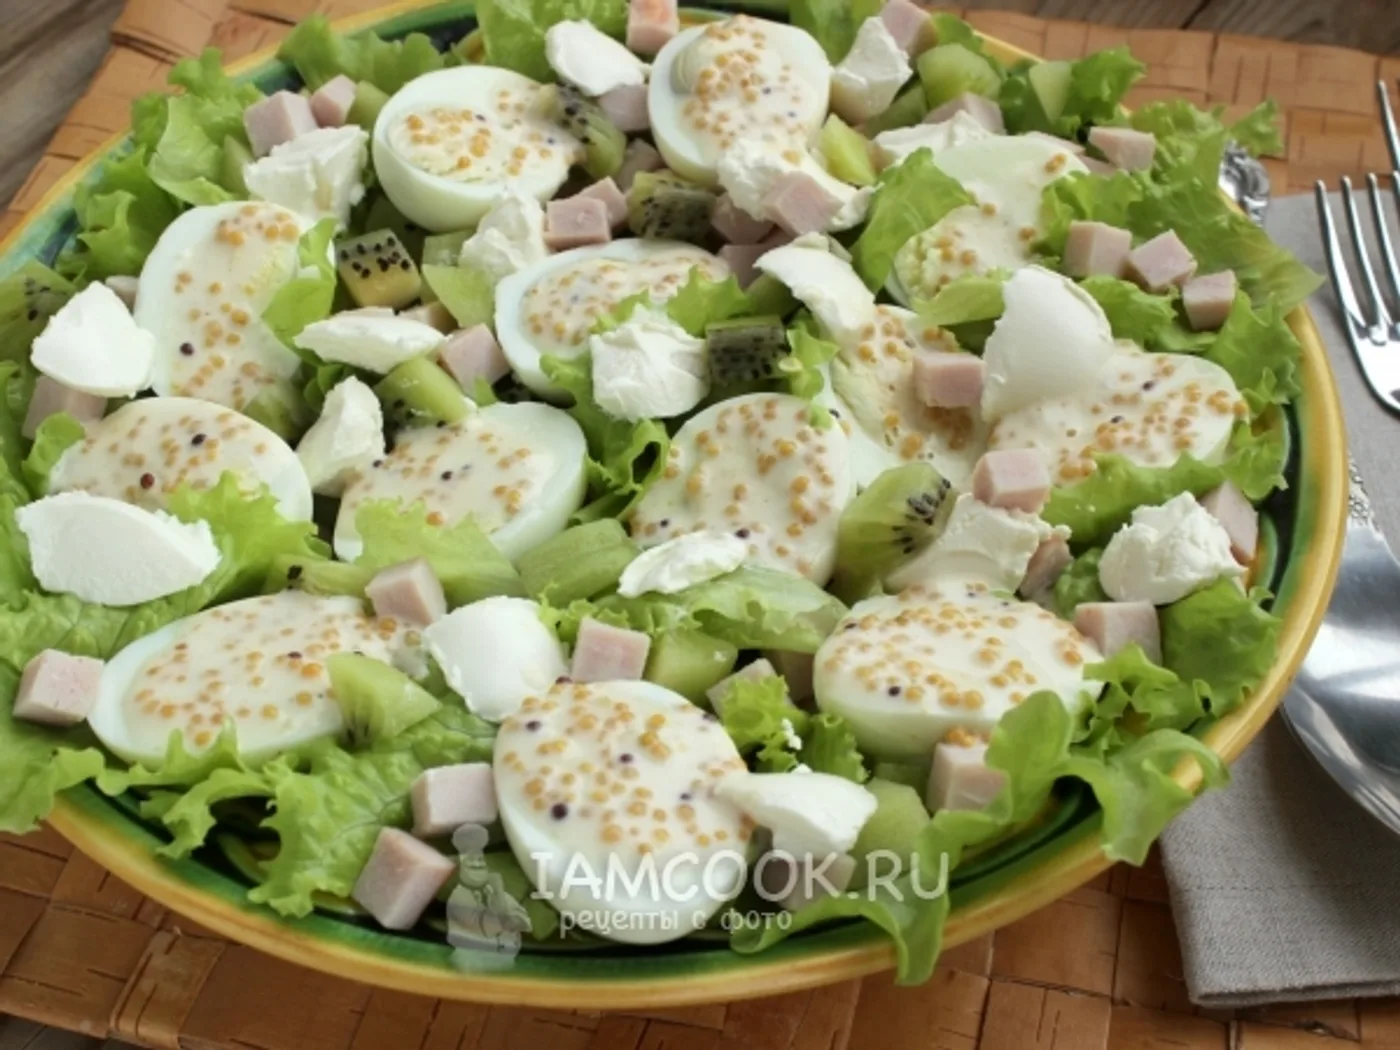
“Original” pork salad with kiwi and eggs
How to prepare “Original” pork salad with kiwi and eggs: Lettuce leaf, Pork in / k, Kiwi and Eggs (quail or chicken C2-C3) - 6 pieces.