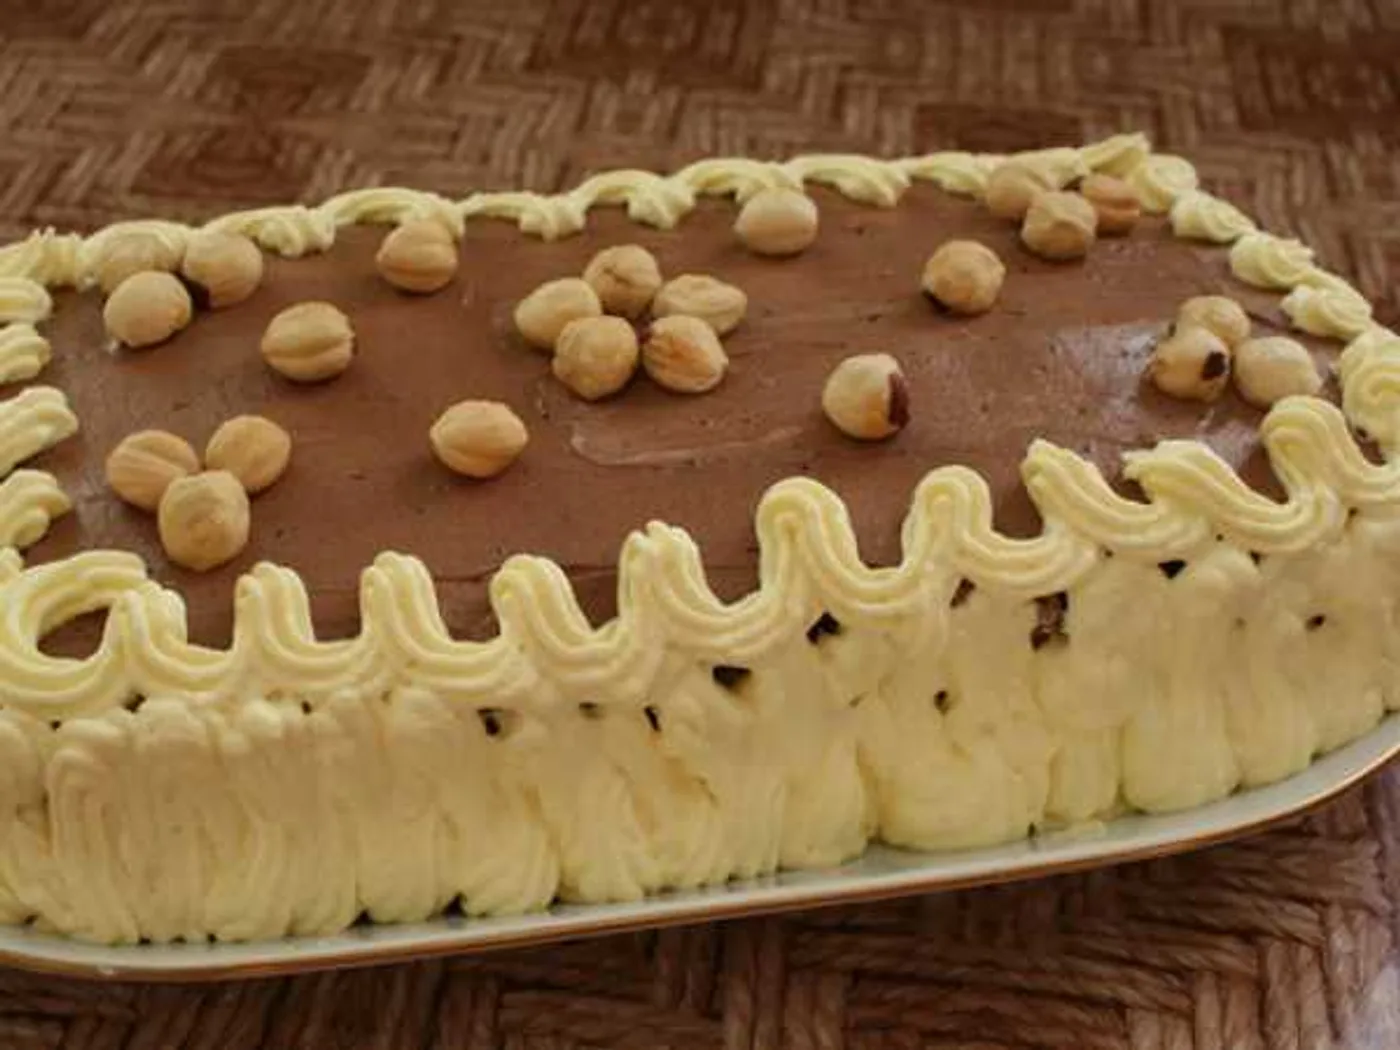
Kiev Cake
How to prepare "Kievsky cake": Egg whites, corn starch, powdered sugar and cashew nuts (or walnuts). Step by step recipe with photo, 17 stages,
Before you start
A quick setup makes the method easier to follow and keeps important steps from being missed.
Preparation checklist
- Read all 16 method steps from beginning to end.
- Measure and arrange all 9 listed ingredients.
- Set aside about 360 minutes, based on the time recorded by the source.
Recipe notes & preparation tips
Read the full method before you begin and prepare all ingredients in advance.
Taste near the end of cooking and adjust the seasoning before serving.
Adapted from the source recipe's notes.Method
- 01
Prepare the carcass.
- 02
Separate the yolks from the proteins. Put the yellows aside for a while. Squirrels whip to form a thick and lush foam.
- 03
Gradually, without stopping whipping proteins, enter powdered sugar. Hit 15 minutes. Protein mass should be obtained with rigid stable peaks.
- 04
Grind the nuts in a blender.
- 05
Pour the starch into the nuts and mix well. Carefully inject the starch nuts into the protein mass. Enter in small portions, stirring the mass with a spoon from the bottom up, as if lifting it.
- 06
Warm up to 160 degrees. Cover the baking pot with parchment paper and oil it. Spoon lay the protein mass on the pan.
- 07
For the first 10 minutes, bake the cake at a temperature of 160 degrees. Then dry it for 3 hours at a temperature of 100 degrees. For final drying, leave the cake in the oven turned off for another 1-2 hours.
- 08
Prepare the Charlotte cream.
- 09
Beat the egg yolks with sugar.
- 10
Without stopping the whipping, pour milk into the yolks. Put the resulting mass to boil on the smallest fire. Stir it constantly, bring it to a boil, but do not boil! It's a pretty complicated moment. Determine the readiness of the cream if you hold the nail on the back of the spoon. When a clear trace remains on the spoon, which does not melt, the cream is ready.
- 11
Cool the mass you've got. Butter at room temperature beat, slowly pour into it the milk-egg mixture and beat well.
- 12
Divide the cream into 2 parts. Add the cocoa to one and mix well again.
- 13
The assembly of the “Kiev” cake
- 14
Since the crust was cooked on one large baking pan, then divide it in half into 2 small crusts. Line the crusts by cutting them off the sides. First cake, smear with white cream.
- 15
Cover with a second crust and grease with chocolate cream. Decorate the cake as you wish and put it in the refrigerator for at least half an hour.
- 16
The Kiev cake is ready. Enjoy your meal!
Ready to serve
Serve the dish as directed and enjoy it while it is at its best.
Bon appétit — enjoy your meal!Source & licence
This recipe was adapted and reformatted from Osiyo.ru / Аймкук . Text: Used with permission. Image: Used with permission, credited to Irina Serdyuk; view original image record .
More from International
 International
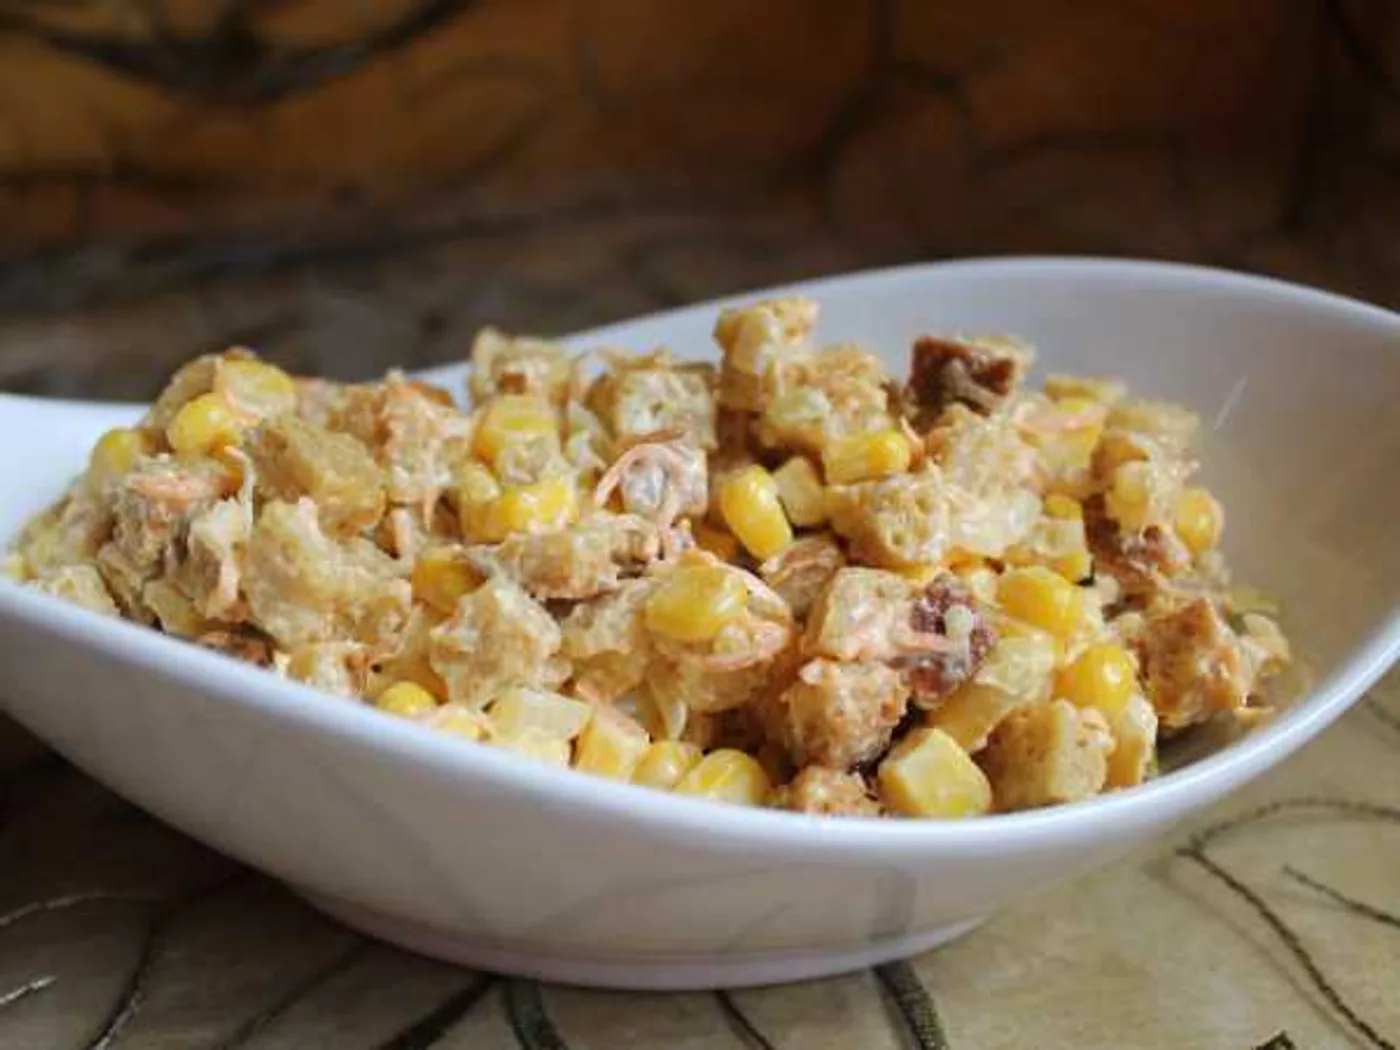
"Favourite" salad
How to prepare "Favorite Salad": Bread, Mayonnaise, Garlic and Carrots. Step-by-step recipe with a photo, 18 stages, the total time is 30 minutes.
 International
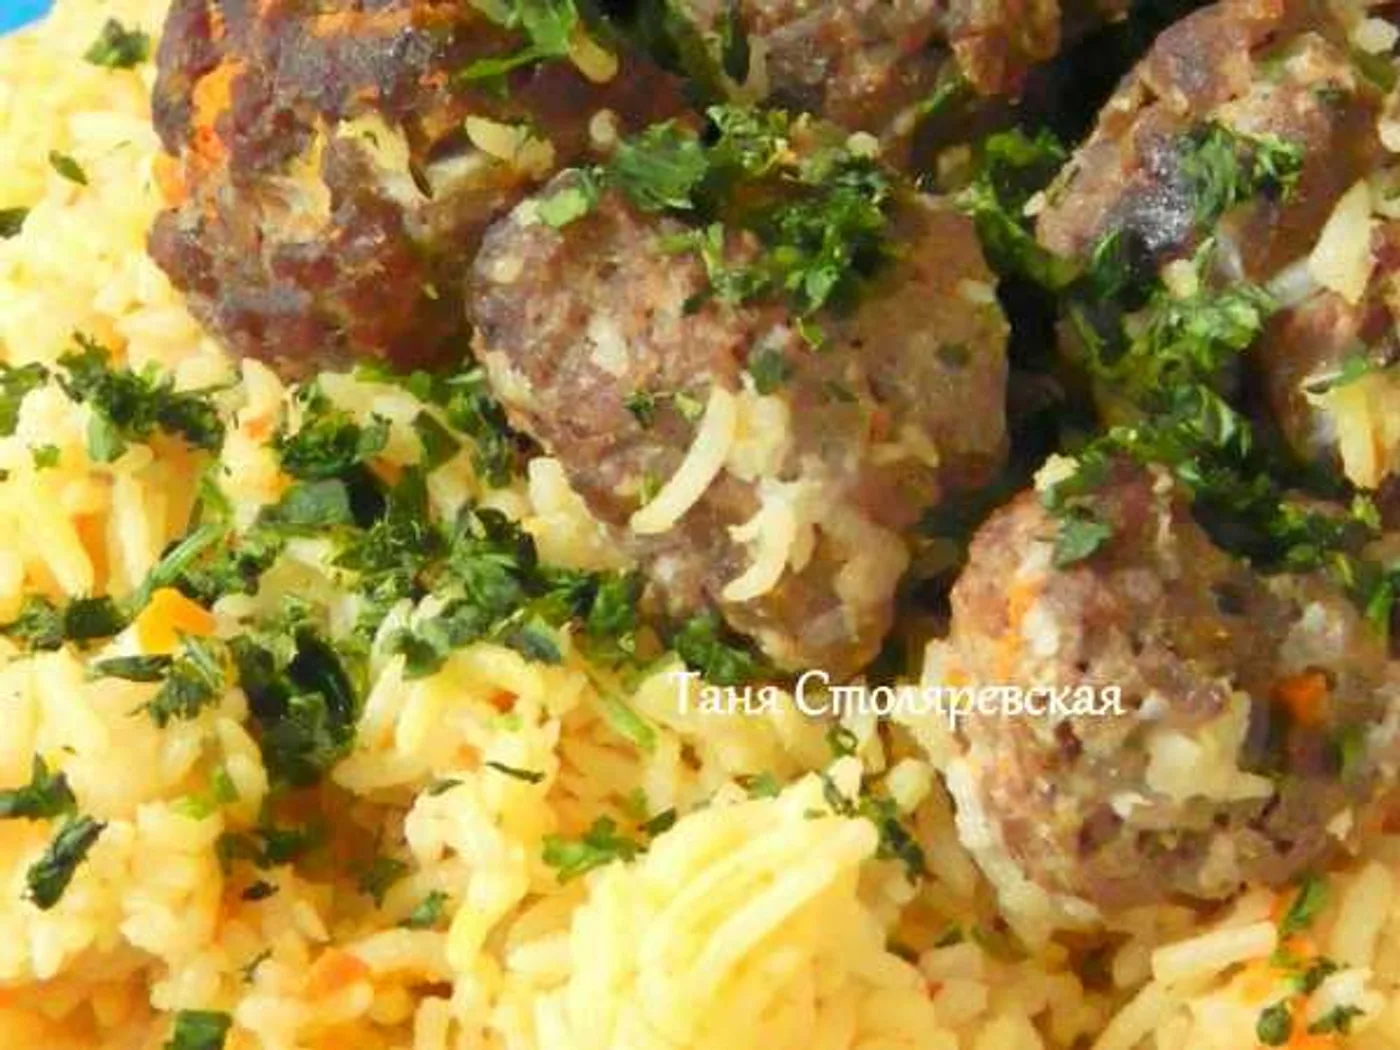
"Gelak Pilaw," pilaf with meatballs
Learn how to make "Gelak Pilaw," pilaf with meatballs with 7 ingredients and 11 clear steps.
 International
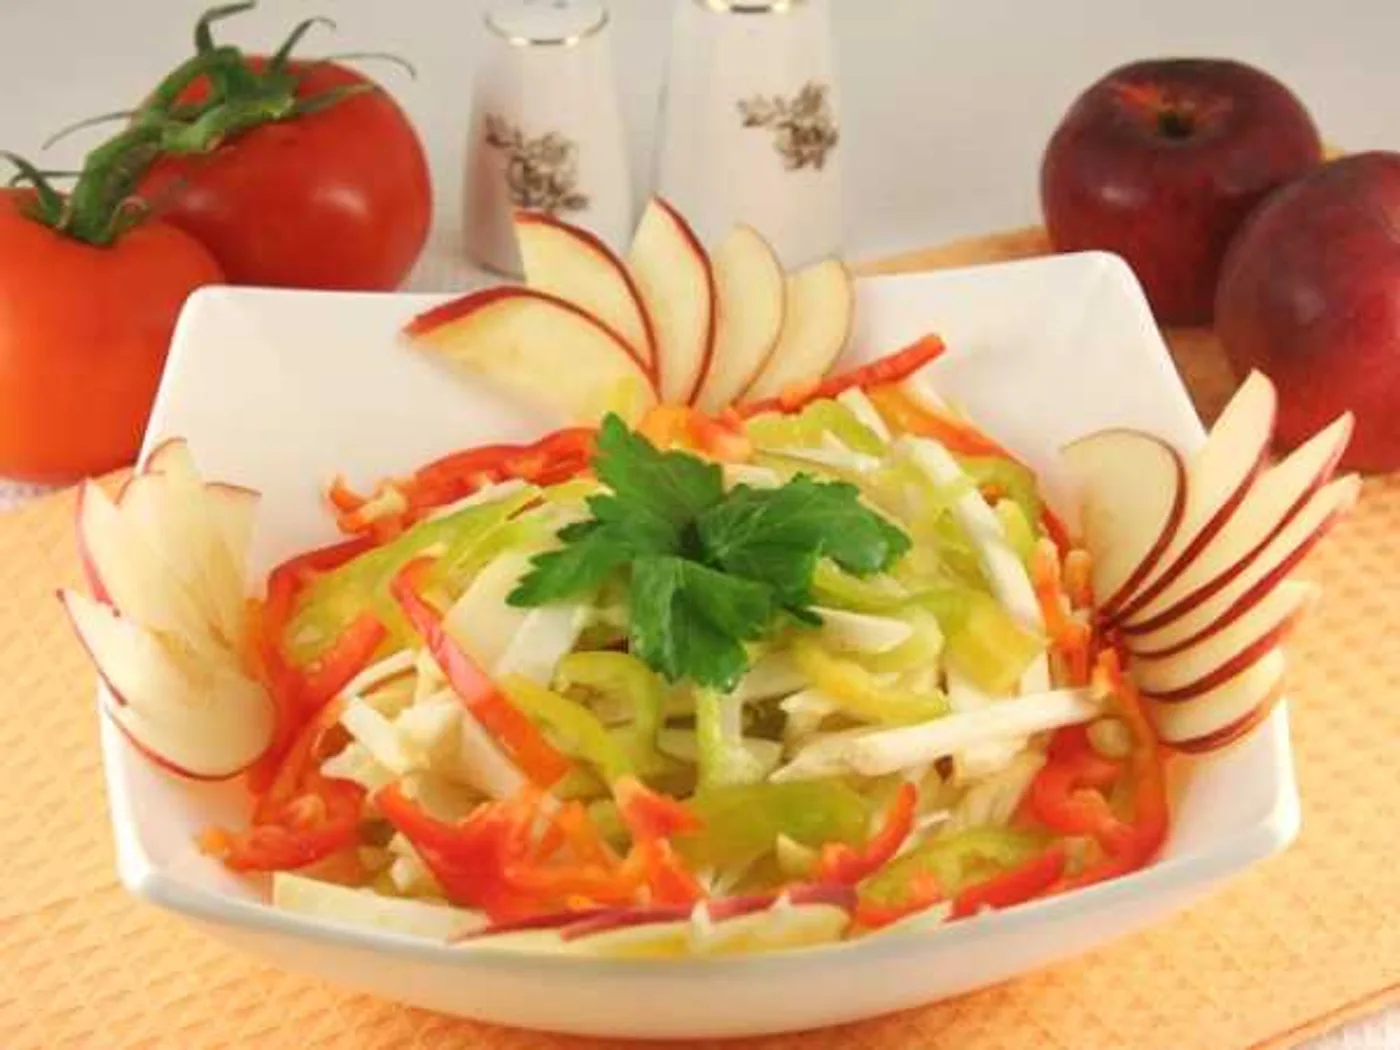
"Grace" salad
Learn how to make "Grace" salad with 7 ingredients and 8 clear steps.
 International
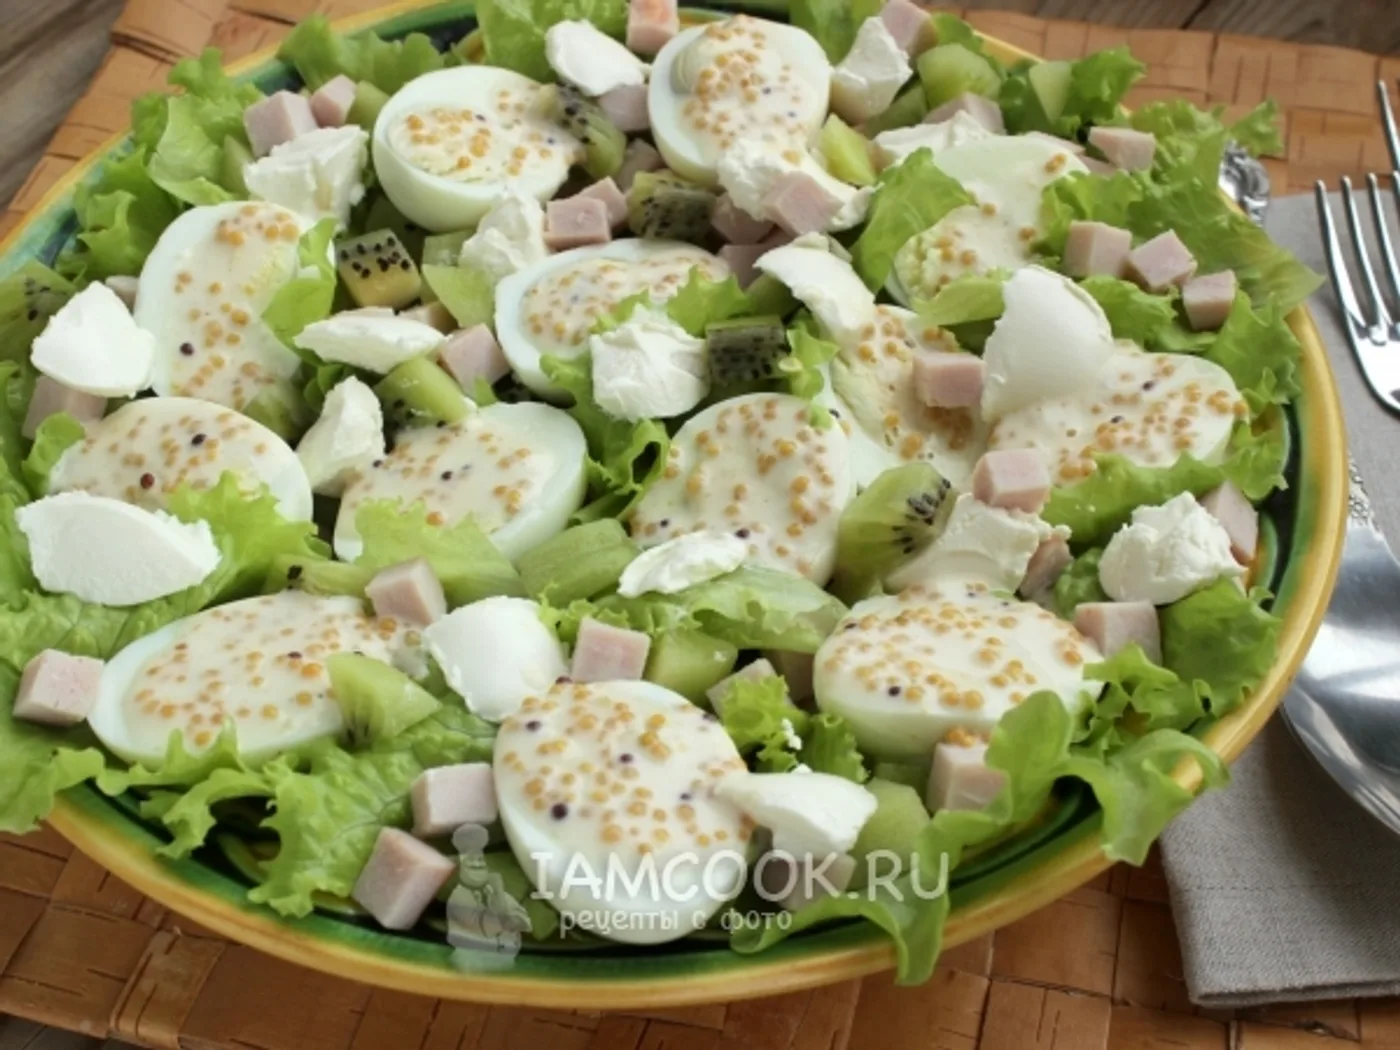
“Original” pork salad with kiwi and eggs
How to prepare “Original” pork salad with kiwi and eggs: Lettuce leaf, Pork in / k, Kiwi and Eggs (quail or chicken C2-C3) - 6 pieces.