Red Bean Paste
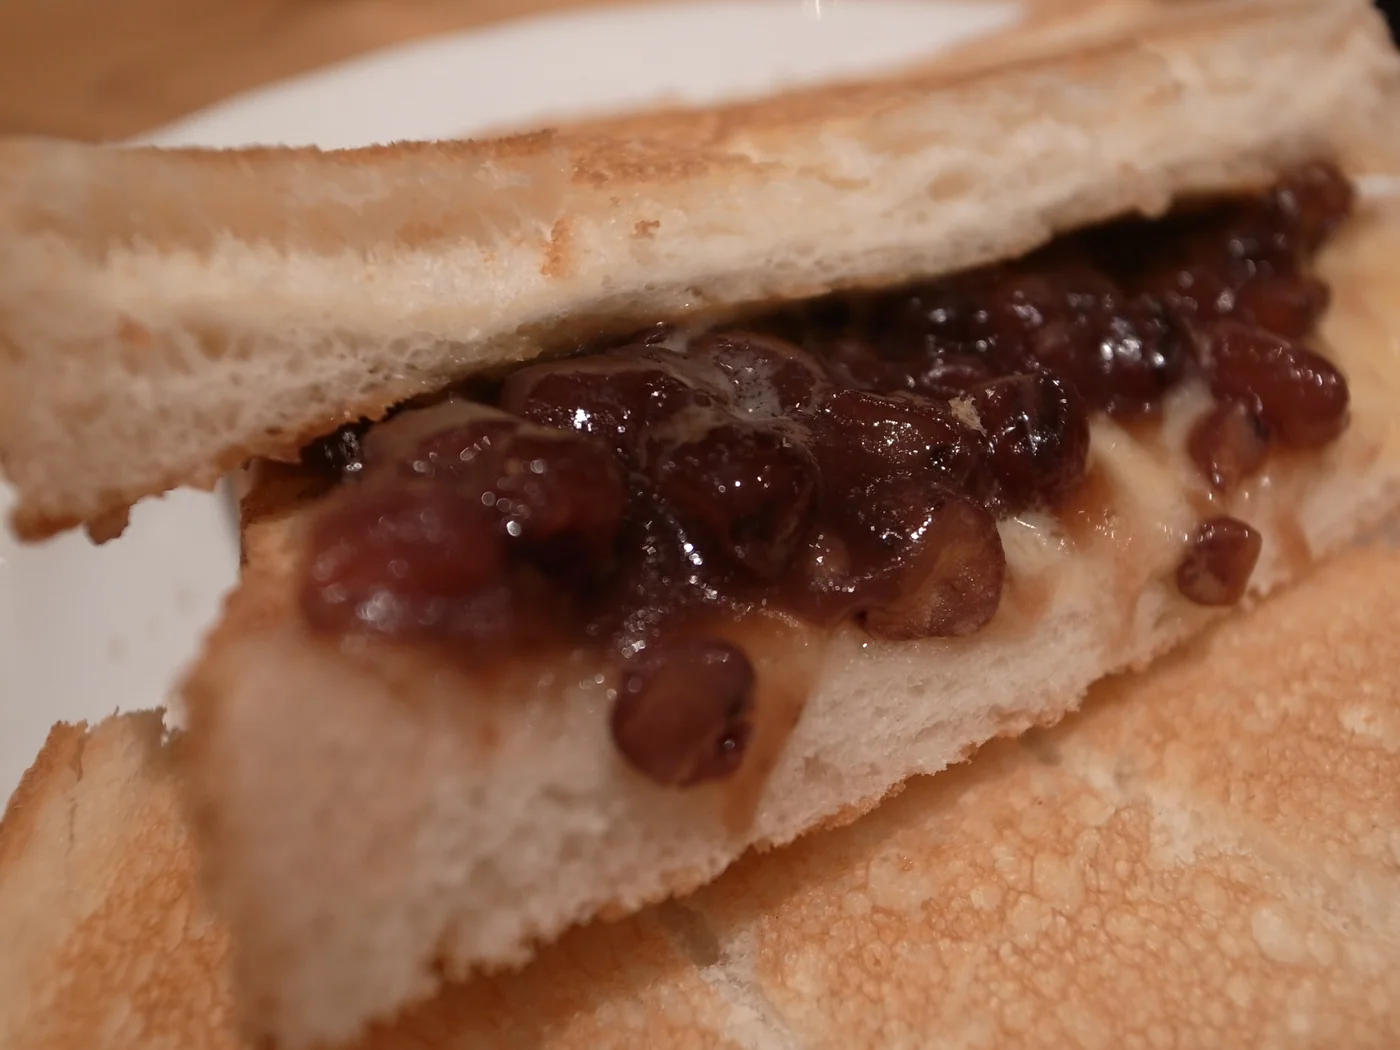
Chinese Cuisine Red bean paste (in simplified Chinese: 红豆沙, in traditional Chinese: 紅豆沙, Pinyin: hóngdòushā, meaning "red bean sand", due to its texture) is a sweet paste used for many things in Chinese, Japanese and Korean cuisine. It is made from mashed adzuki beans (known as red beans in Chinese), mixed with sugar. A range of texture from coarse and gritt
Before you start
A quick setup makes the method easier to follow and keeps important steps from being missed.
Preparation checklist
- Read all 9 method steps from beginning to end.
- Measure and arrange all 4 listed ingredients.
- Set aside about 255 minutes, based on the time recorded by the source.
Recipe notes & preparation tips
75 ml sounds like a lot of oil, but it is required to drive out the water properly.
Adapted from the source recipe's notes.Method
- 01
Wash the beans, checking for and removing any that are damaged or diseased. Soak the beans in cold water for at least 4 hours or, preferably, overnight. This softens the beans slightly and reduces the cooking time greatly.
- 02
Drain the beans and rinse once soaked.
- 03
Place into a small saucepan and cover with water. Bring to the boil.
- 04
Simmer the beans for 1½–2 hours, until soft and disintegrating slightly. Longer boiling will result in a smoother paste. Remember to top up the water occasionally so the beans don't boil dry and burn.
- 05
Drain away the water.
- 06
Depending on the desired texture, mash the beans by hand (coarse) or in a blender (fine) until they are as you want. Note that the paste is very thick, so if using a blender, it is easier to do it a bit at a time.
- 07
Stir in the sugar. You should now have a thick but damp paste.
- 08
Preheat the oil in a frying pan or wok, and fry the bean paste, using a spatula or spoon to stir, until the water has been driven off. The bean paste will now be quite dry, with a slightly grainy texture.
- 09
Cool, and store in an airtight container until needed. This paste will keep for at least a week in the fridge.
Ready to serve
Serve the dish as directed and enjoy it while it is at its best.
Bon appétit — enjoy your meal!Source & licence
This recipe was adapted and reformatted from Wikibooks Cookbook . Text: CC BY-SA 4.0. Image: CC BY 2.0, credited to Naotake Murayama from San Francisco, CA, USA; view original image record .
More from International
 International
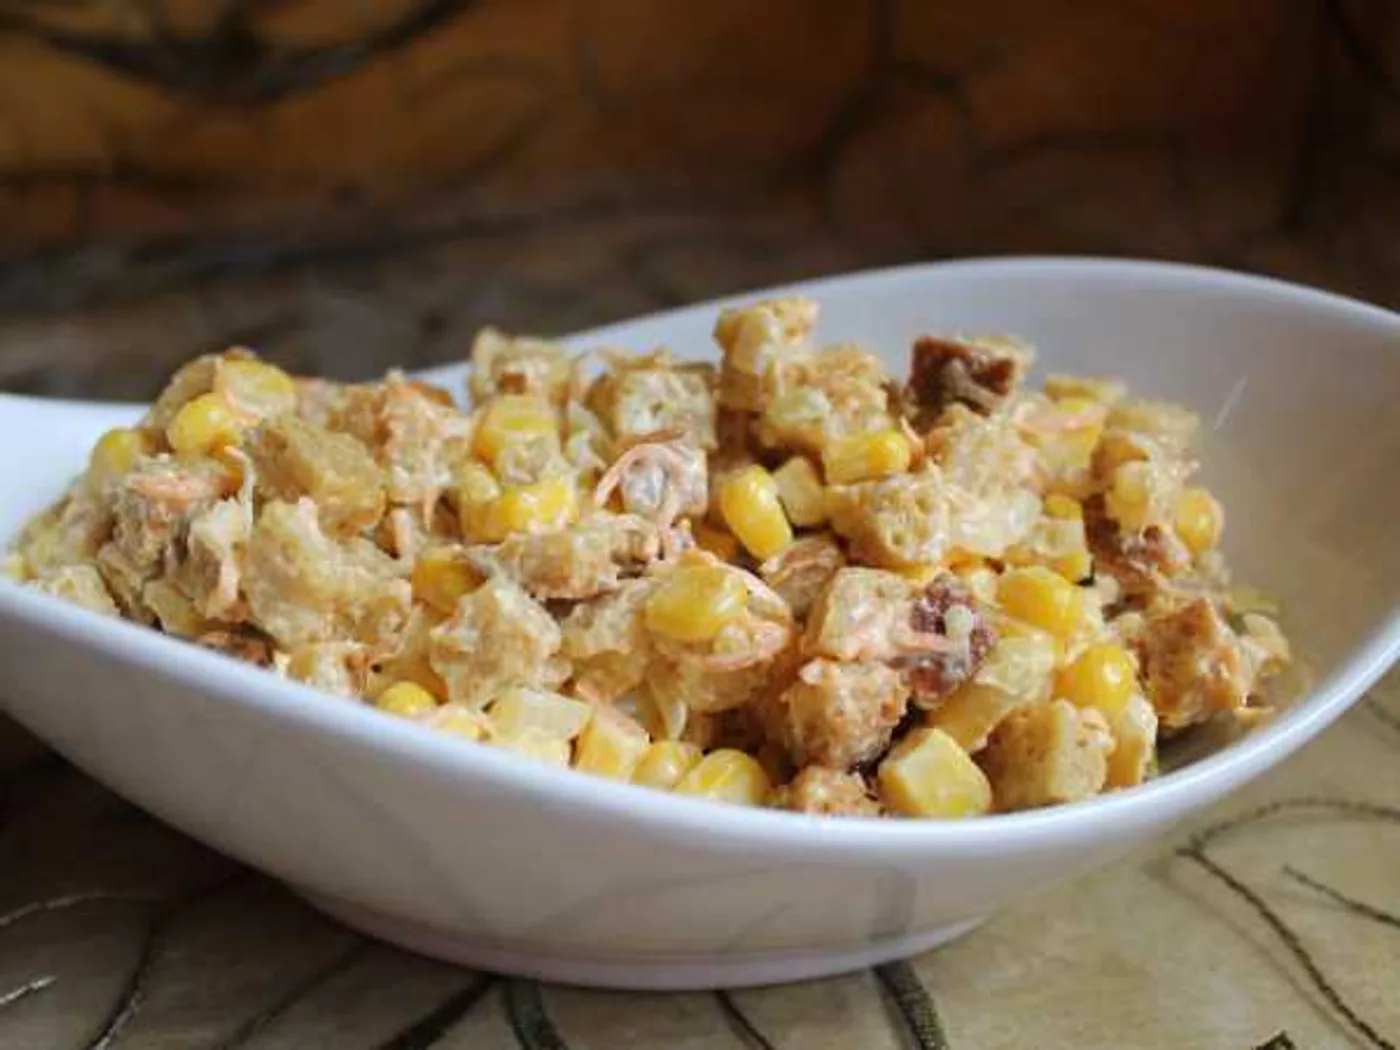
"Favourite" salad
How to prepare "Favorite Salad": Bread, Mayonnaise, Garlic and Carrots. Step-by-step recipe with a photo, 18 stages, the total time is 30 minutes.
 International
"Gelak Pilaw," pilaf with meatballs
Learn how to make "Gelak Pilaw," pilaf with meatballs with 7 ingredients and 11 clear steps.
 International
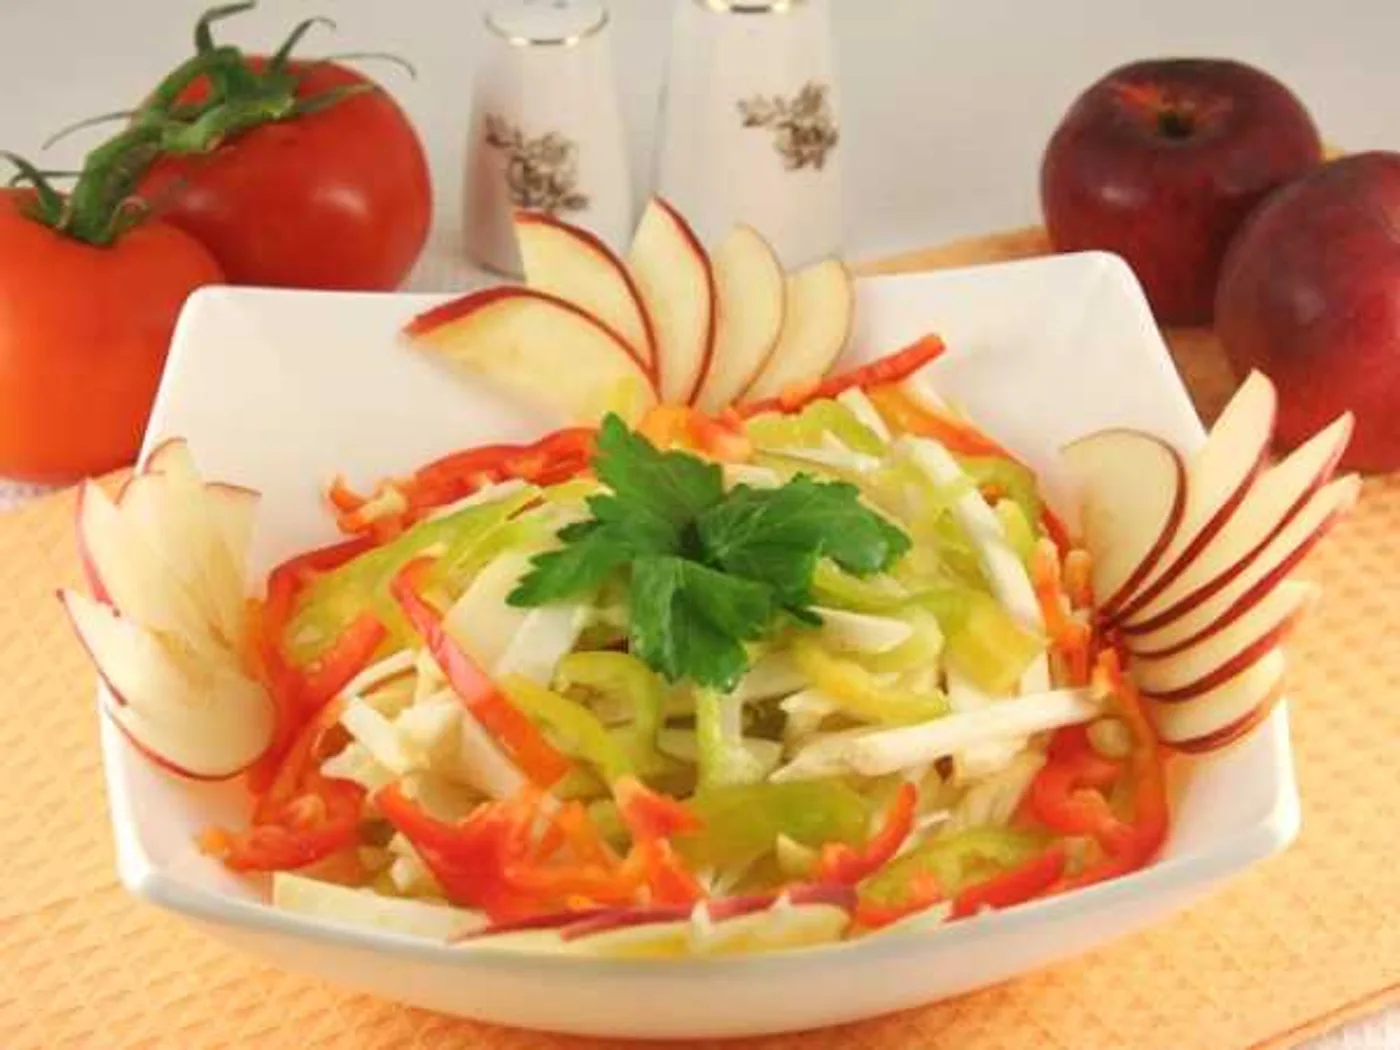
"Grace" salad
Learn how to make "Grace" salad with 7 ingredients and 8 clear steps.
 International
“Original” pork salad with kiwi and eggs
How to prepare “Original” pork salad with kiwi and eggs: Lettuce leaf, Pork in / k, Kiwi and Eggs (quail or chicken C2-C3) - 6 pieces.