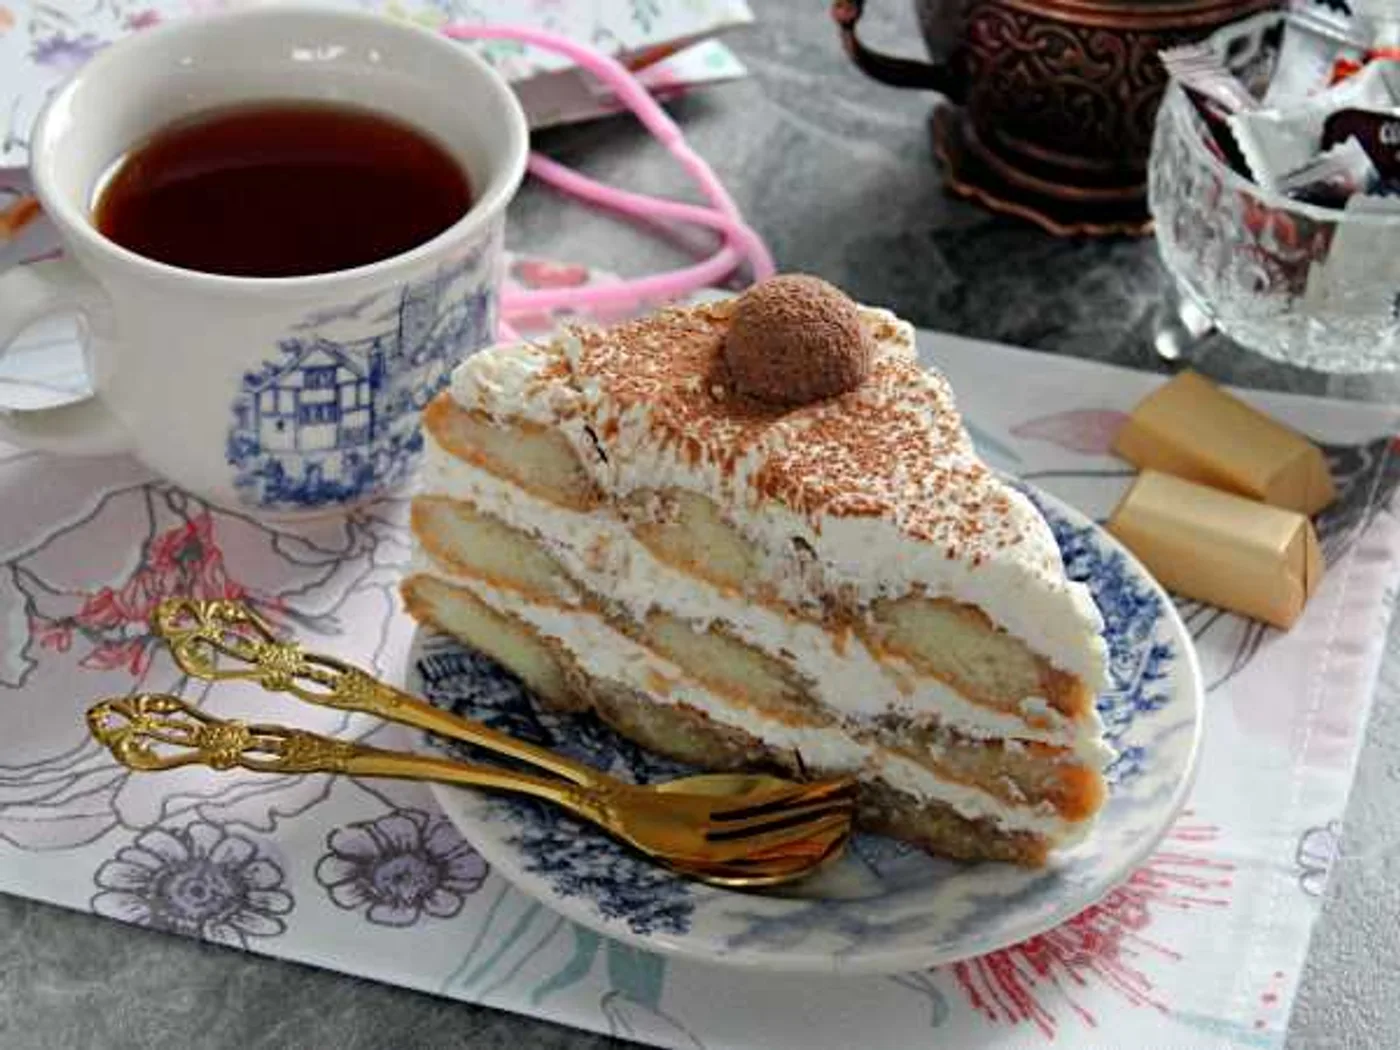
Tiramisu cake with ricotta
Learn how to make Tiramisu cake with ricotta with 8 ingredients and 10 clear steps.
Before you start
A quick setup makes the method easier to follow and keeps important steps from being missed.
Preparation checklist
- Read all 9 method steps from beginning to end.
- Measure and arrange all 8 listed ingredients.
- Set aside about 20 minutes, based on the time recorded by the source.
Recipe notes & preparation tips
Read the full method before you begin and prepare all ingredients in advance.
Taste near the end of cooking and adjust the seasoning before serving.
Adapted from the source recipe's notes.Method
- 01
Beat the cream until it increases in volume. Stir ricotta with powdered sugar. Then whip together the cream and sweet ricotta. But you can immediately whip cream with powder, and then you can mix ricotta.
- 02
Choose a suitable size for the cake. For example, a small pan and cover it with bakery paper or foil. I prefer foil, so it is done so that you can take the cake out and lay it on a flat dish or tray for serving.
- 03
Each cookie is half dipped with the sugar side in a coffee with cognac and laid out in one layer with the soaked side up in two, three or four rows. Depends on your desire and the appropriate dishes available.
- 04
Place a portion of cream on each row of cookies and level it.
- 05
Let the cake soak and the cream stabilize somewhat. Leave it in the refrigerator for at least one hour, preferably longer.
- 06
Before serving, sprinkle the cake with cocoa powder, ground coffee or grated chocolate. Decorate sometime...
- 07
Cake "Tiramisu" with ricotta for serving, cut into rectangular or triangular portion pieces.
- 08
The higher the cake of 24 Savoyardi, the less space it takes up in the fridge. I like and enjoy the three-way option.
- 09
Help yourself!
Ready to serve
Serve the dish as directed and enjoy it while it is at its best.
Bon appétit — enjoy your meal!Source & licence
This recipe was adapted and reformatted from Osiyo.ru / Аймкук . Text: Used with permission. Image: Used with permission, credited to Нина Минина-Р; view original image record .
More from International
 International
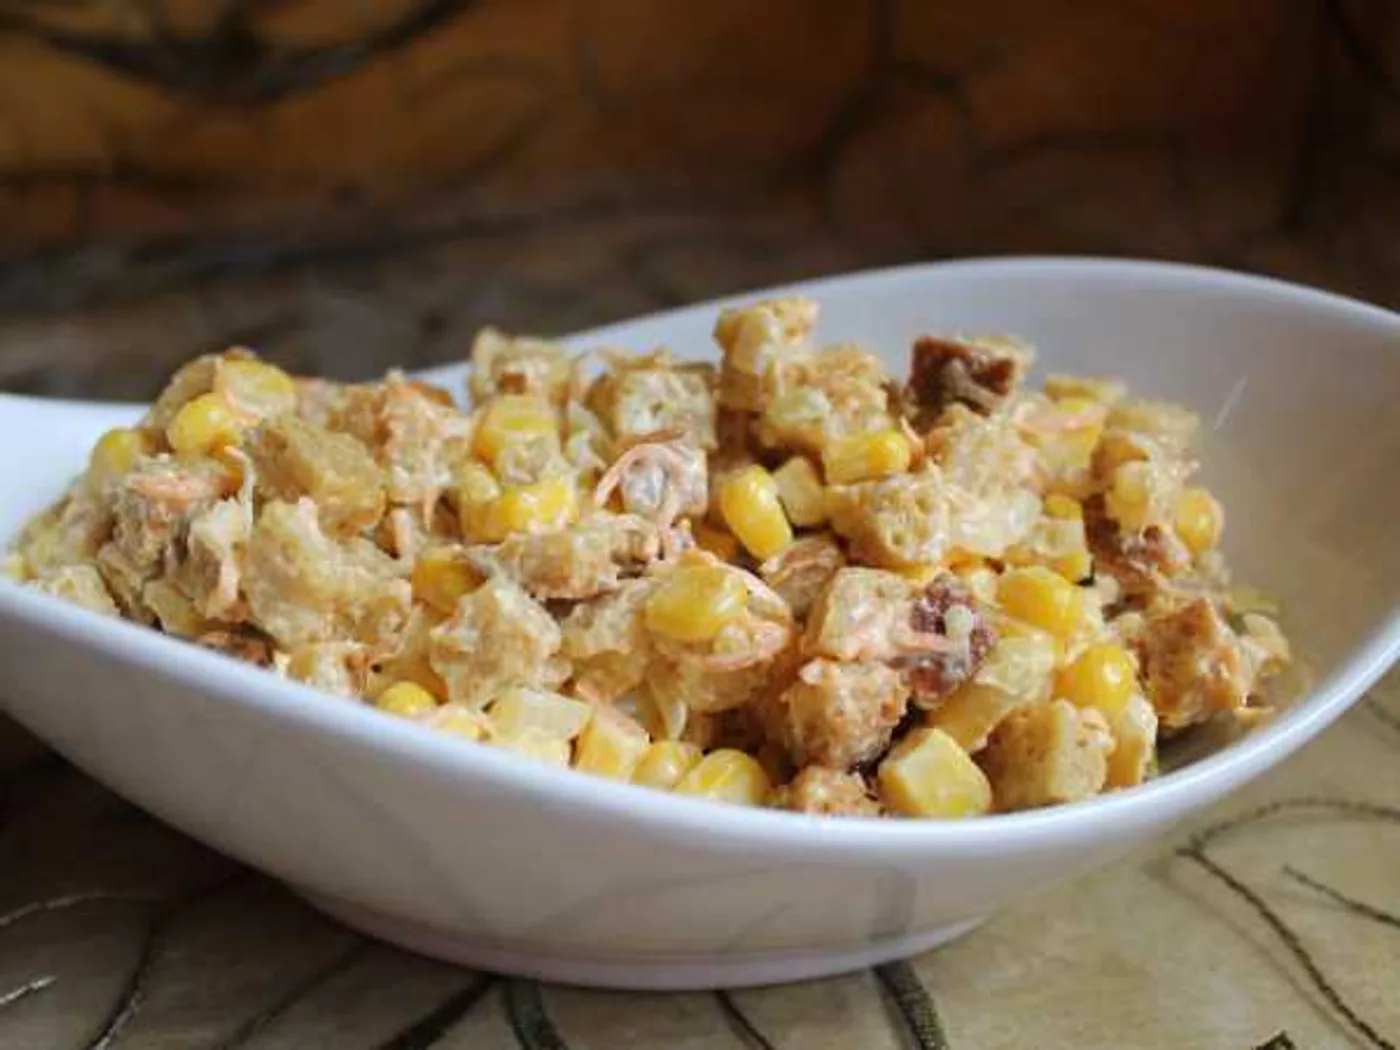
"Favourite" salad
How to prepare "Favorite Salad": Bread, Mayonnaise, Garlic and Carrots. Step-by-step recipe with a photo, 18 stages, the total time is 30 minutes.
 International
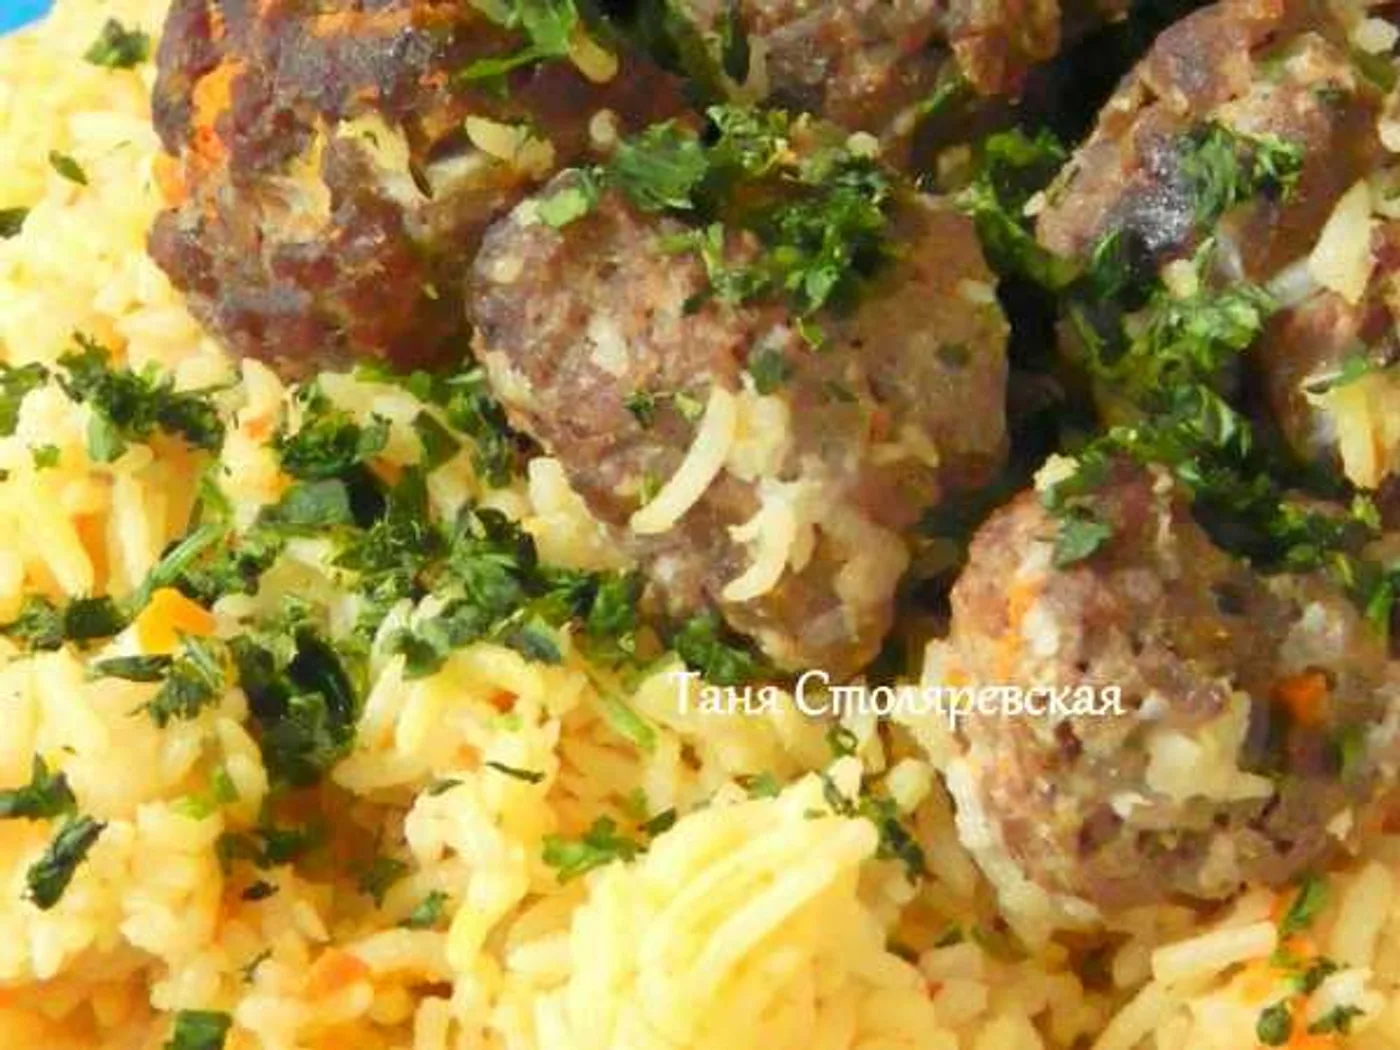
"Gelak Pilaw," pilaf with meatballs
Learn how to make "Gelak Pilaw," pilaf with meatballs with 7 ingredients and 11 clear steps.
 International
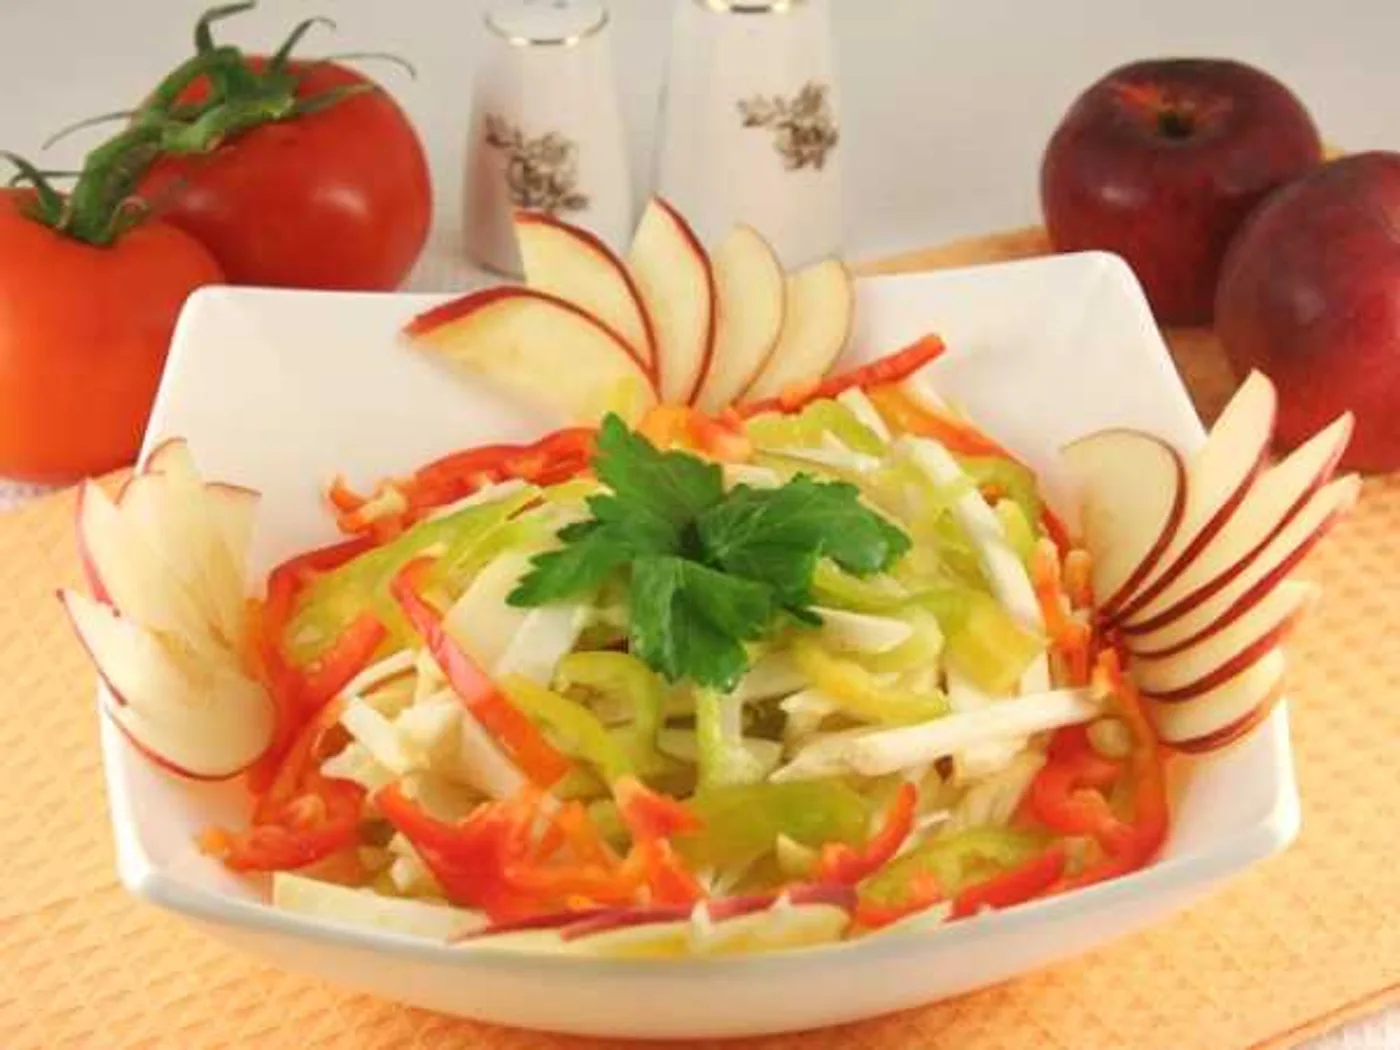
"Grace" salad
Learn how to make "Grace" salad with 7 ingredients and 8 clear steps.
 International
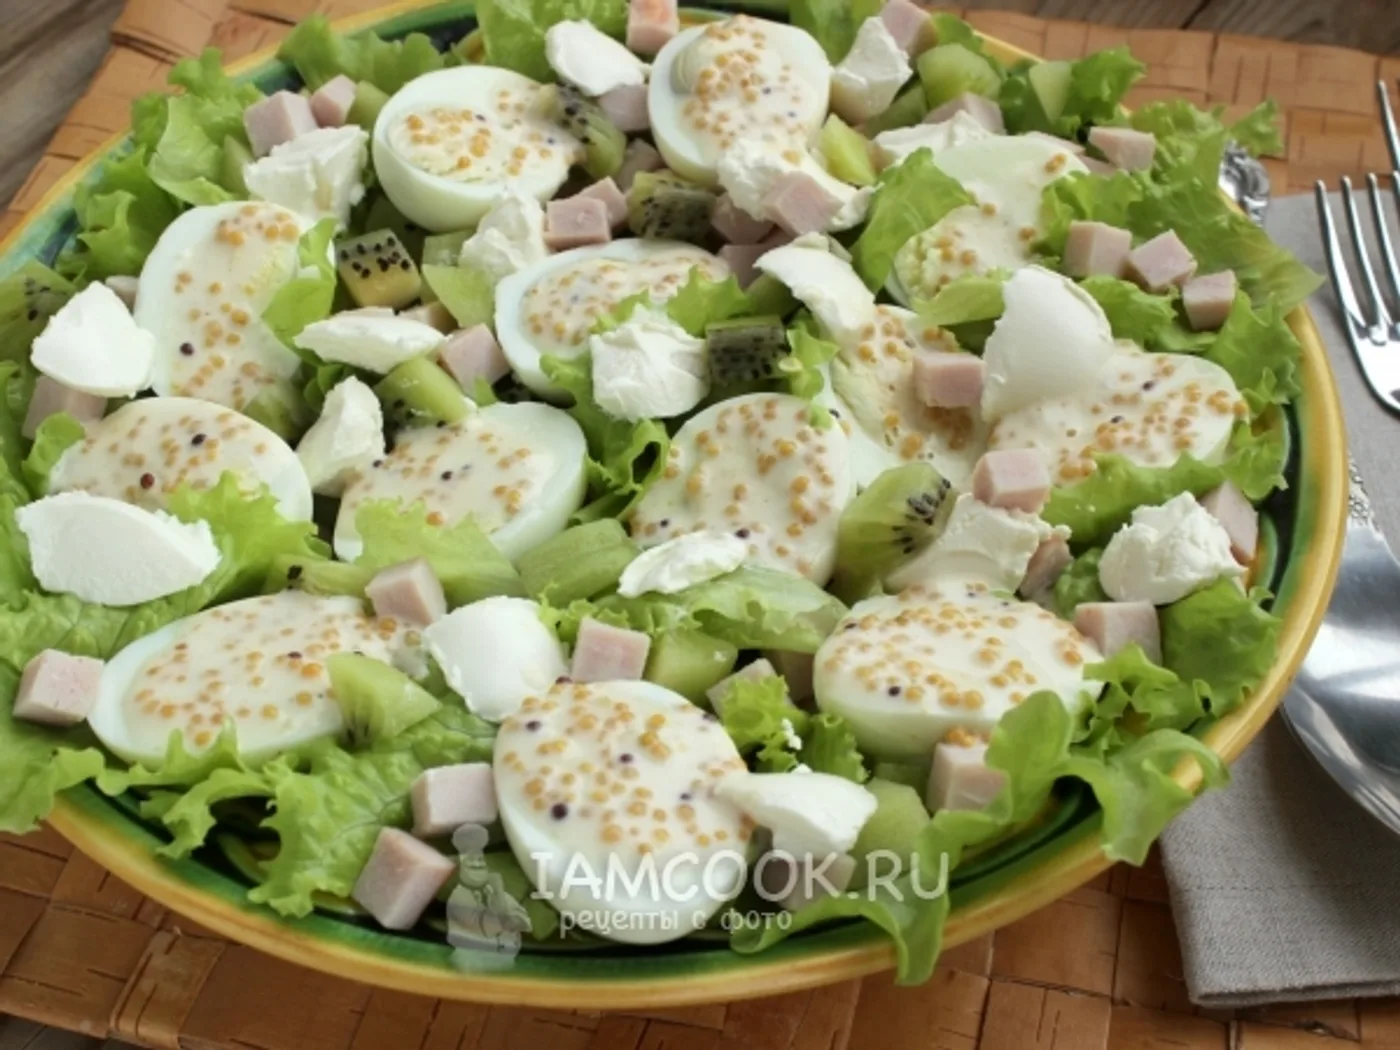
“Original” pork salad with kiwi and eggs
How to prepare “Original” pork salad with kiwi and eggs: Lettuce leaf, Pork in / k, Kiwi and Eggs (quail or chicken C2-C3) - 6 pieces.