Tuna dough rolls
How to prepare "Tuna dough rolls": flour, butter, egg and water (cold). Step-by-step recipe with a photo, 17 stages, the total time is 40 minutes.

Before you start
A quick setup makes the method easier to follow and keeps important steps from being missed.
Preparation checklist
- Read all 13 method steps from beginning to end.
- Measure and arrange all 11 listed ingredients.
- Set aside about 40 minutes, based on the time recorded by the source.
Recipe notes & preparation tips
Read the full method before you begin and prepare all ingredients in advance.
Taste near the end of cooking and adjust the seasoning before serving.
Adapted from the source recipe's notes.Method
- 01
Today I want to offer to your court not quite a traditional recipe for making rolls, but from dough with tuna filling. They are very simple, especially with step-by-step instructions.
- 02
So we're going to need the ingredients in the photo.
- 03
Make dough. Mix flour, salt, baking powder, sugar, add butter and cut it with a knife. We'll add an egg and water.
- 04
Quickly mix the dough. The oil must be cold. If small pieces of oil remain in the dough, it is okay, it will give the dough a little layering. We'll put it in the fridge for 1 hour.
- 05
We're getting the stuffing. With canned food, salt juice or butter, stretch with a fork. Next, grind green onions and bell pepper. Mix all the ingredients.
- 06
We take the dough out of the refrigerator, roll out the rectangle, about 40 by 40 cm.
- 07
Divide the dough in half to get 2 rectangles of 20x40 centimeters. We put the filling on one, roll it with a roll.
- 08
With a sharp knife, we cut our roll into pieces. It's about 6 cm long.
- 09
We make cuts on each roll from above. We lubricate the rolls with yolk on top. Put in the oven for 20 minutes and bake at a temperature of 190 degrees.
- 10
These are the kind of goodies we should be able to do.
- 11
You can also experiment with other products, I would be happy to comment. Enjoy your meal!
- 12
Another photo of tuna rolls.
- 13
And more...
Ready to serve
Serve the dish as directed and enjoy it while it is at its best.
Bon appétit — enjoy your meal!Source & licence
This recipe was adapted and reformatted from Osiyo.ru / Аймкук . Text: Used with permission. Image: Used with permission, credited to Esenija; view original image record .
More from International
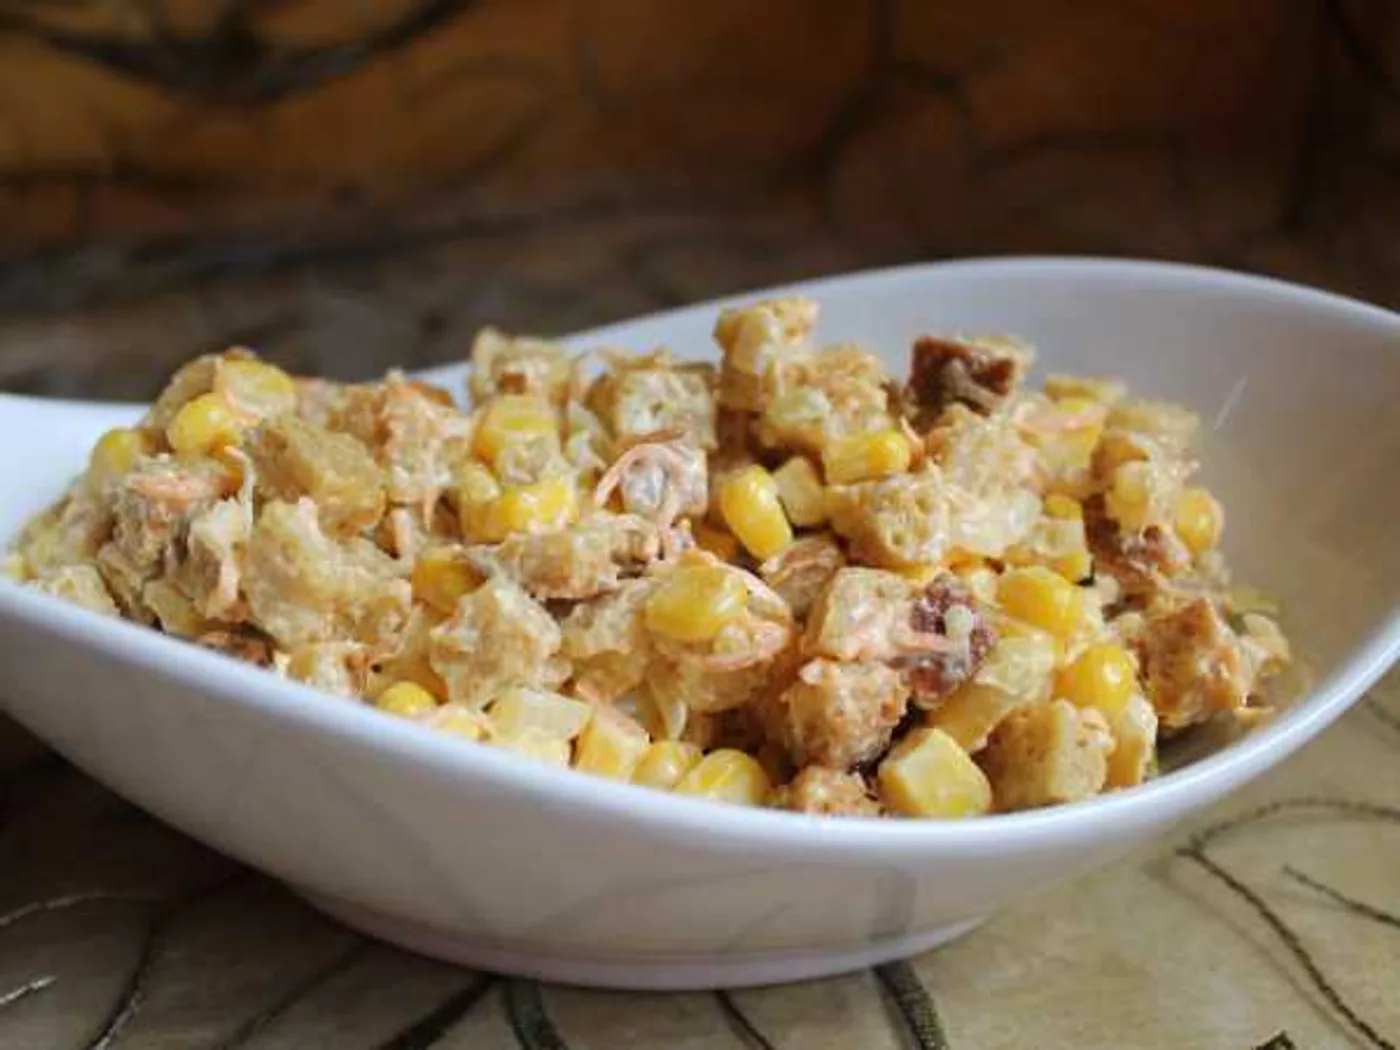 International
"Favourite" salad
How to prepare "Favorite Salad": Bread, Mayonnaise, Garlic and Carrots. Step-by-step recipe with a photo, 18 stages, the total time is 30 minutes.
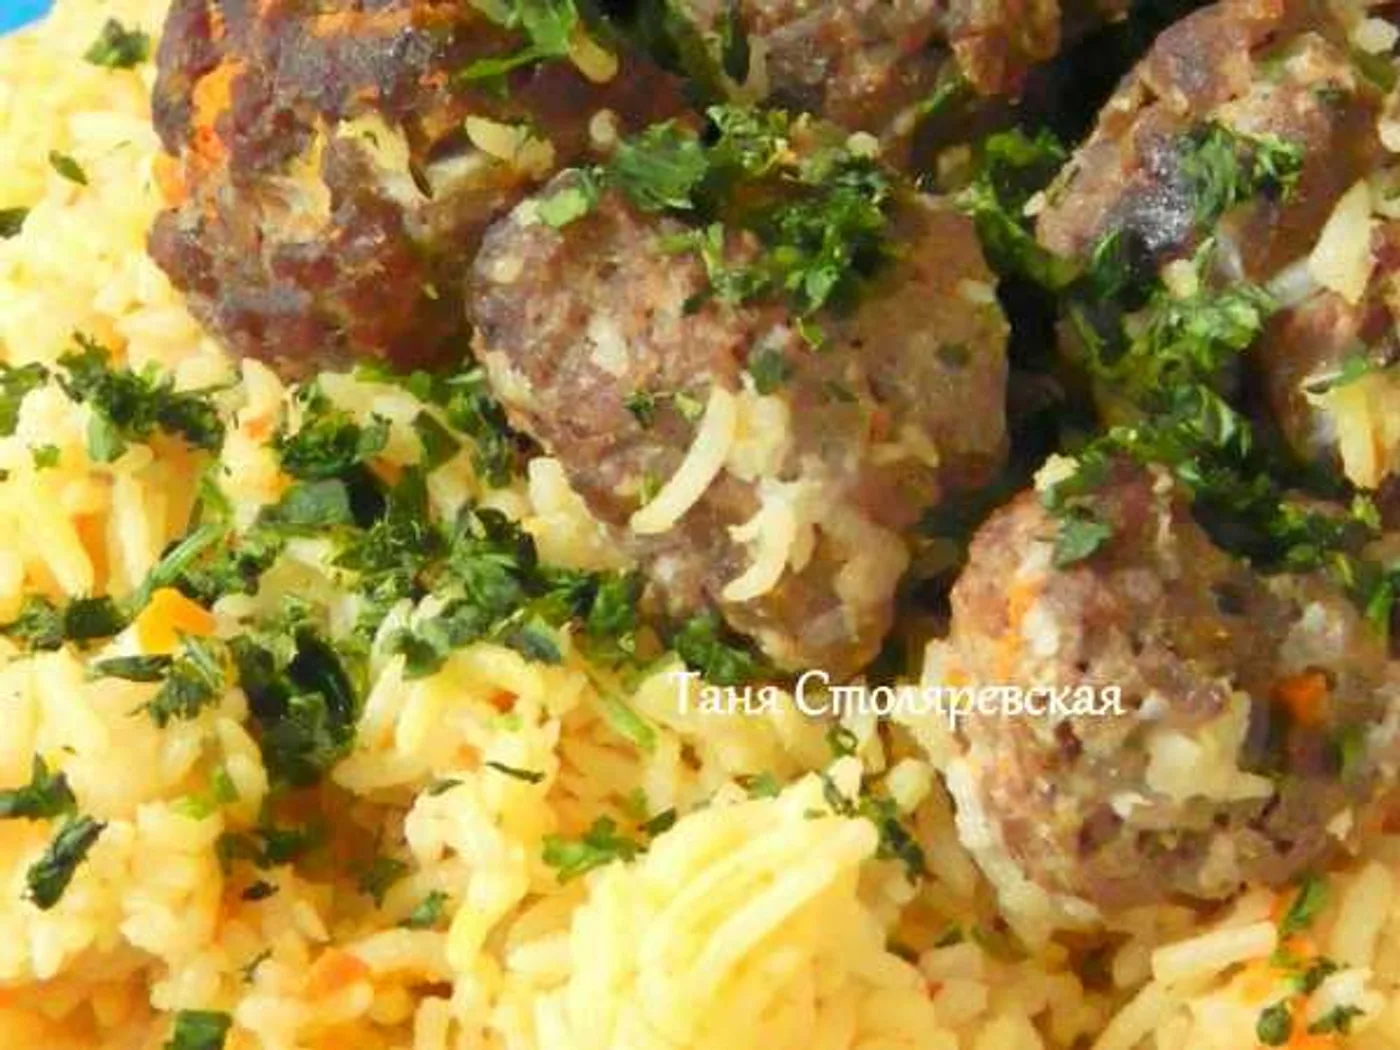 International
"Gelak Pilaw," pilaf with meatballs
Learn how to make "Gelak Pilaw," pilaf with meatballs with 7 ingredients and 11 clear steps.
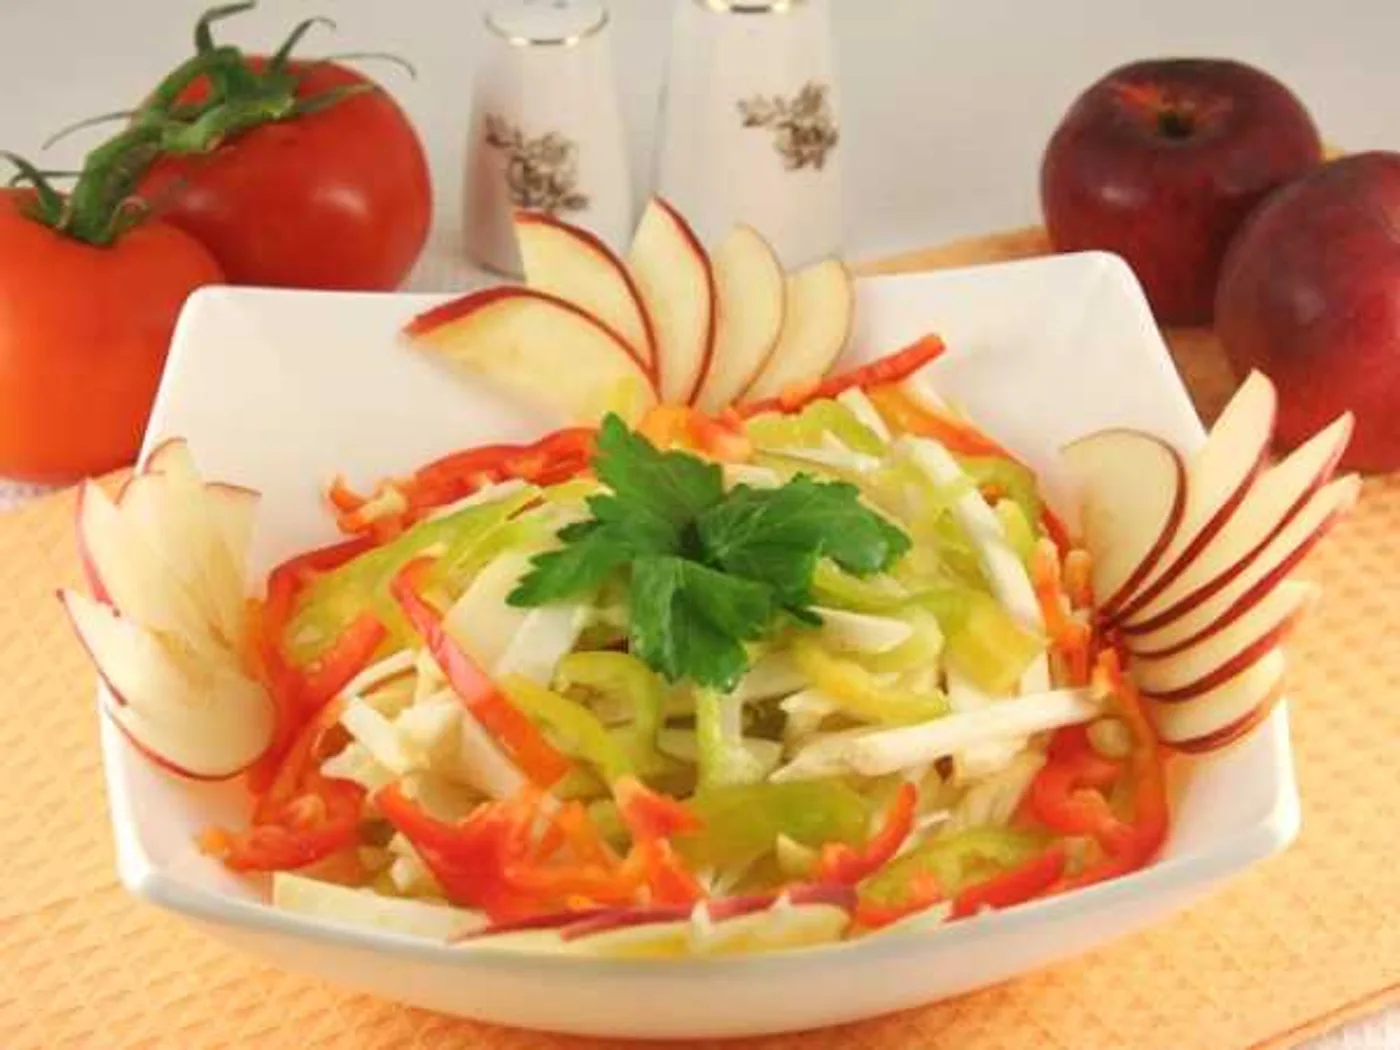 International
"Grace" salad
Learn how to make "Grace" salad with 7 ingredients and 8 clear steps.
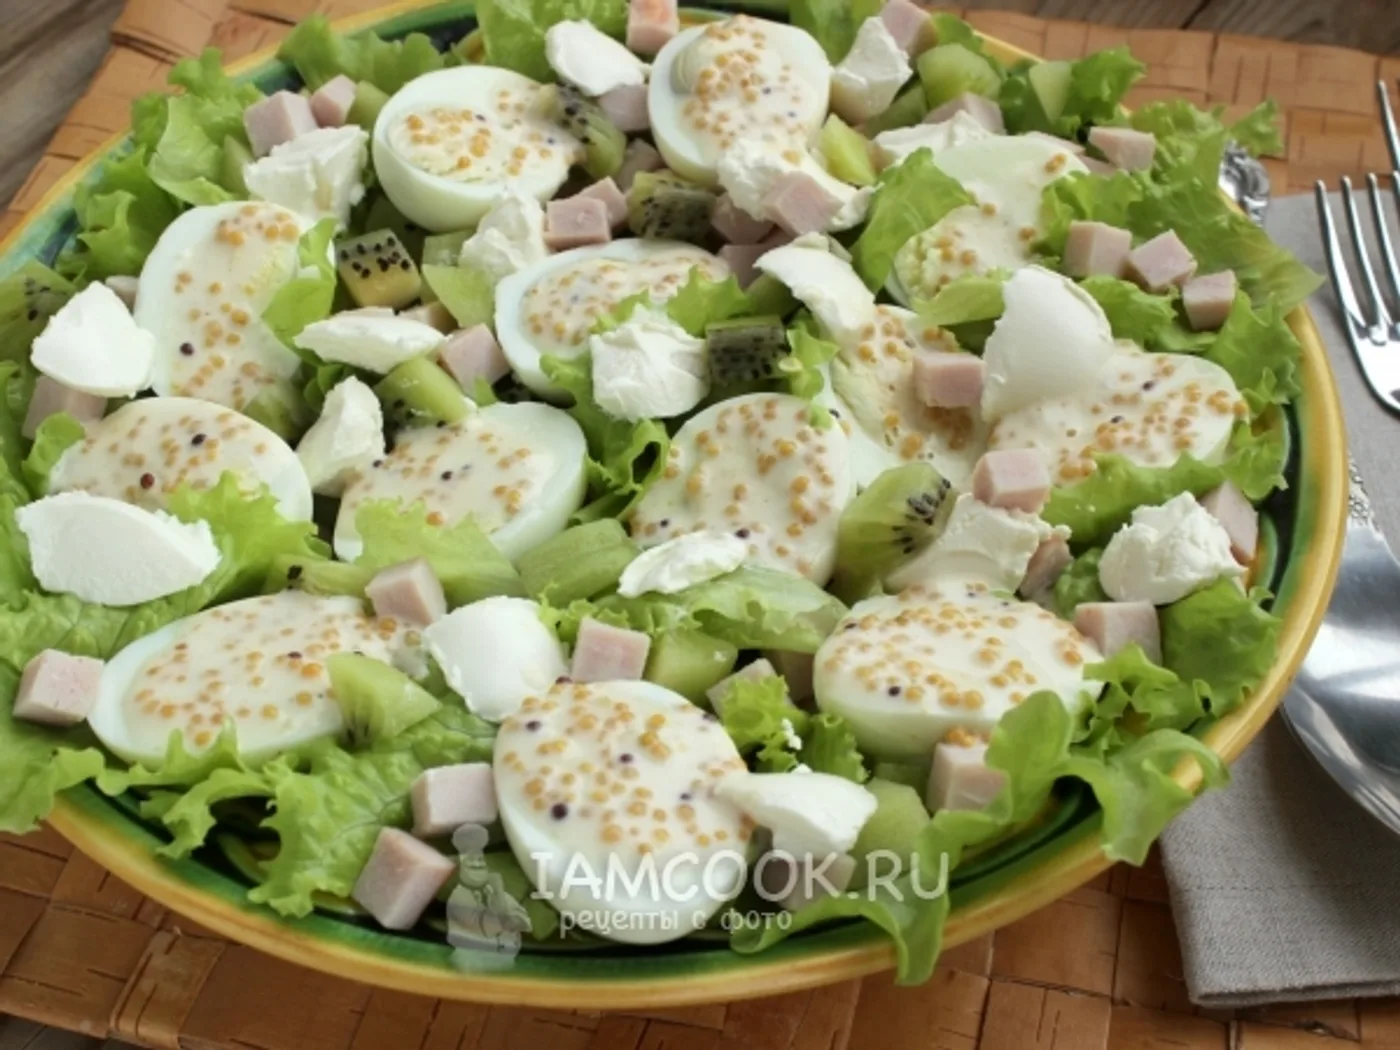 International
“Original” pork salad with kiwi and eggs
How to prepare “Original” pork salad with kiwi and eggs: Lettuce leaf, Pork in / k, Kiwi and Eggs (quail or chicken C2-C3) - 6 pieces.